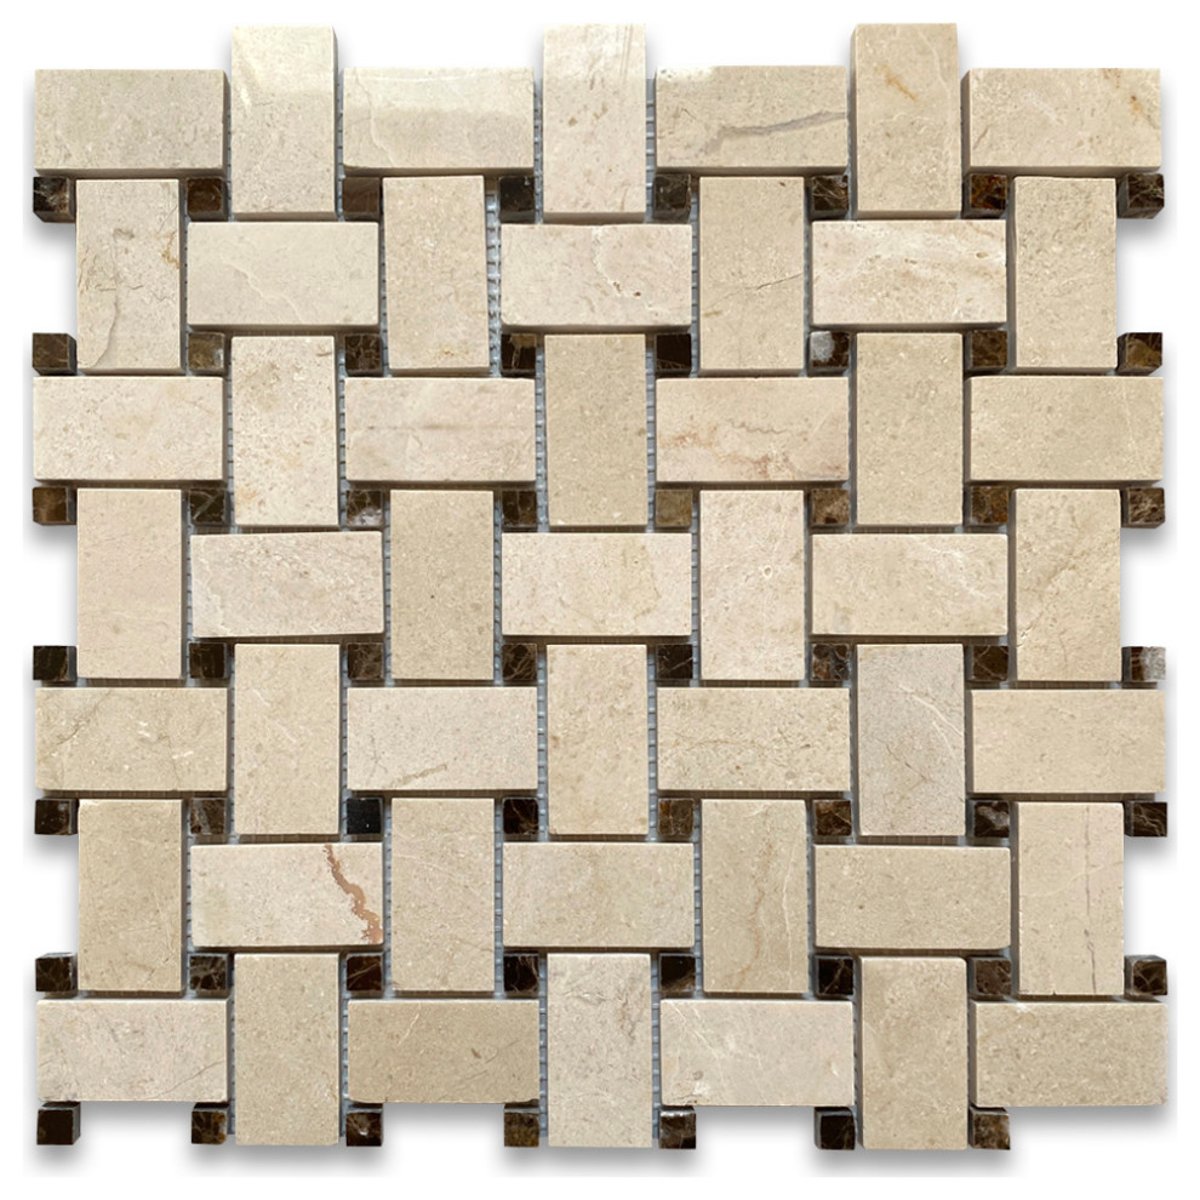
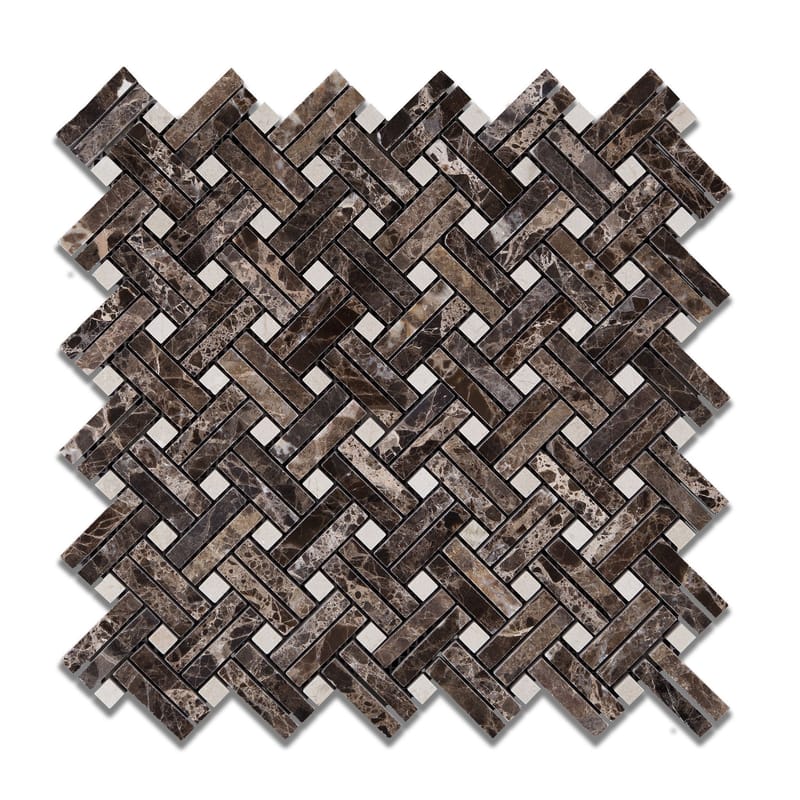
There's something undeniably captivating about Crema Marfil marble. Its creamy, warm tones and subtle veining bring a touch of classic sophistication to any space. When laid in a basketweave pattern, this natural stone transforms into a work of art, adding texture and visual interest that’s both timeless and incredibly elegant. But how do you bring this beauty to life in your home? It’s more than just laying tiles; it’s about understanding the material and the process to ensure a flawless and lasting result. Let’s dive into what makes this tile so special and how you can achieve that coveted designer look.
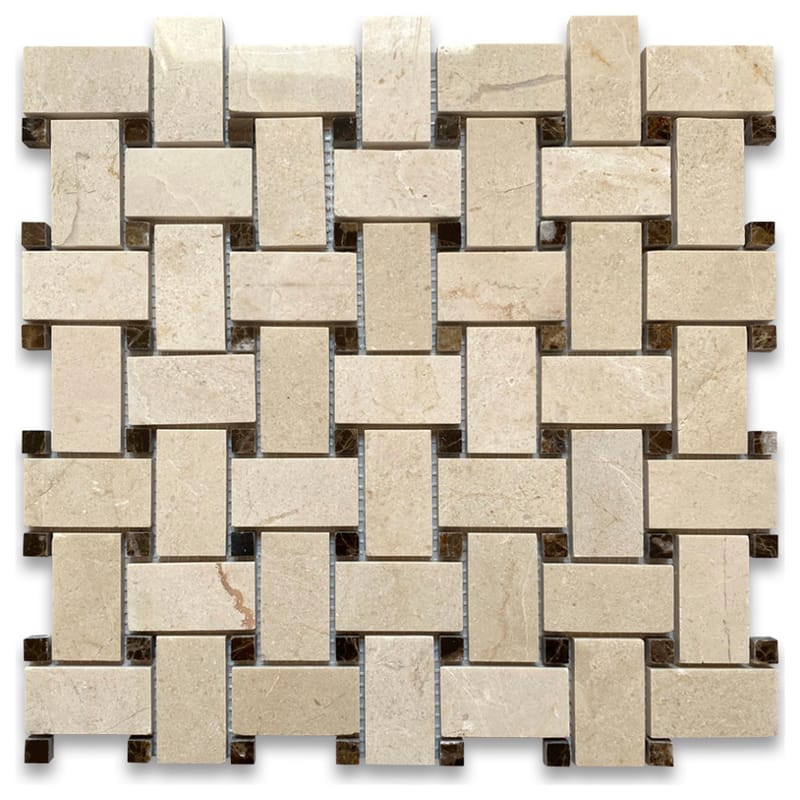
Crema Marfil marble, a prized natural stone from Spain, is celebrated for its gentle hues and delicate, intricate patterns. The basketweave pattern, a classic arrangement of rectangular pieces forming a woven look, amplifies the stone's inherent charm. Together, they create a surface that feels both grounded and refined, perfect for everything from cozy kitchens to luxurious bathrooms. Installing this tile, however, requires a careful hand and a good understanding of the best practices. It's a project that can elevate your home's aesthetic significantly, but getting it right from the start is crucial for that enduring beauty and functionality. We’ll walk you through the essential steps, demystifying the process so you can feel confident tackling this rewarding endeavor.
Preparation is Key: Setting the Stage for Success
Before you even think about laying a single tile, proper preparation is absolutely vital. This isn't the part you want to rush, believe me. First, ensure your subfloor is clean, dry, and level. Any bumps or dips will show up in your finished tile job, and that's no fun. You might need to use a self-leveling compound if things aren't quite right. Think of it like preparing a canvas before painting; a smooth, stable surface is non-negotiable.
Next, gather all your tools and materials. You'll need the Crema Marfil basketweave tiles, of course, but also the right adhesive (a high-quality thin-set mortar specifically designed for natural stone is a must), grout (unsanded grout is generally best for marble to avoid scratching), tile spacers, a notched trowel, a wet saw for cuts, a level, a measuring tape, and safety gear like gloves and eye protection. Don't forget buckets for mixing mortar and water for cleanup. Having everything ready beforehand makes the actual installation so much smoother and less stressful.
Laying the Foundation: Dry Layout and Planning
Now, for the fun part: seeing how it all fits! Before you mix any adhesive, it's a smart move to do a dry layout. This means placing your basketweave tiles on the floor or wall exactly where you want them, without any glue. This allows you to visualize the pattern, check for any tiles with significant flaws that you might want to swap out, and plan your cuts. It's also your chance to ensure the pattern flows beautifully and that you won't end up with awkward, tiny cuts at the edges of your room.
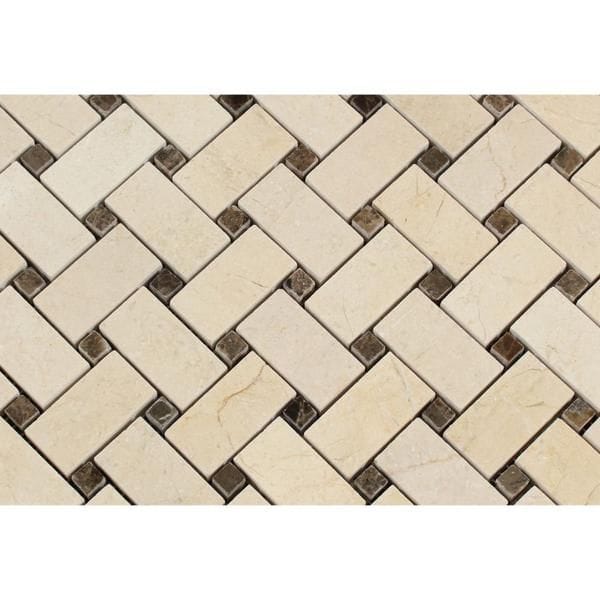
Pay attention to the direction of the 'weave' in the basketweave. You want a consistent look across the entire area. If you're working on a floor, start from the center of the room and work your way outwards. This usually results in more balanced tile placement. For walls, it's often best to start at a prominent corner or the center of a feature wall. This dry run prevents costly mistakes and ensures a professional-looking outcome.
The Art of Adhesion: Applying Mortar and Setting Tiles
With your layout finalized and your prep work complete, it’s time to get sticky. Mix your thin-set mortar according to the manufacturer's instructions. You want a consistency like peanut butter – not too runny, and not too stiff. Using your notched trowel, spread a thin, even layer of mortar onto a small section of the subfloor or wall. Hold the trowel at about a 45-degree angle to create consistent ridges. This ensures good adhesion and prevents air pockets.
Now, carefully place your basketweave tiles into the wet mortar. Gently press each tile down with a slight twisting motion. Use your tile spacers to maintain even grout lines between the individual pieces within the basketweave pattern and between the basketweave sheets themselves. Work in small sections so the mortar doesn't dry out before you can set the tiles. Periodically check with your level to ensure everything is flat and even. Remember, marble is a natural material, so slight variations in thickness are normal, but you want a generally smooth surface.
Cutting with Precision: Navigating Edges and Obstacles
Walls and floors aren't always perfect rectangles, are they? You’ll inevitably need to make cuts to fit around corners, doorways, or fixtures. This is where your wet saw comes in. Always measure twice and cut once! For basketweave tiles, you’ll be cutting the individual rectangular pieces, not the whole sheet, if you need to adjust the pattern at an edge. Take your time with these cuts. A clean, precise cut makes a huge difference in the final appearance.
Safety first here. Wear your safety glasses and gloves. And don't forget to keep the water reservoir of your wet saw topped up. If you're new to using a wet saw, it might be worth practicing on some scrap tiles first. Getting those edges to look clean and intentional is part of what elevates a good tile job to a great one.
Grouting and Sealing: The Finishing Touches
Once all the tiles are set and the mortar has cured completely (usually 24-48 hours, check your mortar’s instructions), it’s time to grout. Mix your unsanded grout to a smooth, workable consistency. Using a grout float, spread the grout over the tiles, pressing it firmly into the gaps between the pieces. Work at an angle to ensure the grout fills all the spaces. Wipe away excess grout with the float.
After letting the grout set for about 15-20 minutes, use a damp sponge to gently clean the tile surface, removing the grout haze. Rinse your sponge frequently in clean water. Be careful not to pull the grout out of the joints. You might need to do a second, lighter cleaning once the grout is drier. Once the grout is fully cured (again, check the product's recommendations), it’s time to seal. Marble is porous, so sealing is essential to protect it from stains and moisture. Apply a quality stone impregnator sealer according to the manufacturer's directions. You'll likely need to apply two coats. This step is crucial for maintaining the beauty of your Crema Marfil for years to come.
Maintenance and Care: Preserving Your Marble's Beauty
You've done it. You've installed a beautiful Crema Marfil marble basketweave floor or backsplash. Now, how do you keep it looking as stunning as the day you finished? Regular cleaning is key. Use a pH-neutral cleaner specifically designed for natural stone. Avoid harsh chemicals, acidic cleaners (like vinegar or lemon-based products), and abrasive scrubbers, as these can etch and dull the marble's surface. A soft cloth or a mop with a microfiber head is your best friend here.
Spills should be wiped up immediately. And remember that sealer? It needs to be reapplied periodically, usually once or twice a year, depending on traffic and use. A quick test – splash a little water on the surface. If it beads up, your sealer is still doing its job. If it soaks in, it's time to reseal. Proper care will ensure your elegant marble installation remains a source of pride and beauty for decades.
Installing Crema Marfil marble basketweave tile is a project that demands patience and attention to detail, but the reward is undeniable. The warmth, elegance, and natural beauty it brings to a space are truly unparalleled. By following these steps – from meticulous preparation to careful installation and diligent maintenance – you can achieve a professional-quality finish that enhances your home’s value and your enjoyment of your surroundings. It's more than just tile; it's a timeless design choice that speaks to enduring style and craftsmanship. So, take a deep breath, gather your tools, and get ready to create something truly special.

Related Posts
 Wall & Floor Tiles
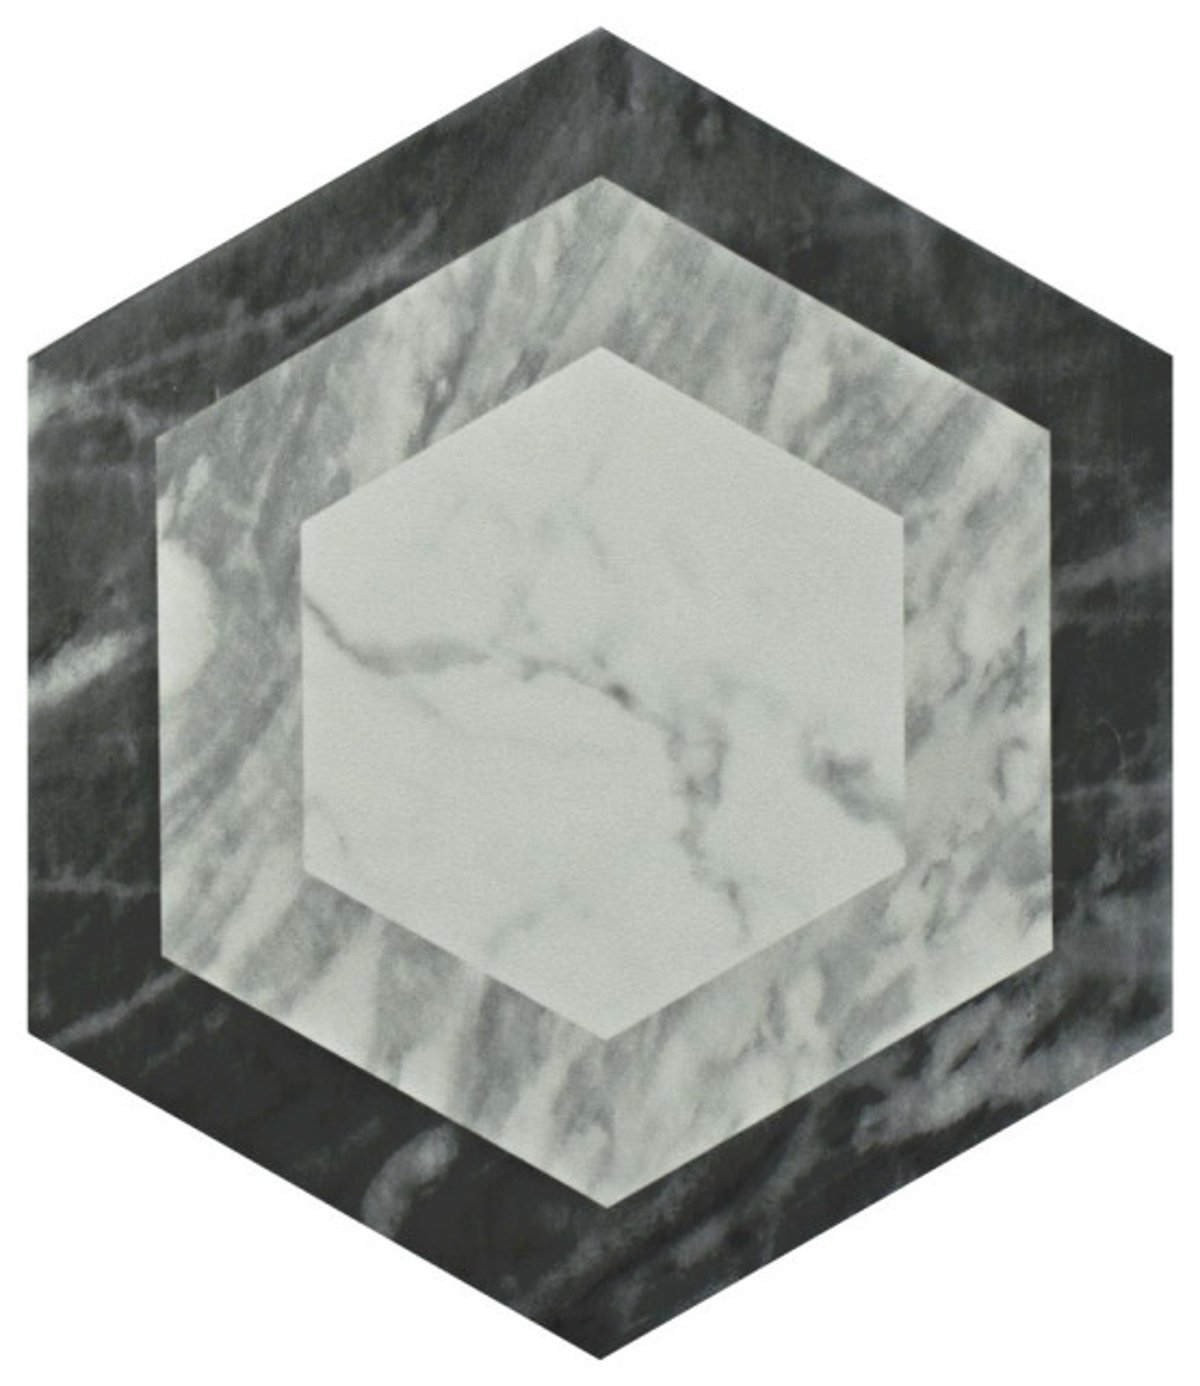
 Understanding the Artistry Behind Classico Bardiglio Hexagon Tiles
 Wall & Floor Tiles
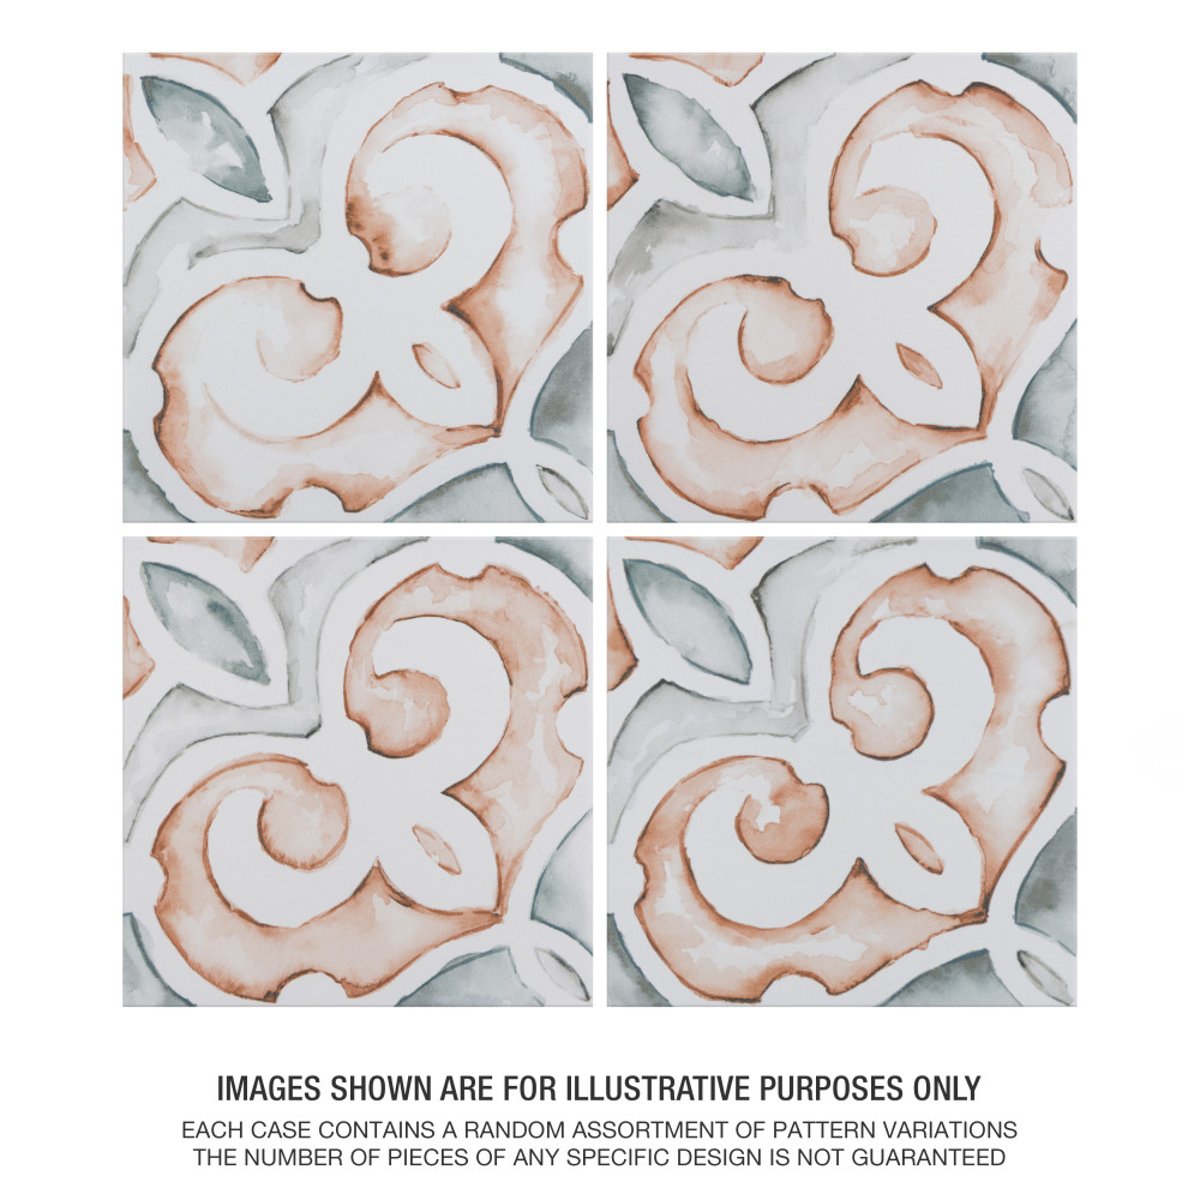
 Understanding the Artistry Behind Saint Germain Chaud Deco Simone Porcelain Tiles
 Wall & Floor Tiles
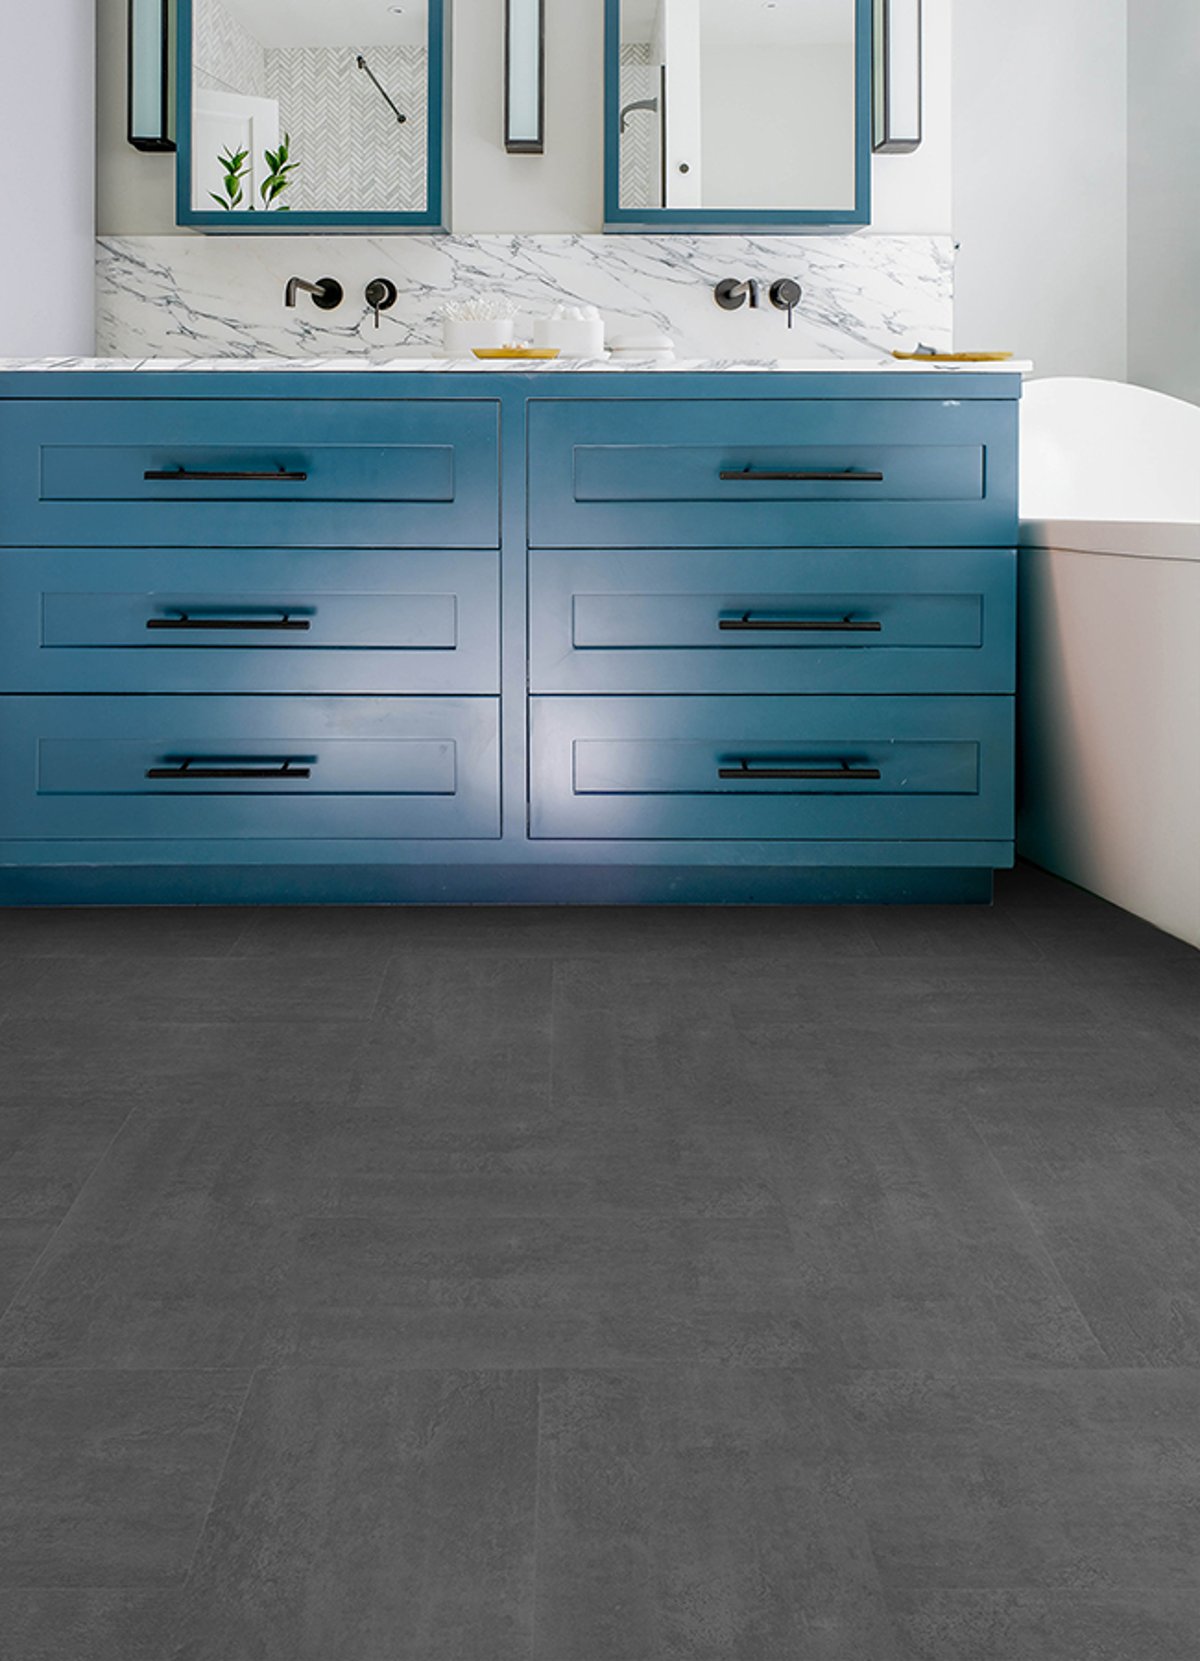
 Choosing the right quarry dark gray peel and stick floor tiles for your space
 Wall & Floor Tiles
 Choosing the Right Cement Tile for Your Space and Style
 Wall & Floor Tiles
 Exploring the Versatility of Llama Stella Loire's Noce Silver Porcelain Tile for Interior Spaces
 Wall & Floor Tiles