
There's something truly captivating about cement tiles, isn't there? They bring a unique character and timeless elegance to any space. Among these, the Cemento Queen Mary Storm pattern stands out, offering a sophisticated yet bold statement. But achieving that perfect, seamless look isn't just about laying tiles; it's a delicate balance of artistic vision and scientific precision. Let's dive into what makes this installation process so special and how to get it right, every single time.
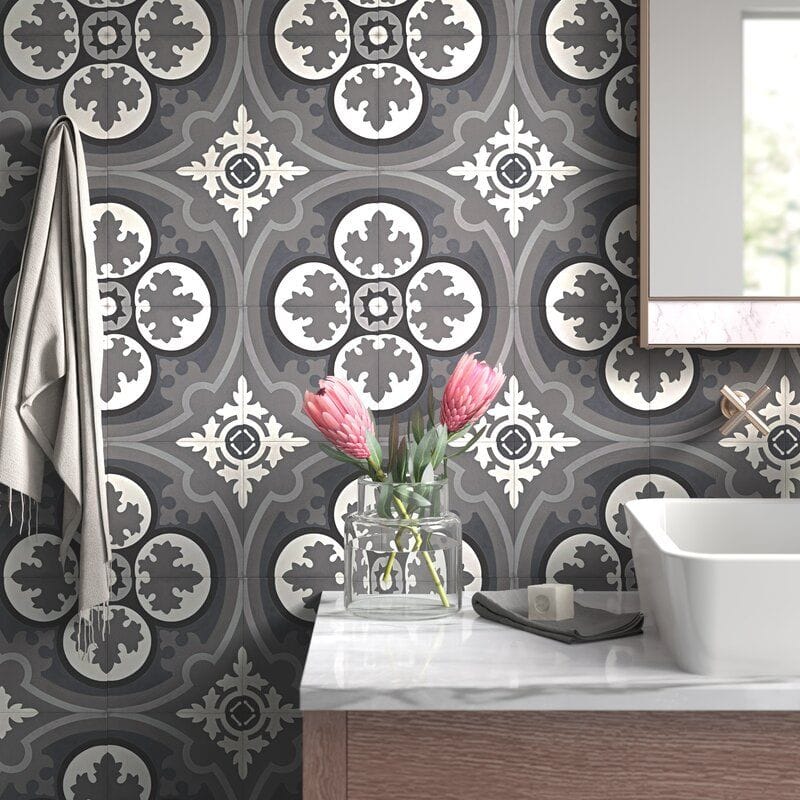
Cement tiles, especially intricate designs like the Cemento Queen Mary Storm, are more than just decorative elements. They're a commitment to a certain aesthetic, a touch of old-world charm meeting modern sensibilities. You see them in bustling cafes, serene bathrooms, and elegant entryways, each installation telling its own story. Getting that story right, however, requires a deep understanding of the materials, the substrate, and the specialized techniques involved. It’s a craft, really, where attention to detail is paramount. Have you ever admired a floor and wondered how they achieved such a flawless finish? Well, wonder no more. We're going to explore the art and science that goes into making a Cemento Queen Mary Storm cement tile installation truly spectacular and enduring.
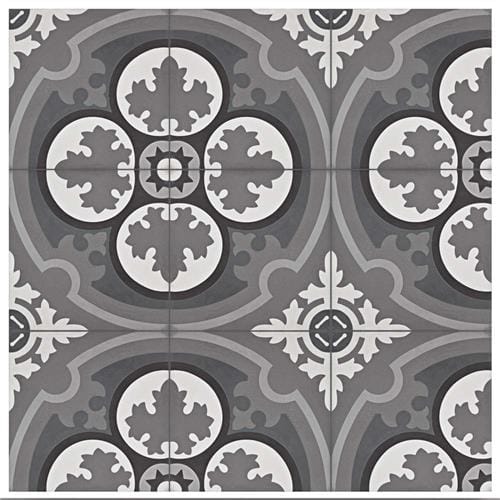
Understanding Your Cemento Queen Mary Storm Tiles
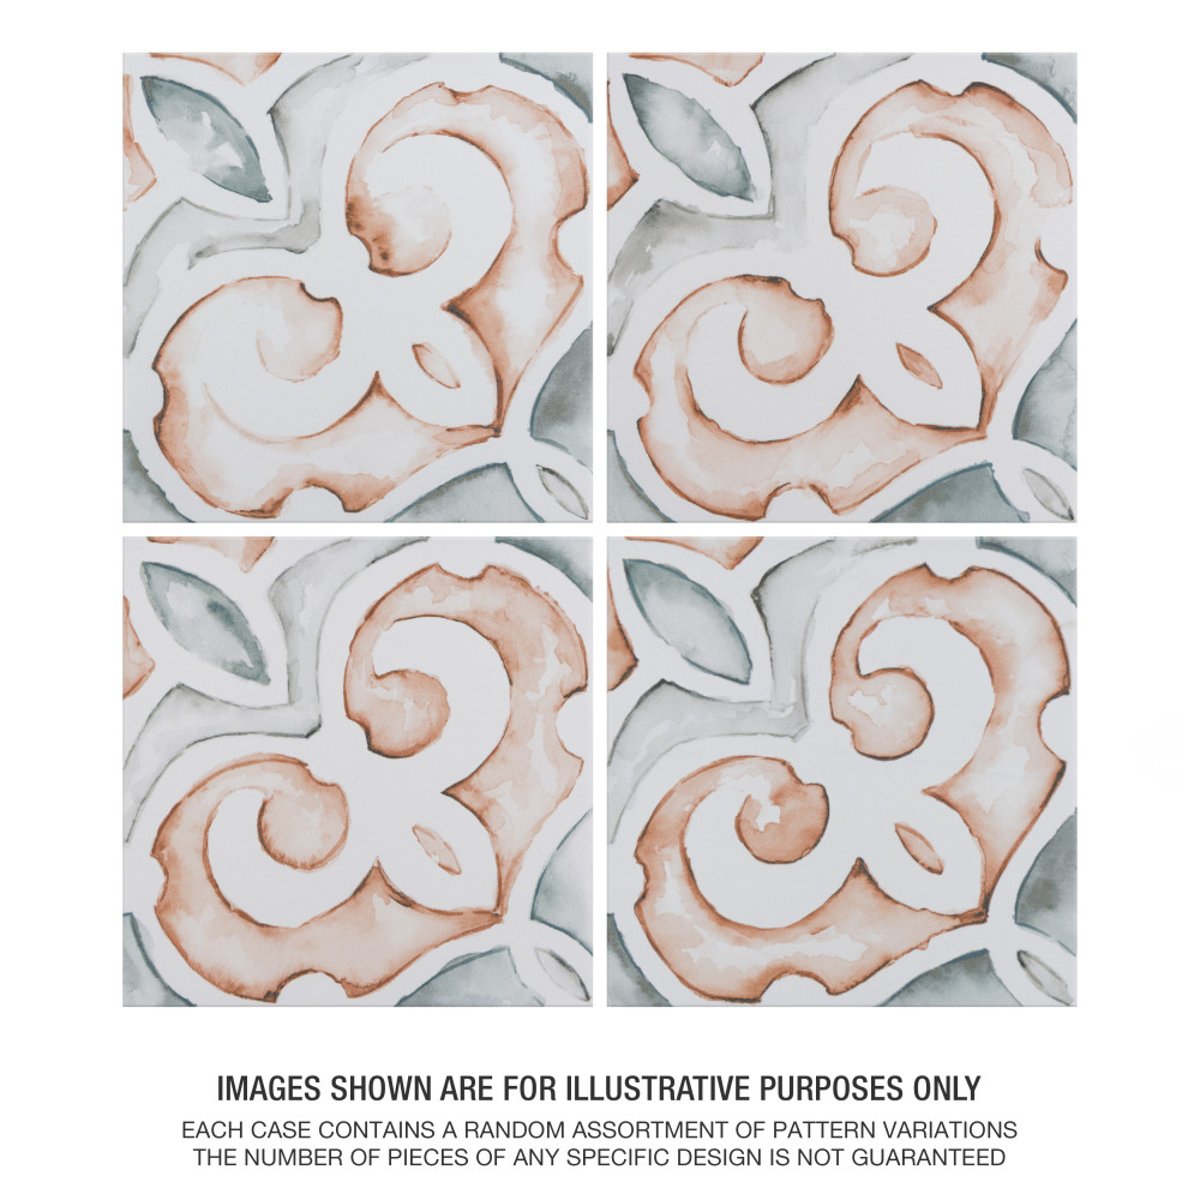
Before a single tile even touches the floor, it's crucial to get acquainted with your Cemento Queen Mary Storm tiles. These aren't your standard ceramic or porcelain tiles. They're crafted from a mixture of cement, sand, and pigment, pressed under immense pressure. This artisanal process gives them their distinctive matte finish and rich, deep colors. However, it also means they are porous and require specific care.
- Porosity is Key: Because they absorb liquids, sealing is non-negotiable. This protects them from stains and moisture damage, which is especially important in areas like kitchens and bathrooms.
- Variations are Normal: Expect slight variations in color and pattern from batch to batch. This is part of their charm, a testament to their handmade nature. Embrace these subtle differences; they add to the unique character of your installation.
- Weight Matters: Cement tiles are considerably heavier than other tile types, so ensure your subfloor can handle the load. This is a scientific consideration for structural integrity.
Preparation is Paramount: The Foundation for Success
Think of this stage as setting the stage for a masterpiece. A poorly prepared surface is the most common culprit behind installation woes. The goal is a clean, level, and stable base.
- Substrate Check: Whether it's concrete or a cement backer board, it must be sound. Any cracks, softness, or unevenness will transfer to the finished tilework, leading to potential cracking or lippage (where the edges of adjacent tiles aren't flush).
- Leveling the Playing Field: Use a self-leveling compound if necessary. A perfectly flat surface ensures the tiles lay evenly and the grout lines are consistent. This is where the science of fluid dynamics comes into play, ensuring an even spread.
- Moisture Barrier: In wet areas, a waterproof membrane is essential. This prevents moisture from seeping into the subfloor and causing damage, a critical step for longevity.
The Art of Layout and Pattern Matching
This is where the 'art' truly shines. The Cemento Queen Mary Storm pattern is designed to be visually striking, and a thoughtful layout is key to maximizing its impact.
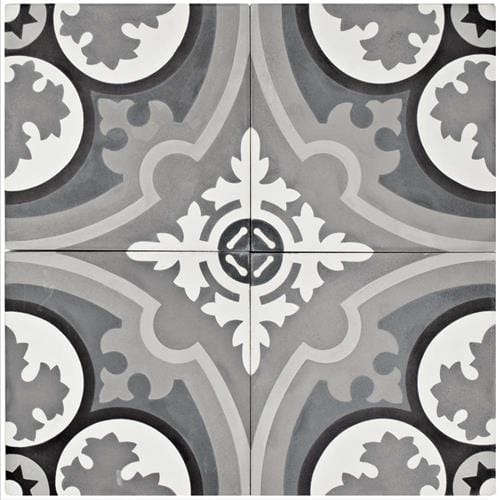
- Finding Your Center: Decide on the focal point of the room or the most visible area. Start your layout from here, working outwards. This ensures that any cuts needed at the edges are less noticeable and more balanced.
- Dry Laying: Before applying any adhesive, lay out a section of your tiles without mortar. This allows you to visualize the pattern, check for any manufacturing defects, and plan your cuts. It's a crucial step often overlooked.
- Pattern Alignment: The Queen Mary Storm pattern has distinct elements. Ensure these align perfectly from one tile to the next. A slight misalignment can throw off the entire visual flow, a detail that separates a good installation from a great one.
Setting the Tiles: Precision in Adhesive and Placement
With the prep done and the layout planned, it's time to set the tiles. This requires the right adhesive applied correctly.
- Choosing the Right Mortar: Use a high-quality thin-set mortar specifically designed for cement tiles. Look for one with good adhesion and flexibility. Follow the manufacturer's instructions for mixing precisely.
- Trowel Technique: Use the correct size notched trowel to spread the mortar. Aim for full coverage on both the substrate and the back of the tile (back-buttering). This ensures a strong bond and prevents voids that can lead to cracking.
- Gentle Pressure: Once placed, press each tile firmly into the mortar with a slight twist. Avoid excessive force, which can damage the tile or displace the mortar. Use tile spacers to maintain consistent grout joints. This is a tactile science, feeling the 'give' of the tile into the adhesive.
The Crucial Step: Sealing and Grouting
This is where you protect your investment and bring the design to life. Sealing and grouting are non-negotiable for cement tiles.
Sealing Before Grouting: Apply a penetrating sealer to the face of the tiles before grouting. This prevents the grout from staining the porous tile surface. Wait for the recommended drying time.
Grout Selection: Choose a sanded grout for wider joints (typically 1/8 inch or more) and unsanded for narrower ones. Color is also a design choice; a contrasting grout can highlight the pattern, while a matching one creates a more subdued look.
Grouting Technique: Mix the grout to a peanut butter consistency and apply it with a grout float, pressing it firmly into the joints. Remove excess grout promptly.
Cleaning Up: Once the grout has set slightly, use a damp sponge to clean the excess from the tile surface. Be gentle to avoid pulling grout out of the joints. Multiple passes may be needed.
Final Sealing: After the grout has cured (usually 48-72 hours), apply at least two coats of a high-quality penetrating sealer to the entire tile surface and grout lines. This is your primary defense against stains and moisture.
Maintenance Sealing: Reapply sealer periodically, depending on traffic and cleaning routines, typically every 1-2 years.
Maintaining Your Beautiful Cemento Queen Mary Storm Tiles
The beauty of your Cemento Queen Mary Storm installation can last for decades with proper care. It’s less about the science here and more about consistent, gentle attention.
- Daily Cleaning: Sweep or dust mop regularly to remove grit that can scratch the surface.
- Washing: Use a pH-neutral cleaner specifically designed for natural stone or cement tiles. Avoid harsh chemicals, acidic cleaners (like vinegar or lemon), and abrasive scrubbing pads.
- Spill Response: Clean up spills immediately, especially acidic liquids like wine, coffee, or citrus juice, as they can etch the surface even through the sealer.
- Avoid Wax: Never use floor wax on cement tiles, as it can build up and be very difficult to remove.
By understanding and respecting the unique properties of cement tiles, you ensure that your Cemento Queen Mary Storm installation remains a stunning focal point for years to come.
Installing Cemento Queen Mary Storm cement tiles is a rewarding endeavor that marries aesthetic appeal with practical considerations. It's about respecting the material, meticulously preparing the foundation, and applying the techniques with both precision and an eye for beauty. From understanding the porous nature of the tiles to the critical steps of sealing and regular maintenance, each phase plays a vital role. When done correctly, the result isn't just a floor or a wall; it's a piece of functional art that adds warmth, character, and enduring value to your home. So, embrace the process, pay attention to the details, and you'll create an installation that truly stands the test of time.
Related Posts
 Wall & Floor Tiles
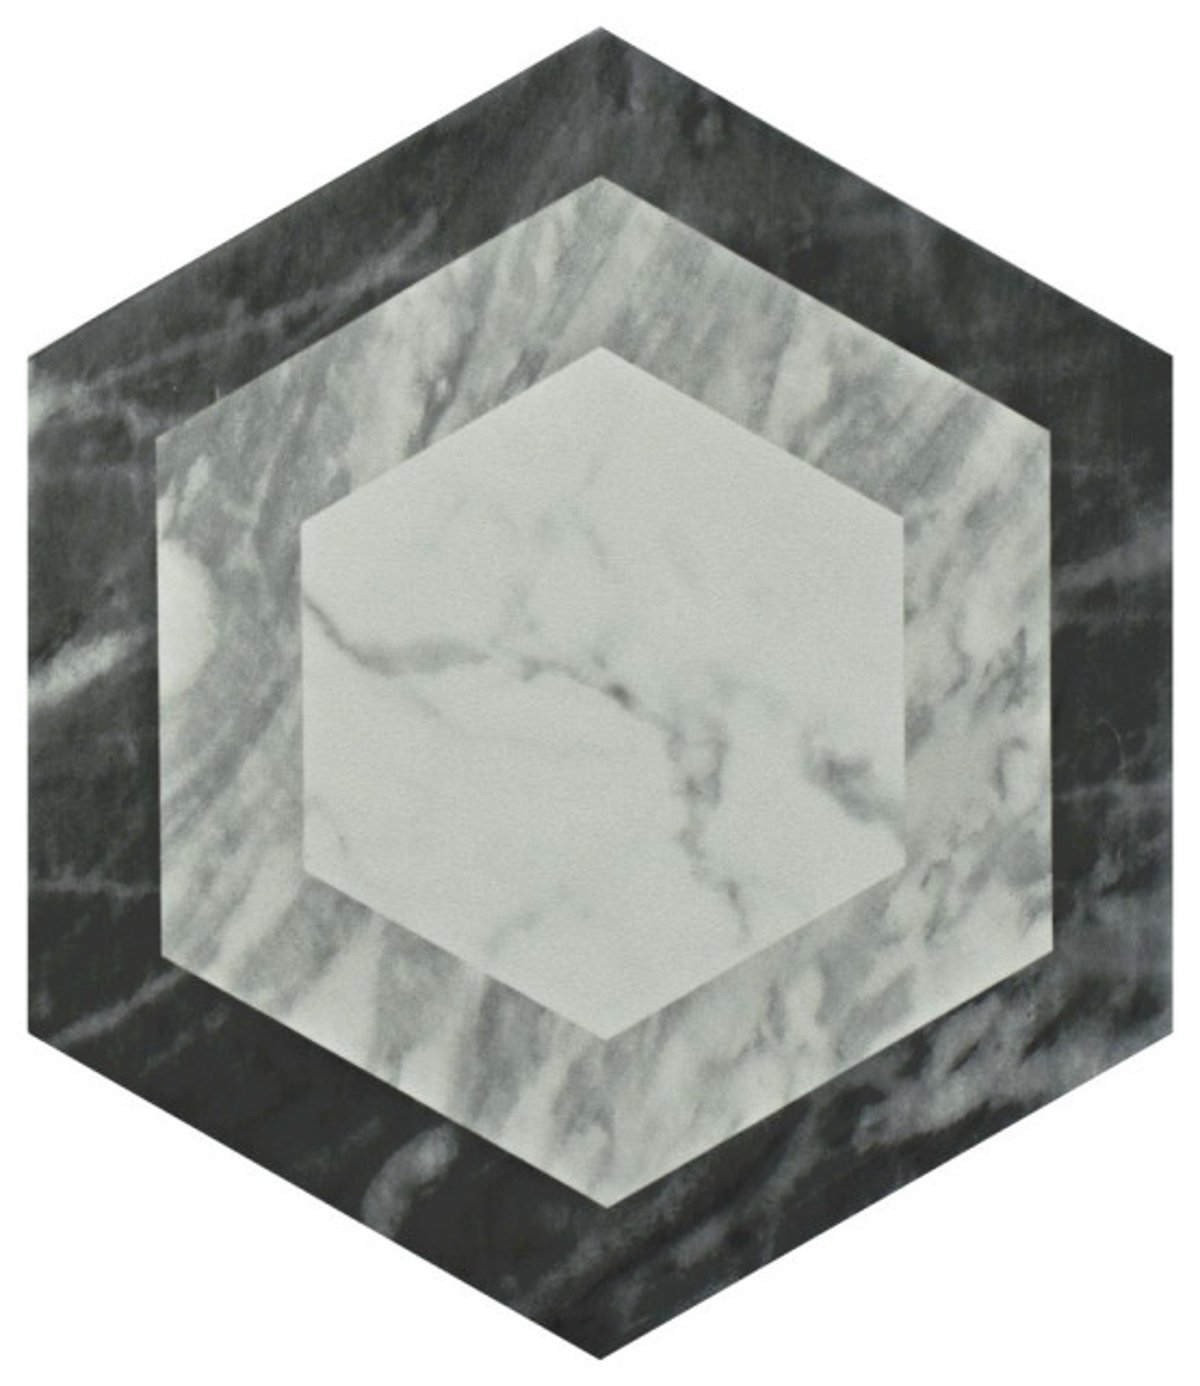
 Understanding the Artistry Behind Classico Bardiglio Hexagon Tiles
 Wall & Floor Tiles
 Understanding the Artistry Behind Saint Germain Chaud Deco Simone Porcelain Tiles
 Wall & Floor Tiles
 Choosing the right quarry dark gray peel and stick floor tiles for your space
 Wall & Floor Tiles
 Choosing the Right Cement Tile for Your Space and Style
 Wall & Floor Tiles
 Exploring the Versatility of Llama Stella Loire's Noce Silver Porcelain Tile for Interior Spaces
 Wall & Floor Tiles