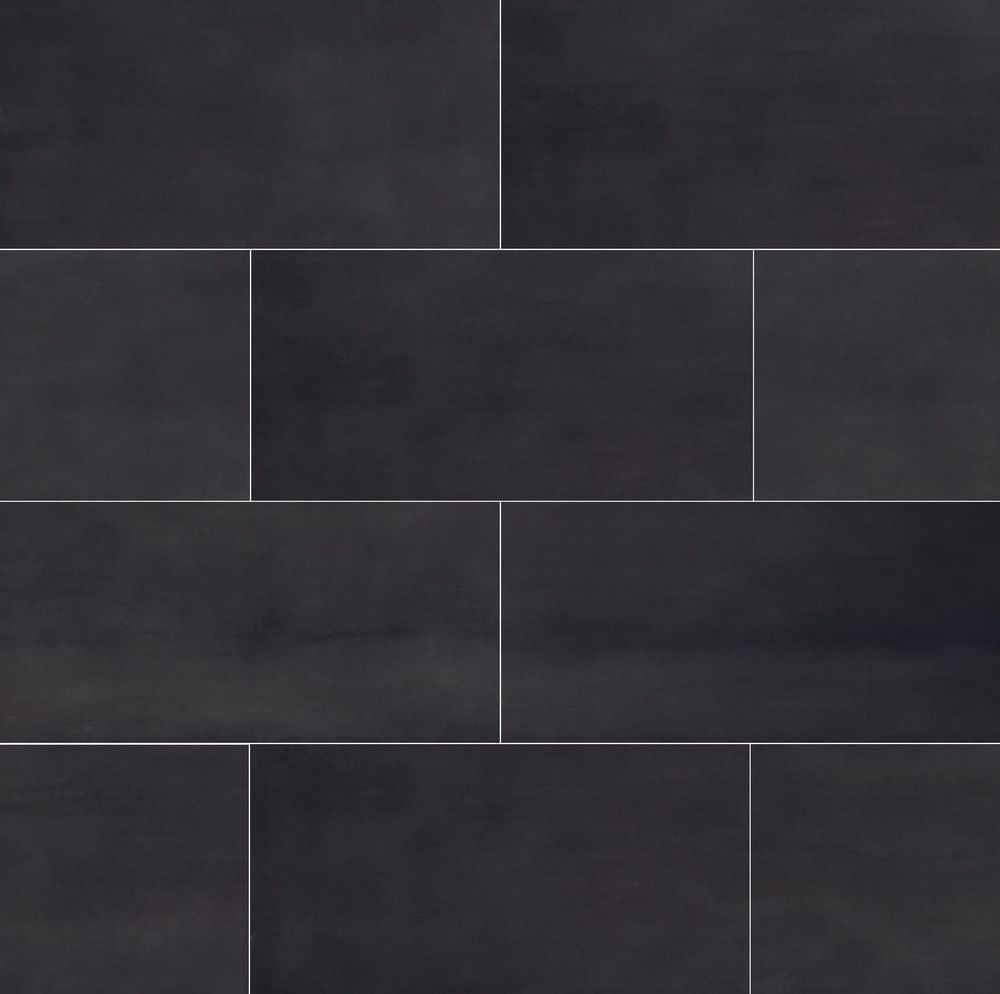
Black porcelain tile. It's bold, it's sophisticated, and it can truly transform a space. But let's be honest, when it comes to installing and keeping it looking its best, there can be a few questions. You want that seamless, dramatic effect, right? Well, you've come to the right place. We're diving deep into everything you need to know, from the initial preparation to the ongoing care that keeps your black beauty gleaming for years to come.
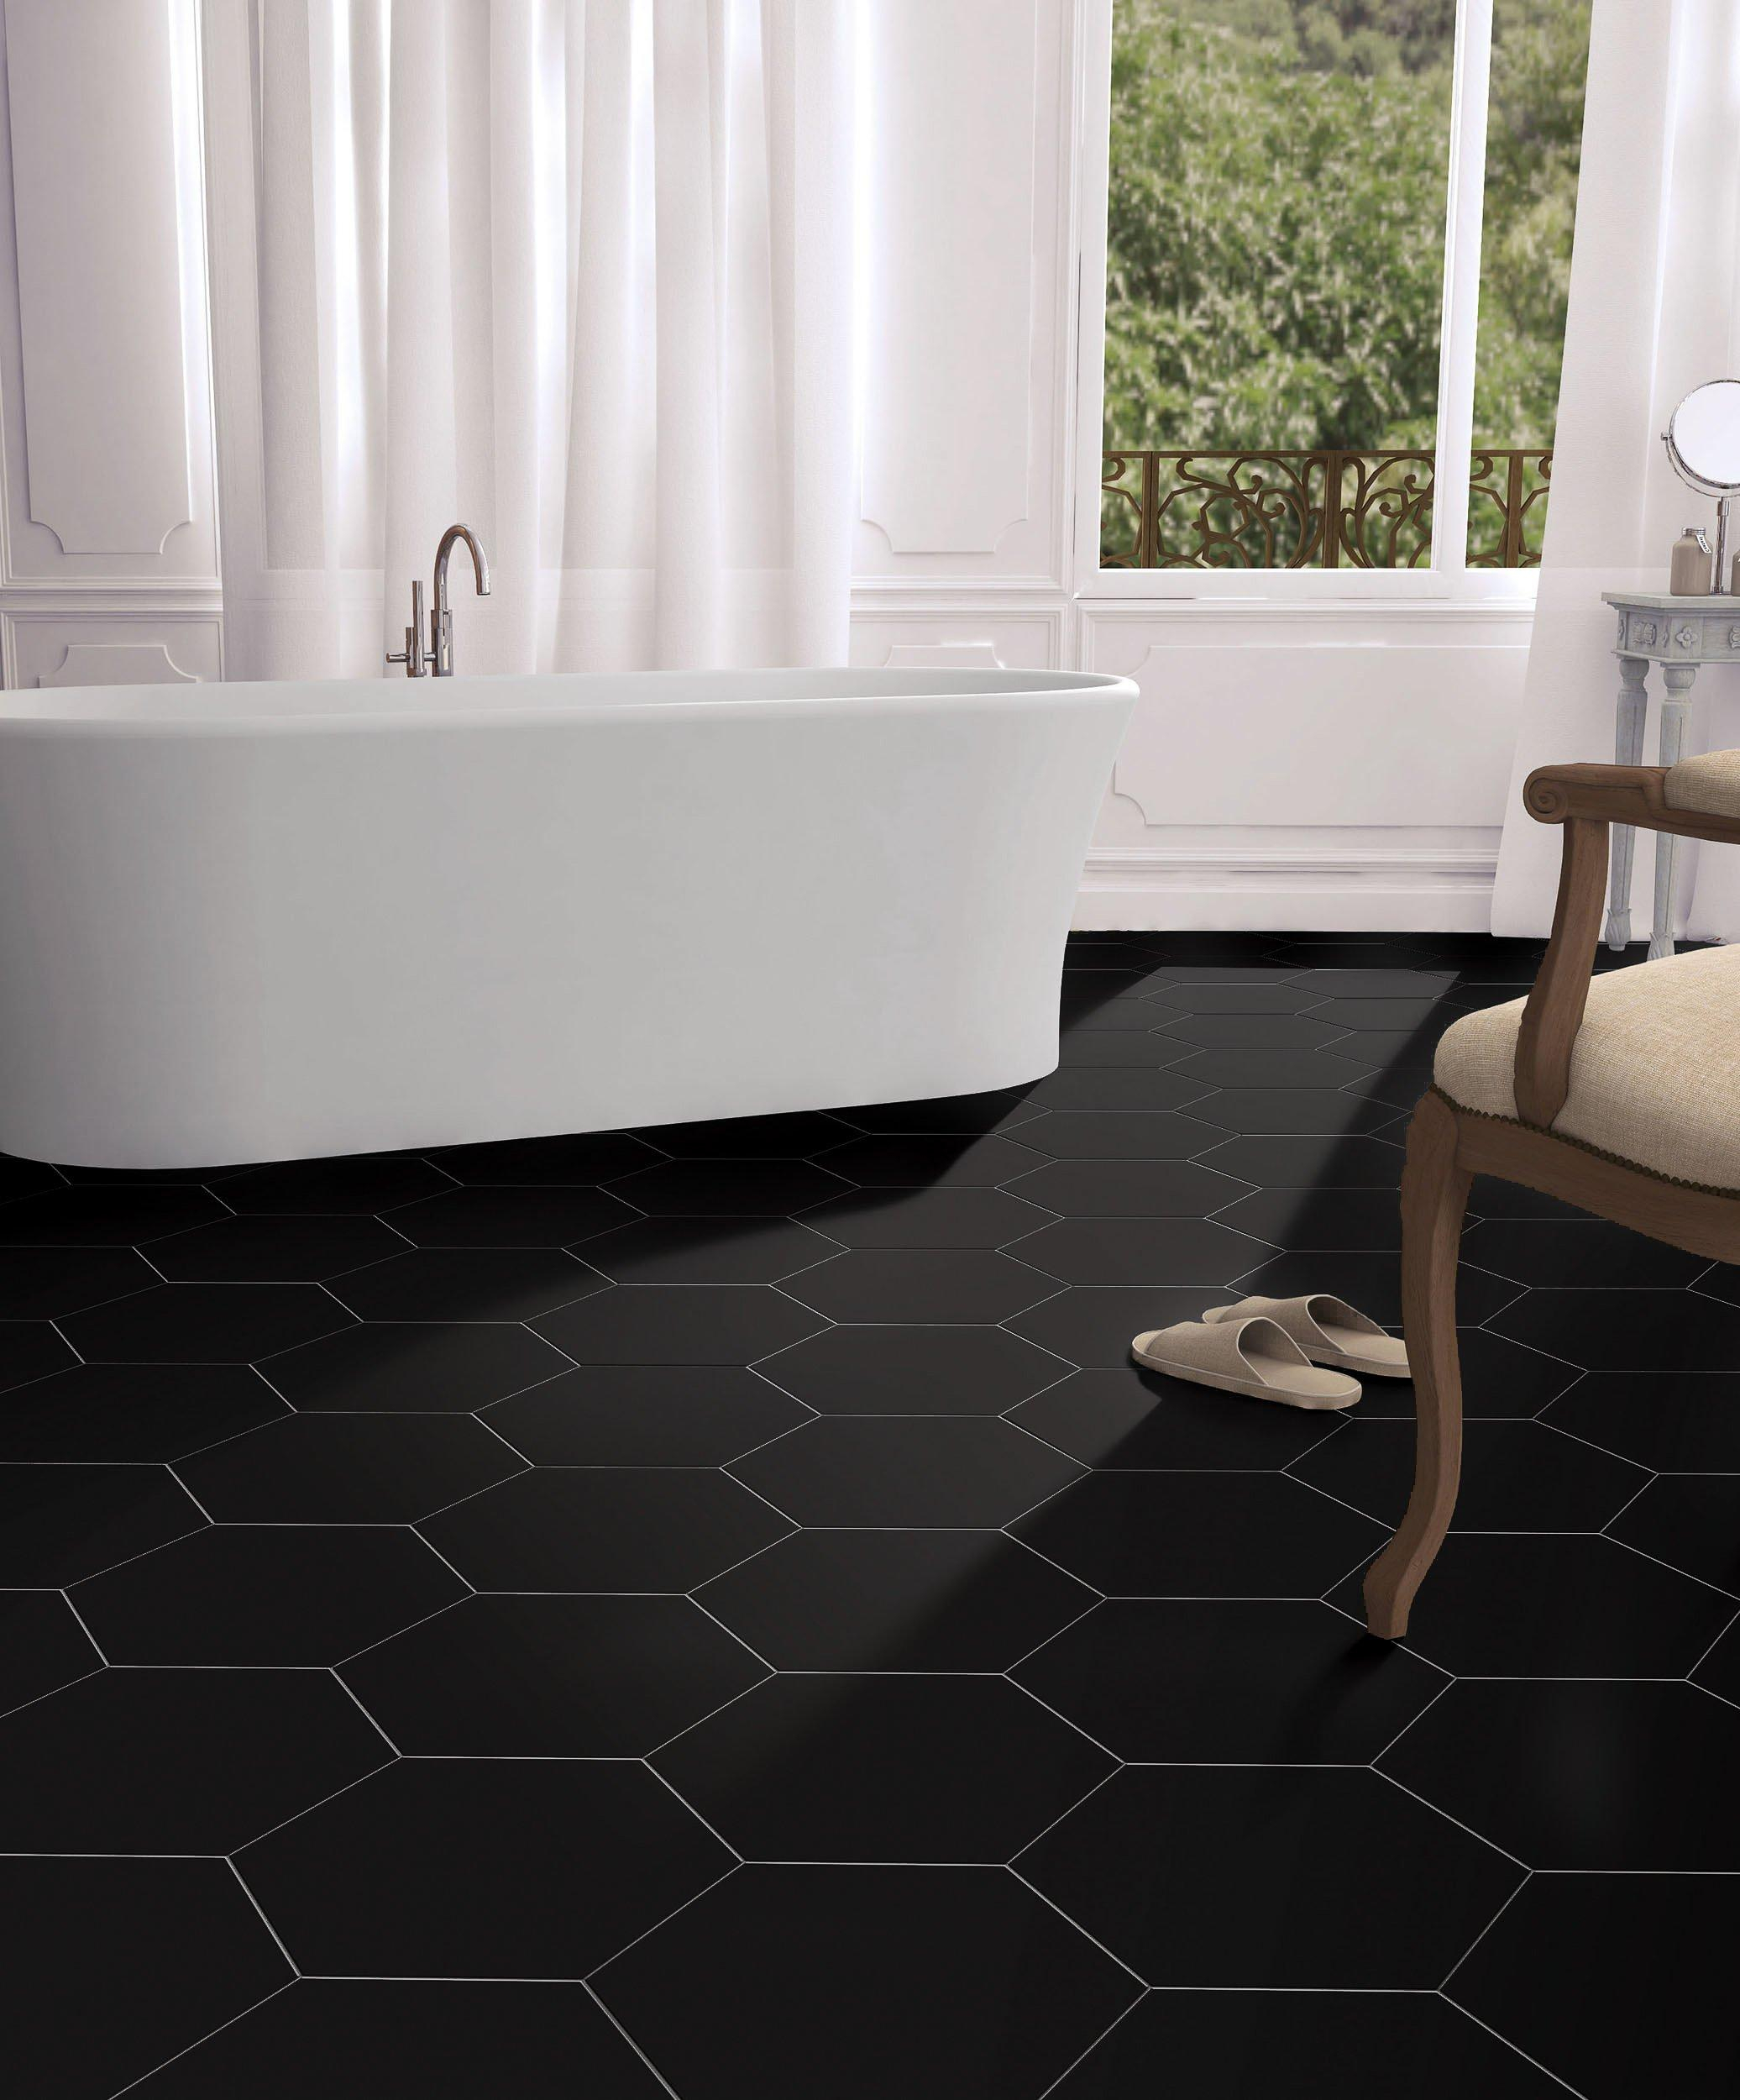
There's something undeniably captivating about black porcelain tile. It offers a timeless sense of luxury and a striking contrast that can anchor any design. Whether you're aiming for a sleek, modern bathroom, a dramatic kitchen backsplash, or a chic living room floor, black porcelain delivers. But its allure comes with a need for careful consideration during installation and a specific approach to care. Get these right, and you’ll be rewarded with a finish that’s not just beautiful, but also incredibly durable and easy to maintain. Let's get started on making your black porcelain tile vision a reality.
Preparation is Paramount: Setting the Stage for Success
Before a single tile hits the floor or wall, proper preparation is non-negotiable. Think of it as the foundation for your masterpiece. First, ensure your subfloor or wall surface is clean, dry, and absolutely level. Any bumps or dips will show through, especially with a dark, uniform color like black. You'll want to sweep, vacuum, and even give it a good wipe-down to remove dust and debris. If you're working on concrete, check for any curing compounds or sealers that might prevent your adhesive from bonding properly. For wood subfloors, make sure they are structurally sound and properly braced to prevent flexing, which can lead to cracked grout or tiles down the line. Using a self-leveling compound can be a lifesaver here if your surface isn't perfectly flat. This step might seem tedious, but trust me, it saves a world of headaches later on.
Choosing the Right Adhesive and Grout
Now, let's talk about what holds it all together. For black porcelain tile, selecting the right adhesive (thin-set mortar) is crucial. Look for a high-quality, polymer-modified thin-set that's specifically recommended for porcelain tiles and suitable for your subfloor type. A good adhesive ensures a strong bond and prevents issues like tile lippage (where one tile edge is higher than another). And when it comes to grout, this is where you can really make a statement. While white grout can look striking against black tile, it's also notoriously difficult to keep clean. Consider a darker grout color, like a charcoal gray or even a black grout. This not only complements the tile but also masks dirt and stains much more effectively, making your life considerably easier. Always test a small area with your chosen grout to ensure you like the final look and that it doesn't stain the tile.
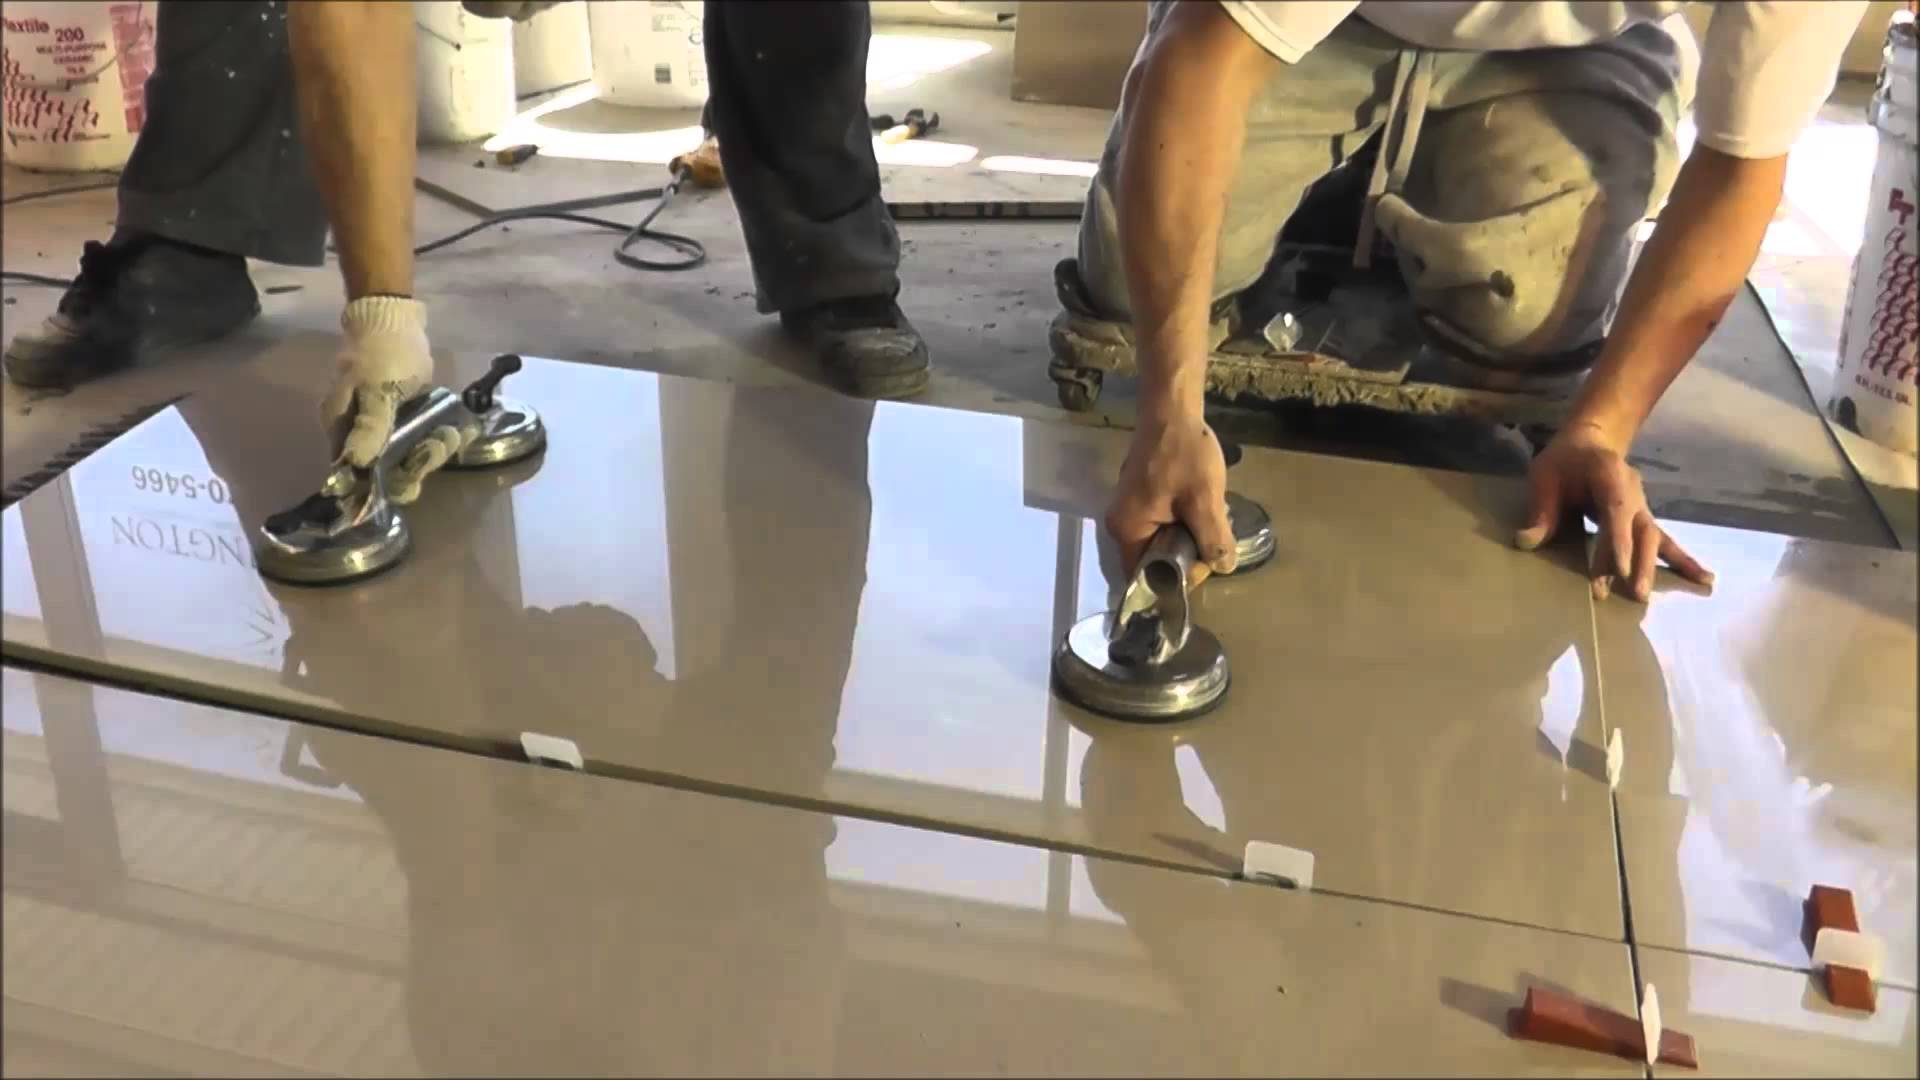
The Installation Process: Precision and Patience
When you're ready to lay the tiles, start by dry-fitting a few to plan your layout and ensure the most visually appealing pattern, especially around edges and fixtures. Use a notched trowel to spread the thin-set evenly, creating consistent ridges. Hold the trowel at a 45-degree angle for the best coverage. Press each tile firmly into the mortar with a slight twisting motion to ensure good contact and eliminate air pockets. Use tile spacers to maintain uniform grout lines – consistency here is key to a professional finish. Regularly check that your tiles are level and in alignment using a level and by looking down the lines. Don't forget to clean off any excess mortar or grout from the tile surface as you go; dried-on messes are much harder to remove later. Cutting tiles requires a wet saw for clean, precise edges, especially for intricate cuts around corners or outlets. Take your time with these cuts.
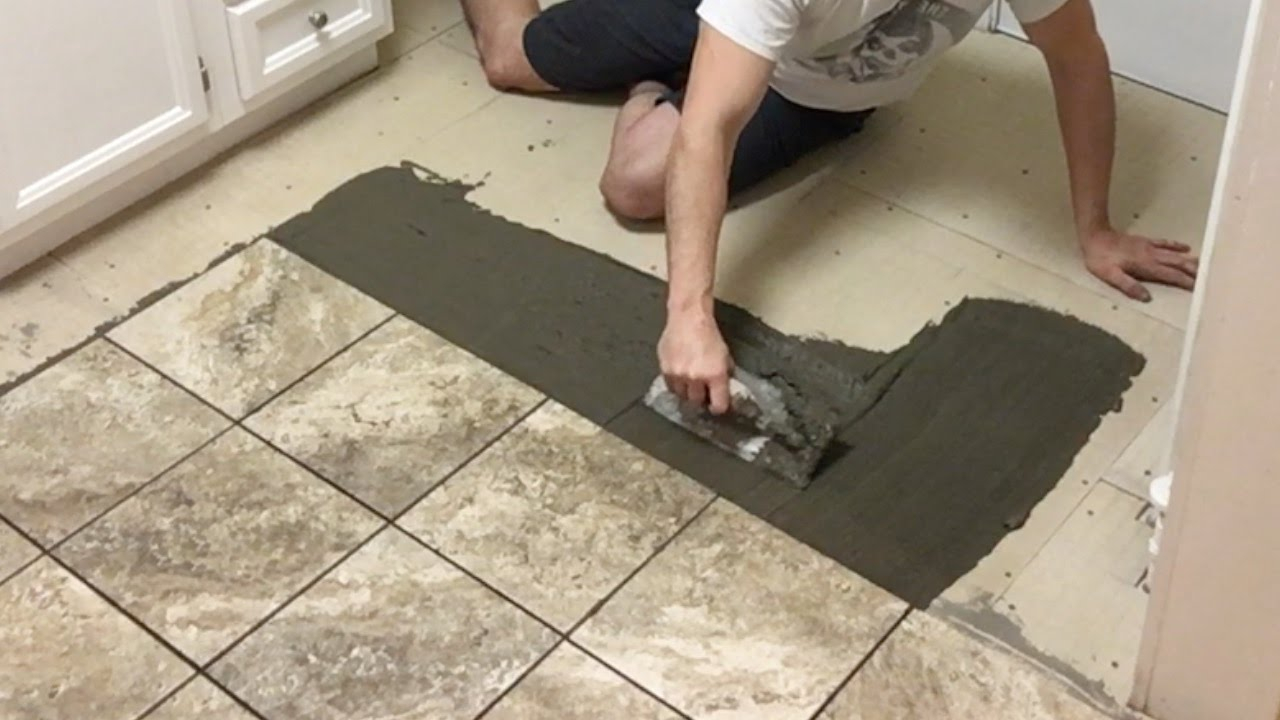
Grouting and Sealing: The Finishing Touches
Once the adhesive has cured according to the manufacturer's instructions (usually 24-48 hours), it's time to grout. Mix the grout to a smooth, peanut-butter-like consistency. Use a grout float to press the grout into the joints, working diagonally across the tiles to ensure the lines are completely filled. Scrape off excess grout with the float. After about 15-30 minutes (depending on humidity and temperature), when the grout starts to haze over, use a damp grout sponge to gently clean the tile surface. Rinse the sponge frequently in clean water. For black porcelain tile, especially if you opted for lighter grout, this cleaning step is critical to avoid staining. Once the grout has fully cured (again, check the product's recommendations), consider applying a grout sealer. While porcelain itself is non-porous, grout lines can absorb stains. A good quality sealer will protect those grout lines and make future cleaning a breeze. Choose a sealer that won't alter the color of your grout too drastically.
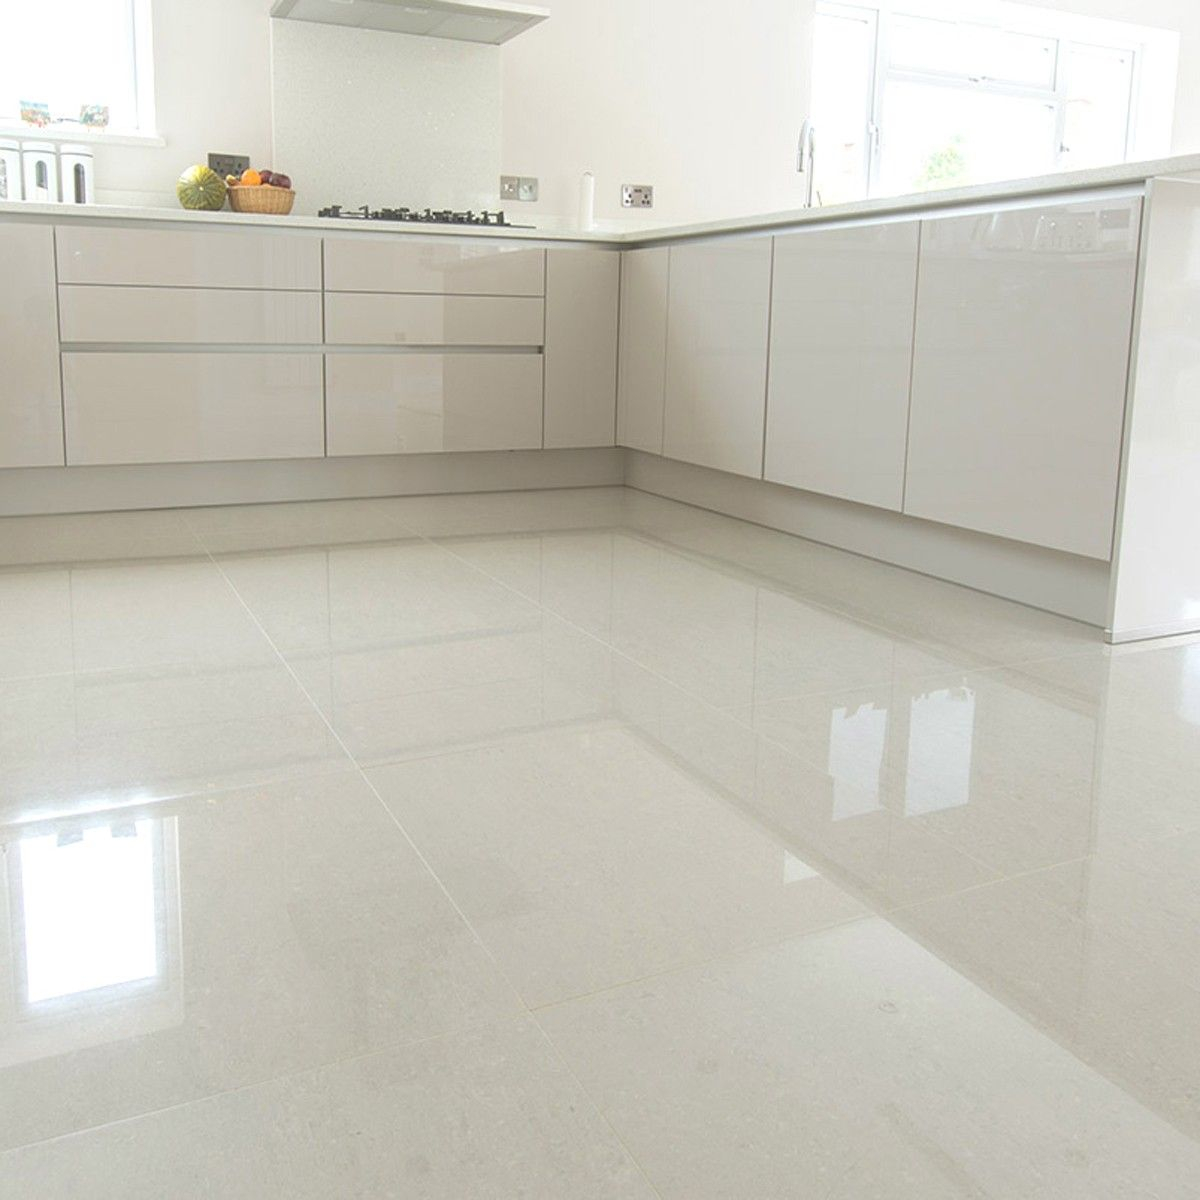
Caring for Your Black Porcelain Tile: Keeping it Pristine
The beauty of porcelain tile is its low maintenance, but black tile requires a slightly more attentive approach to truly shine. Regular sweeping or vacuuming with a soft brush attachment will remove grit that can scratch the surface over time. For cleaning, a damp mop with a pH-neutral cleaner is your best friend. Avoid harsh chemicals, abrasive cleaners, or bleach, as these can dull the finish or even damage the grout. Think gentle and consistent. For stubborn spots, a mild dish soap mixed with warm water usually does the trick. Always rinse the floor thoroughly after cleaning to remove any residue that could attract dirt. Pay special attention to high-traffic areas and entryways; placing mats both inside and outside doors can significantly reduce the amount of dirt and debris tracked onto your beautiful black tiles.
Troubleshooting Common Issues
Even with the best intentions, you might run into a hiccup or two. One common issue with dark tiles is showing water spots or streaks after cleaning. This is usually due to using too much water or a cleaner that leaves residue. Stick to a damp mop and a good quality, residue-free cleaner. If you notice grout discoloration, it might be time for a deeper clean or reapplication of your grout sealer. For scuffs or minor scratches, sometimes a specialized tile cleaner or even a magic eraser (used very gently and tested in an inconspicuous spot first) can help. If you experience chipped tiles, it's usually due to impact from a heavy object. Having a few extra tiles on hand from the original batch is always a good idea for easy replacement should something happen.
Installing and caring for black porcelain tile is a rewarding endeavor. By focusing on meticulous preparation, choosing the right materials, and adopting a consistent, gentle cleaning routine, you can ensure your tiles look as stunning today as they did the day they were laid. Embrace the drama and elegance that black porcelain brings to your home. With this guide, you're well-equipped to achieve a flawless finish and enjoy its enduring beauty for years to come. Happy tiling and happy cleaning.