Ever walked into a room and just felt... 'wow'? Often, that feeling comes from the subtle, yet powerful, impact of well-chosen and expertly installed wall finishes. Aroas Arena ceramic tile offers a fantastic blend of durability, beauty, and versatility, making it a stellar choice for sprucing up any interior. But how do you get that 'wow' factor without the 'whew, that was hard' feeling? It's simpler than you might think. We're going to break down the process, step by step, so you can achieve those stunning walls you've been dreaming of.
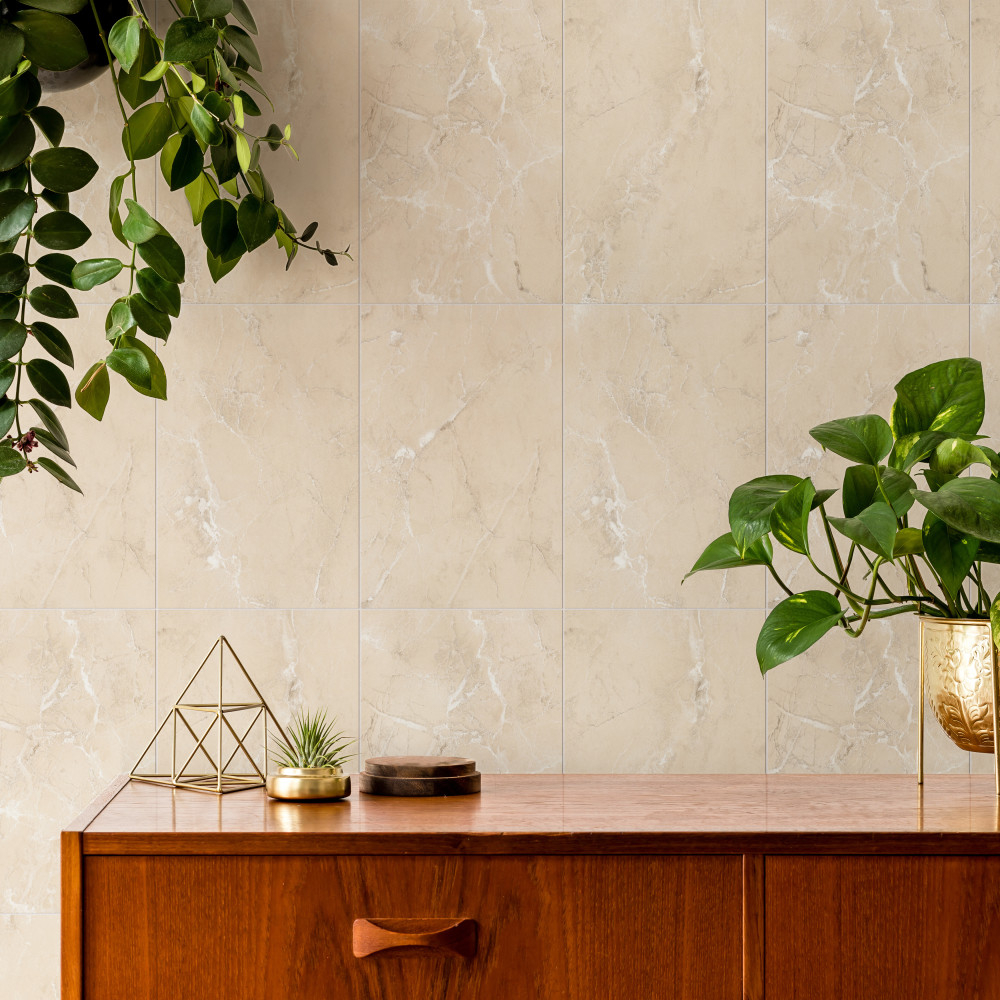
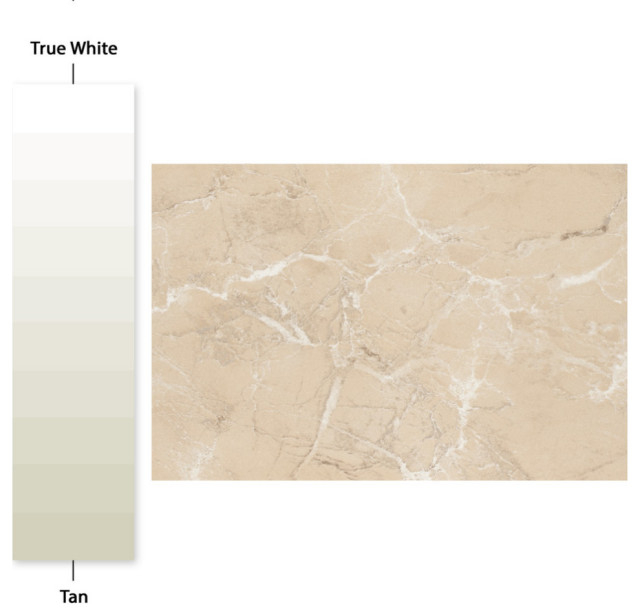
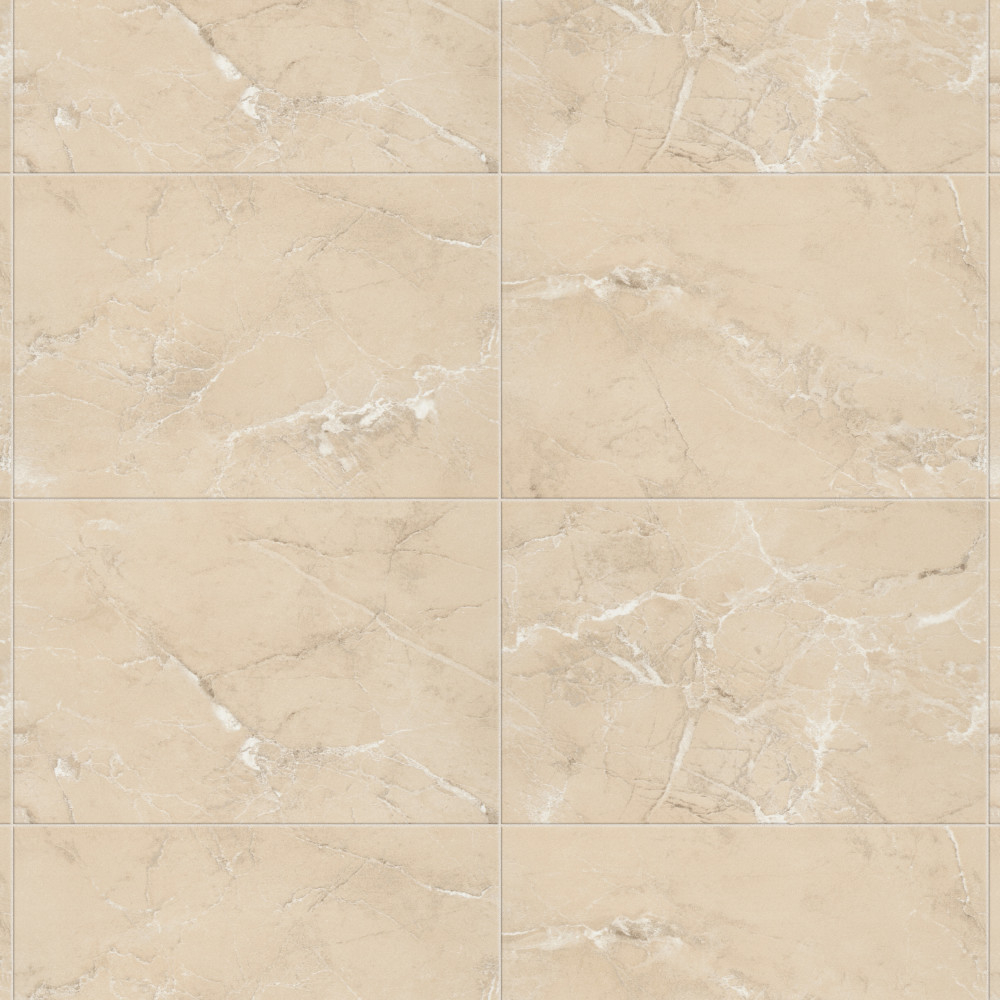
Before we dive into the nitty-gritty of installation, let's chat for a moment about why Aroas Arena ceramic tile is such a popular pick. It's not just about good looks, though it certainly has those in spades. These tiles are known for their resilience, making them perfect for high-traffic areas like kitchens and bathrooms. They're also incredibly easy to keep clean, which is a huge bonus for busy households. And let's not forget the aesthetic appeal – the subtle textures and natural tones of the Arena line can complement almost any decor, from modern minimalist to cozy rustic. It's a choice that speaks to both practicality and pizzazz, a real win-win, wouldn't you say?
Gathering Your Arsenal: What You'll Need
You wouldn't start a road trip without packing, right? Same goes for a tile project. Having all your tools and materials ready before you begin saves a ton of headaches and trips to the hardware store. Here’s a rundown of your essential kit:
- Aroas Arena Ceramic Tiles: Of course! Make sure you get about 10-15% extra for cuts, mistakes, and future repairs. Trust me, you'll thank yourself later.
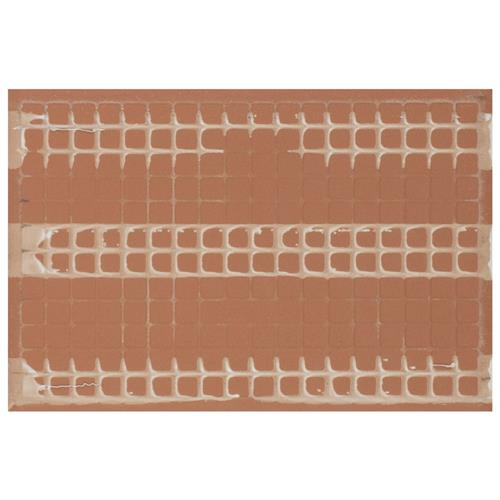
- Tile Adhesive (Thin-Set Mortar): Choose one suitable for ceramic tiles and your specific wall surface. There are different types for different needs, like rapid-set or those designed for large format tiles.
- Notched Trowel: The size of the notches depends on your tile size. Bigger tiles need bigger notches for proper adhesive coverage.
- Tile Spacers: These little plastic crosses ensure consistent grout lines. Don't skip them!
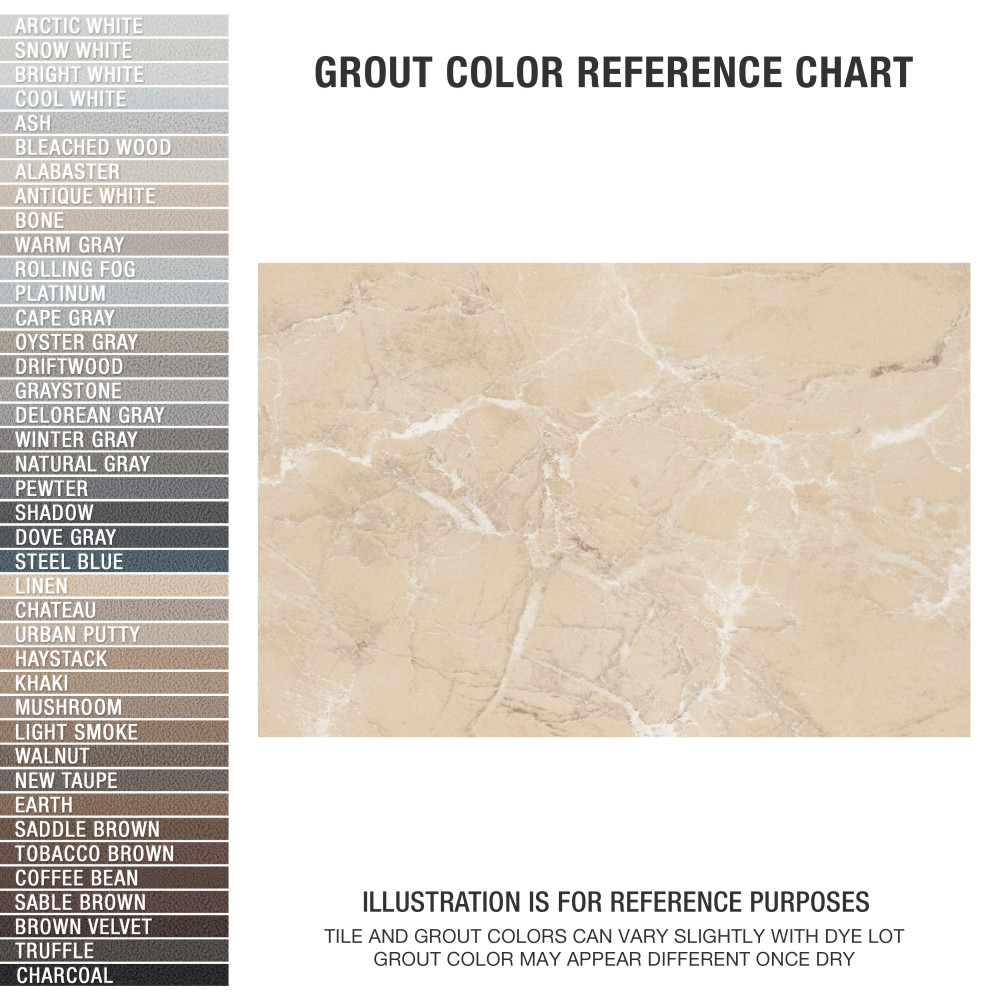
- Grout: Pick a color that complements your tiles and overall design. Sanded grout for wider lines, unsanded for narrower ones.
- Grout Float: For applying grout.
- Large Sponge and Two Buckets: For cleaning grout haze. One for rinsing, one for clean water.
- Measuring Tape and Pencil: Essential for accurate layouts.
- Level: To ensure your lines are perfectly straight and plumb.
- Tile Cutter or Wet Saw: A manual cutter works for straight cuts, but a wet saw is best for precision and more complex cuts.
- Safety Glasses and Gloves: Always protect your eyes and hands!
- Utility Knife or Scraper: For prep work and cleaning up.
- Clean Cloths: For wiping down surfaces.
The Foundation: Prepping Your Walls
Think of your wall prep as laying the groundwork for a masterpiece. A smooth, clean, and stable surface is absolutely crucial for a lasting and beautiful tile job. Skimp on this step, and you might find your tiles slipping or popping off later. Not fun, is it?
First things first, make sure your wall is structurally sound and free of any loose paint, wallpaper, or plaster. If you have wallpaper, it needs to come off completely. For painted walls, a light sanding can help the adhesive bond better. Fill any holes or cracks with patching compound and let it dry thoroughly. The wall should be as flat as possible. Even small bumps can cause issues. If you're tiling in a wet area like a shower, you'll absolutely need to apply a waterproofing membrane. This is non-negotiable for preventing water damage down the line. Finally, give the wall a good wipe down to remove dust and debris. A clean surface is a happy surface for tile adhesive.
Mapping It Out: The Layout is Key
This is where planning truly pays off. A good layout can save you from awkward cuts and a visually unappealing finish. Don't just start sticking tiles willy-nilly from a corner! That's a recipe for disaster.
Start by finding the center of your wall. Use your level to draw a plumb (vertical) line and a level (horizontal) line. This creates a crosshairs. Now, dry-lay some tiles along these lines, using your spacers, to see how they fit and where your cuts will fall. The goal is to avoid tiny slivers of tile at the ends or in corners, which look messy and are hard to cut. You want your cuts to be as even as possible on both sides of the wall. Sometimes, it's better to start from the center and work outwards, or adjust your starting point slightly to ensure larger, more manageable cuts at the edges. Take your time with this step; it's the blueprint for your entire project.
The Stick-Up: Applying Tile and Adhesive
Okay, now for the fun part – actually setting the tiles! Mix your thin-set mortar according to the manufacturer's instructions. Consistency is key here; you want it to be like peanut butter, not too runny, not too stiff. Apply the adhesive to the wall using your notched trowel. Don't spread too much at once, maybe an area of 2-3 square feet, as it can start to skin over before you get your tiles down. Hold the trowel at a 45-degree angle to create even ridges. These ridges are crucial for proper adhesion and to allow air to escape.
Press each tile firmly into the adhesive with a slight twisting motion. This helps to 'seat' the tile and ensure full coverage. Insert your tile spacers between each tile as you go. Periodically check your work with the level to make sure your tiles are plumb and level. It's much easier to adjust a tile now than after the adhesive has set! Wipe any excess adhesive off the tile faces and out of the grout lines immediately with a damp cloth. Once you've tiled the entire wall, or a significant section, let the adhesive cure for at least 24 hours, or as recommended by the manufacturer, before moving on to grouting. Patience is a virtue in tiling.
The Finishing Touch: Grouting for Perfection
Grout is what really brings your tiled wall together and protects the edges of your tiles. Make sure all your spacers are removed and any excess adhesive is cleaned out of the grout lines before you start. Mix your grout according to the package directions – again, aiming for that peanut butter consistency. It's often better to mix smaller batches, as grout can set quickly.
Using your grout float, apply the grout diagonally across the tile faces, pressing it firmly into the grout lines. The diagonal motion helps to force the grout deep into the joints. Work in small sections. Once you've applied a section, clean off the excess grout from the tile faces using the edge of your float. After about 10-20 minutes (or when the grout starts to firm up a bit), use a damp (not soaking wet!) sponge to wipe down the tiles in a circular motion, removing any remaining grout haze and shaping the grout lines. Rinse your sponge frequently in one bucket and then clean it in the second bucket of fresh water. You'll probably need to do several passes. Don't use too much water, as this can weaken the grout. Let the grout cure for the recommended time, usually 24-72 hours, before exposing it to heavy moisture. You might notice a slight haze appear as the grout dries; this is normal and can be buffed off with a clean, dry cloth a day or so later.
Maintaining Your Masterpiece
Congratulations, you've created a stunning wall with Aroas Arena ceramic tiles! Now, how do you keep it looking fantastic for years to come? It's really quite simple. Regular cleaning with a mild, non-abrasive cleaner and a soft cloth or sponge is usually all that's needed. Avoid harsh chemicals or abrasive scrubbers, as these can damage the grout or the tile's finish. For grout lines, a nylon brush can help dislodge any grime. In wet areas, consider applying a grout sealer after the grout has fully cured. This adds an extra layer of protection against moisture and stains, making cleaning even easier. With a little care, your Aroas Arena tiled wall will continue to be a source of pride and beauty in your home.
So there you have it – the path to mastering Aroas Arena ceramic tile for truly stunning walls. It might seem like a lot of steps, but each one is a building block to a professional, durable, and beautiful result. Remember, patience is your best friend, and good preparation is half the battle. Don't be afraid to take your time, double-check your measurements, and enjoy the process. There’s a unique satisfaction that comes from transforming a space with your own hands. Go on, grab those tiles, and let your walls tell a new story of style and elegance!