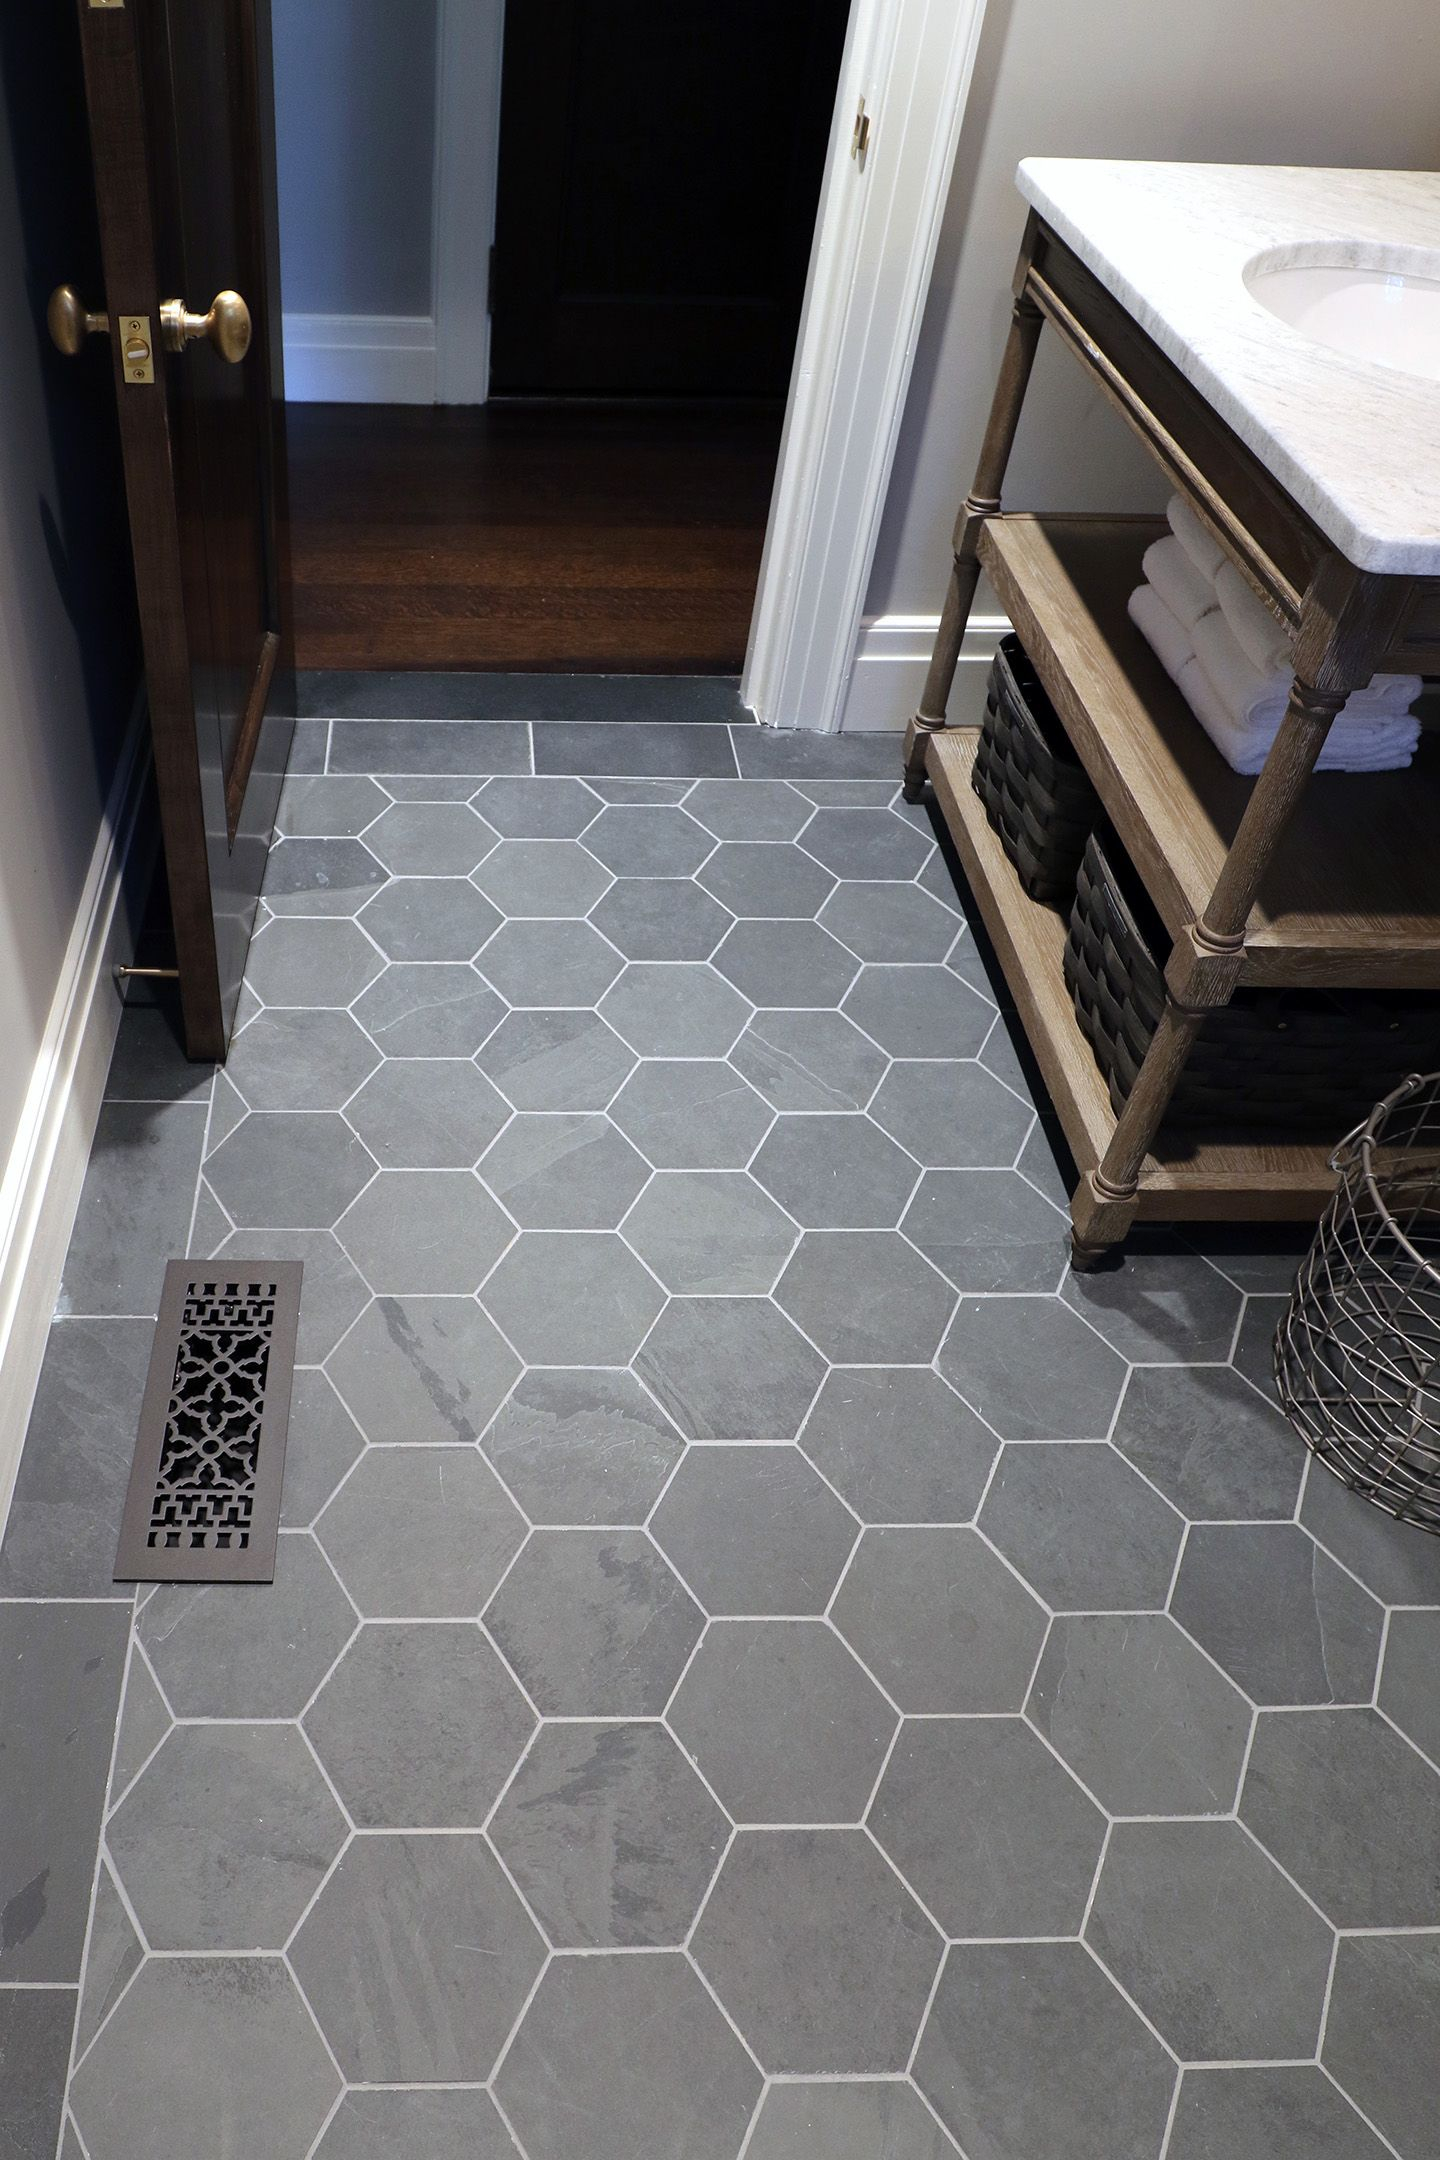
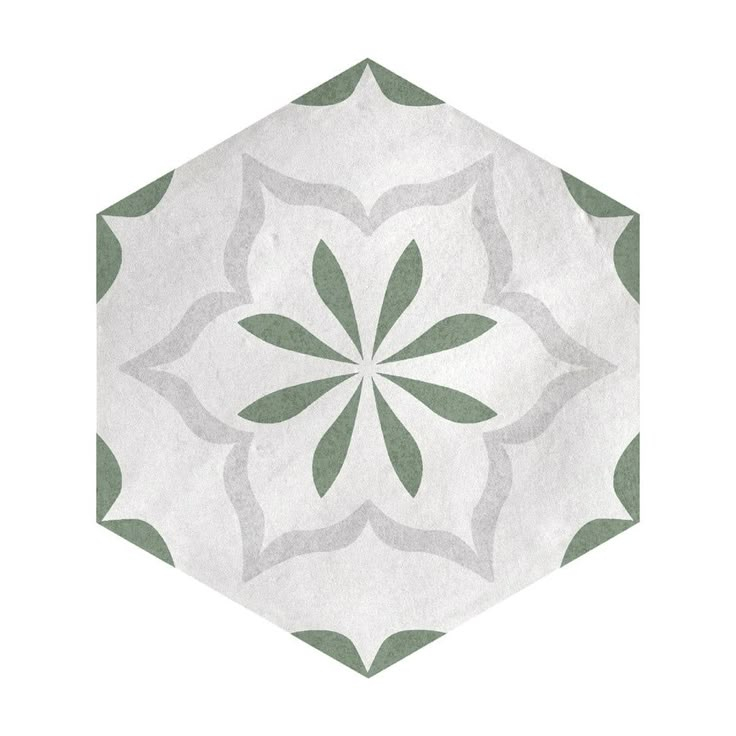
You know, there's something truly special about the humble tile. It's not just a covering for your floor or wall; it's a statement, a design choice that speaks volumes about a space. And when we talk about hex grey porcelain tiles, we're stepping into a realm of modern elegance and a touch of geometric flair. It's not just about slapping some tiles down; it's about crafting an experience, a visual symphony that resonates with anyone who walks into the room. As someone who's spent years with trowel in hand, I can tell you, the devil is in the details, and with these beautiful hexagonal pieces, those details are what elevate a good job to an extraordinary one.
For many, tile installation might seem like a straightforward task: mix some thinset, stick the tiles, and you're done. But for those of us who live and breathe this craft, it's an intricate dance of preparation, precision, and patience. Especially when you're working with something as distinctive as hex grey porcelain tiles. Their unique shape and the inherent qualities of porcelain demand a different kind of finesse, a deeper understanding of materials and methods. This isn't just about laying tiles; it's about creating a lasting impression, a surface that's not only visually appealing but also incredibly durable and functional. Let's peel back the layers and explore what truly makes an expert installation.
Understanding Your Canvas: The Substrate is Key
Before you even think about mixing that first batch of thinset, you've got to scrutinize your substrate. This is foundational, literally. Whether it's concrete, plywood, or an existing tile surface, its condition dictates everything. Is it level. Is it clean and free of debris. Is it structurally sound. A wobbly or uneven base means a wobbly, uneven tile job, no matter how skilled you are. For concrete, we're looking for cracks or moisture issues. Plywood needs to be exterior-grade and properly secured to prevent movement. Think about it like building a house; you wouldn't start with a shaky foundation, would you. We often use self-leveling compounds for minor imperfections and sometimes, if the situation calls for it, a cement board underlayment is the best bet for stability and moisture resistance. This preparatory stage is where you prevent headaches down the line and ensure your hex tiles have the perfect stage to shine.
The Right Tools for the Right Job: Beyond the Basics
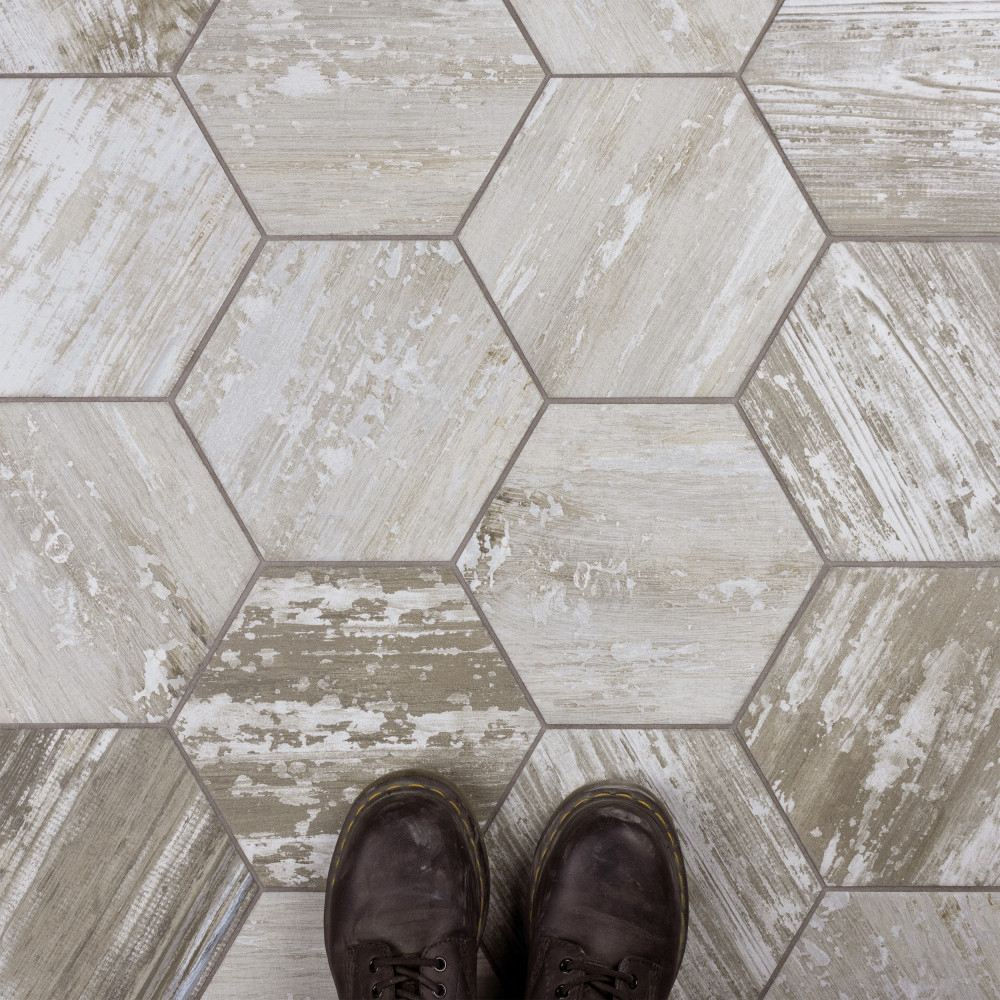
You can't paint a masterpiece with a broken brush, and the same goes for tiling. While everyone knows you need a trowel and a level, working with porcelain, especially the hexagonal kind, calls for some specialized gear. First off, a good quality wet saw with a diamond blade is non-negotiable for clean, precise cuts. Those 'points' on the hex tiles need to be sharp and perfect. You'll also want a rubber mallet for gently tapping tiles into place, ensuring full mortar coverage. Don't forget your margin trowel for mixing smaller batches of thinset and getting into those tighter spots. And here's a little pro tip: invest in a high-quality knee pad. Your knees will thank you after a long day of kneeling and working on the floor. It's not just about having the tools, but knowing how to wield them with expert precision.
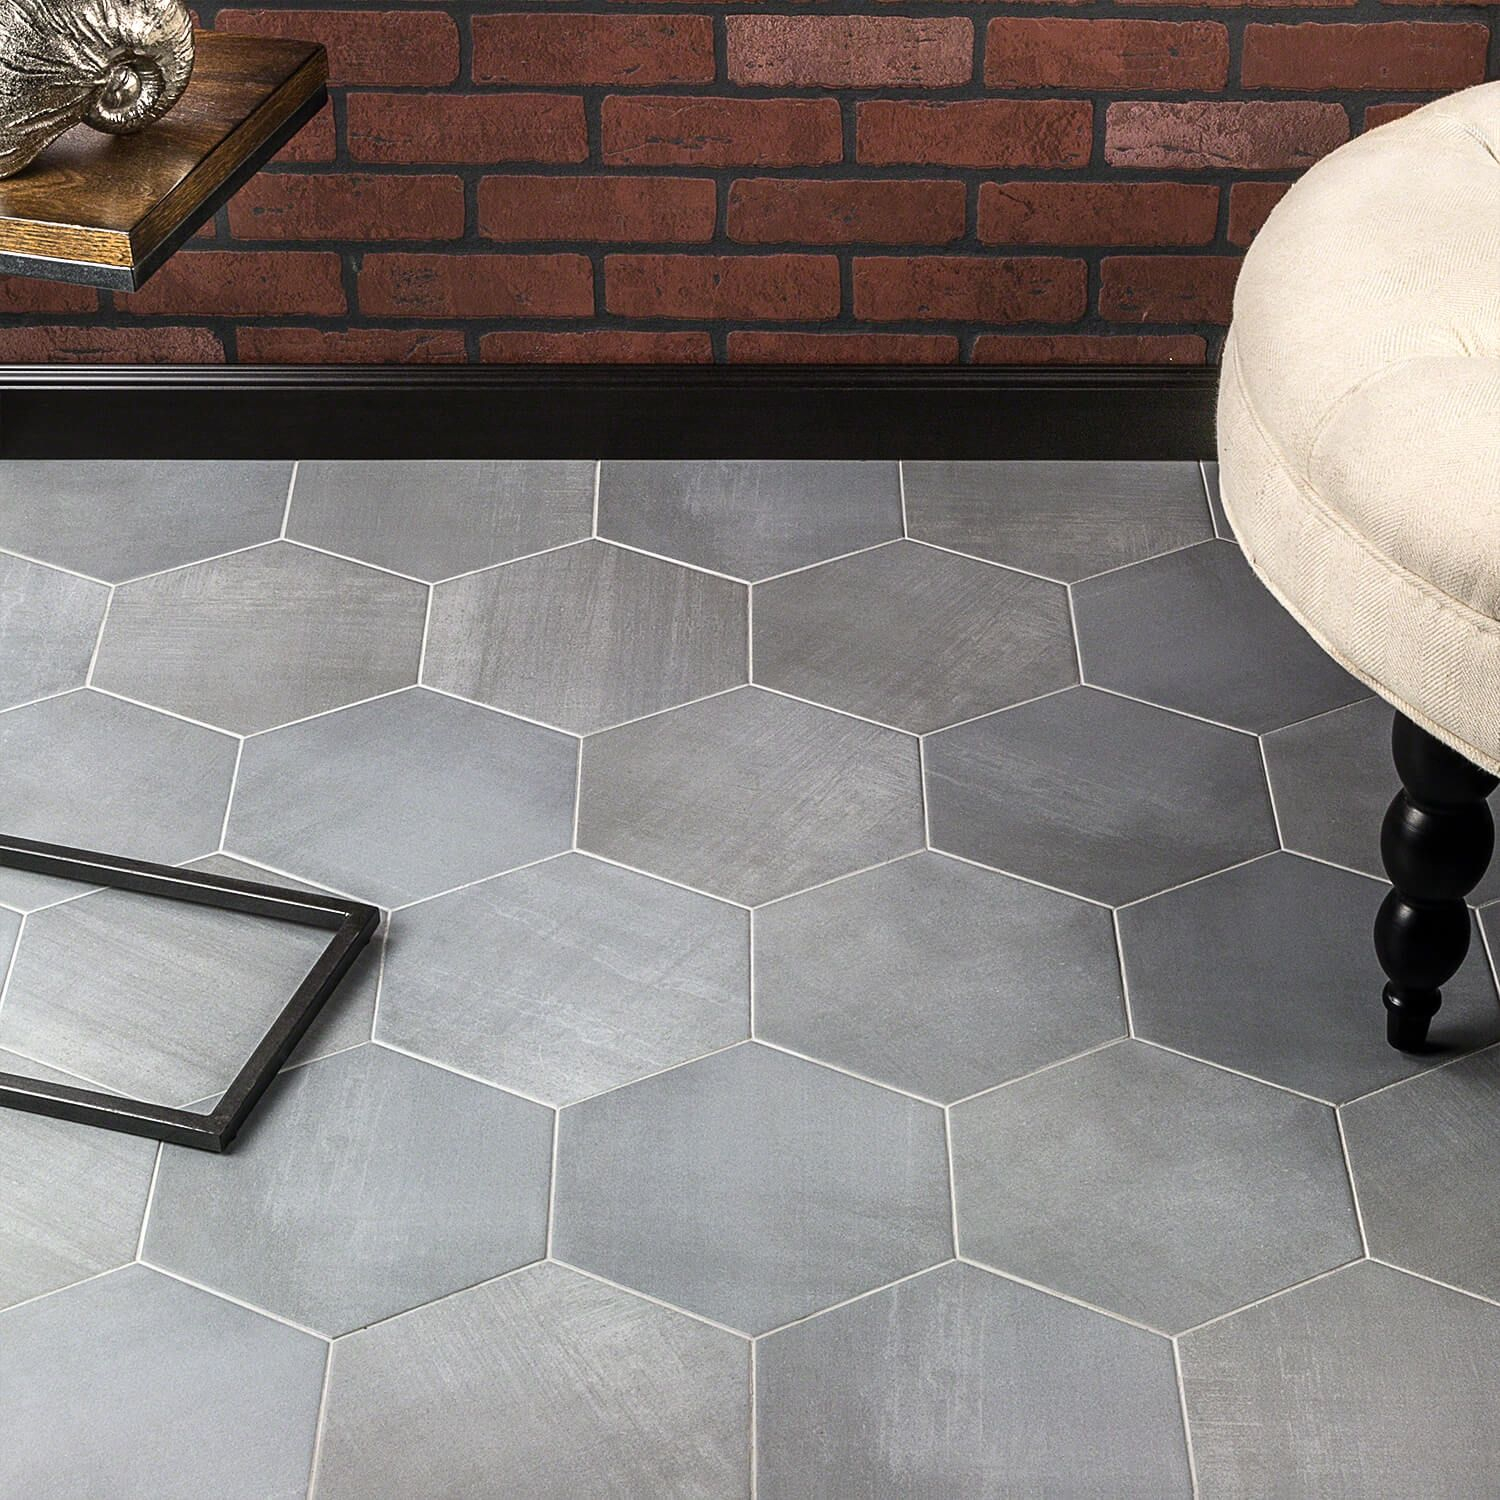
Layout Logic: The Art of the Hexagonal Grid
This is where the brainpower really kicks in. Hexagonal tiles, unlike squares or rectangles, present a unique challenge in terms of layout. You can't just start in a corner and expect it to look good. The key is finding your central starting point, often the most visible area of the room, and working your way out. We often snap chalk lines to establish a perfect 90-degree angle, then use a dry layout to see how the tiles will fall. This helps you anticipate cuts and minimize waste. Sometimes, if the room isn't perfectly square, you might need to 'cheat' a little, subtly adjusting your lines to make the cuts at the edges less noticeable. It's about creating a balanced, harmonious pattern that draws the eye in, rather than highlighting imperfections. This planning phase is crucial, and it's where the vision for the final installation truly comes alive.
Mixing Mortar and Spreading the Love: Precision in Application
The thinset, or mortar, is the glue holding your masterpiece together. For porcelain tiles, especially hex, you need a high-quality modified thinset that's flexible and has strong bonding properties. Mixing it to the right consistency is vital – too runny and it won't hold; too thick and it won't spread evenly. Think of it like making a perfect pancake batter. Once mixed, apply it to the substrate using the notched side of your trowel. The size of the notch depends on the tile size and the flatness of your substrate. For hex tiles, back-buttering each individual tile is often recommended, especially for larger ones, to ensure 100% coverage and prevent hollow spots. This sounds tedious, yes, but it ensures a strong bond and prevents future cracking. It's a small step that makes a huge difference in the longevity and integrity of your installation.
The Dance of Placement and Pressure: Setting the Hex
Now for the actual setting of the tiles. This is where your layout planning pays off. Carefully place each hex tile onto the wet mortar, twisting it slightly to ensure proper adhesion. Use a rubber mallet and a leveling system (if desired) to tap each tile into place, making sure it's perfectly flush with its neighbors. Check your level constantly, not just across individual tiles, but across several to ensure a perfectly flat surface. Squeeze-out (mortar coming up through the grout lines) is normal, but clean it immediately with a damp sponge. Leaving it to dry makes it a nightmare to remove. This stage requires a steady hand and an eye for detail, making sure each piece contributes to the overall geometric harmony. It's a rhythmic process, almost meditative, as you see your vision taking shape, one hex at a time.
Grouting and Finishing: The Final Flourish
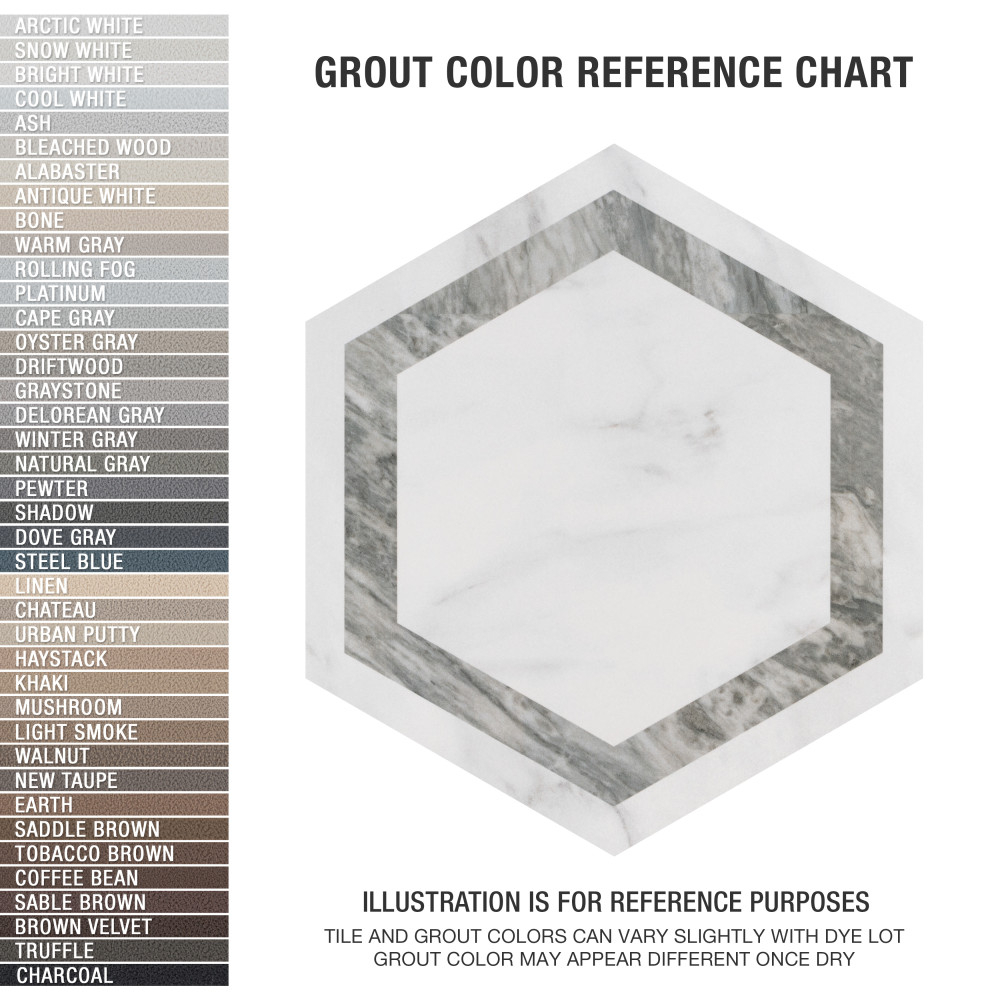
Once your tiles are set and the mortar has cured (usually 24-48 hours, depending on the product and conditions), it's time for grouting. Choosing the right grout color can dramatically alter the look of your hex tiles; a contrasting color will highlight the hexagonal pattern, while a matching one will create a more seamless appearance. Mix your grout according to the manufacturer's instructions, ensuring a smooth, consistent paste. Apply it generously with a rubber float, working it into all the grout lines, then remove the excess with the edge of the float. After a short 'haze' period, clean the tiles with a damp sponge, rinsing frequently. This is the moment when the whole picture comes together, and the true beauty of your hex grey porcelain tiles is revealed. Finally, consider sealing your grout for added protection against stains and moisture. It's the final flourish, the capstone on a job well done.
Installing hex grey porcelain tiles is more than just a construction project; it's an opportunity to create something truly beautiful and enduring. It demands respect for the materials, a keen eye for detail, and a commitment to precision at every step. From the initial substrate preparation to the final grout cleanup, each phase plays a vital role in the overall success and longevity of the installation. By embracing these expert techniques and approaching each project with a craftsman's mindset, you're not just laying tiles; you're elevating a space, transforming it into a testament to quality and design. So, the next time you look at a perfectly installed hex floor, remember the unseen artistry and dedication that went into making it truly shine. It's a craft that's both challenging and incredibly rewarding.