
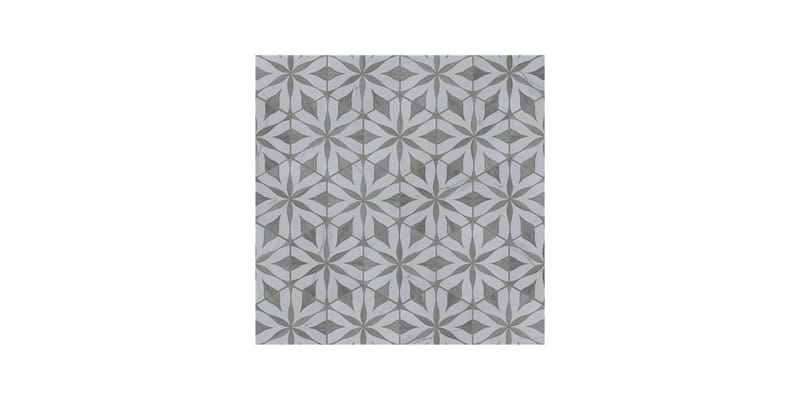
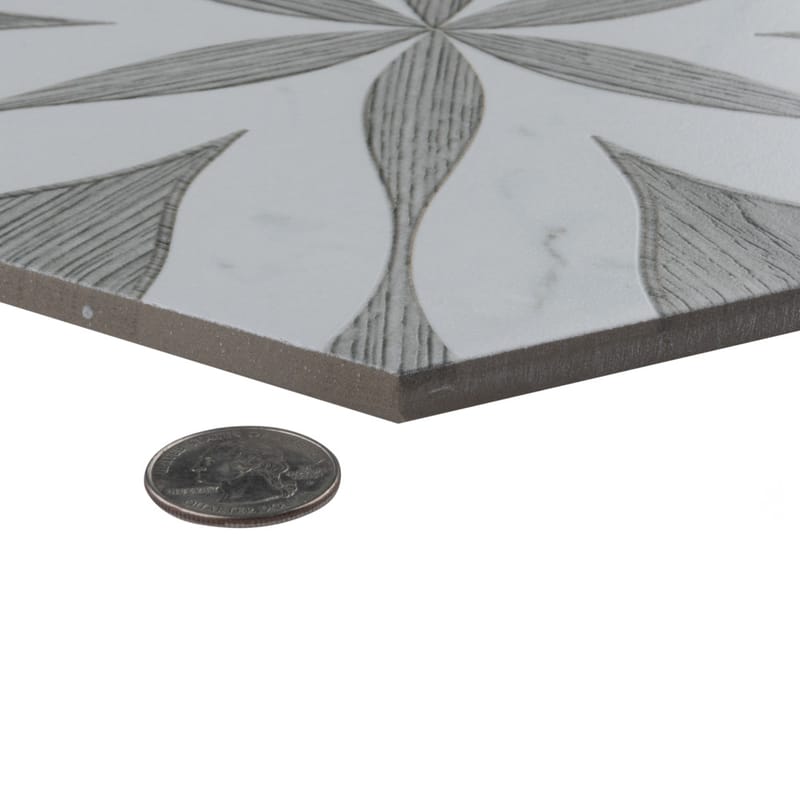
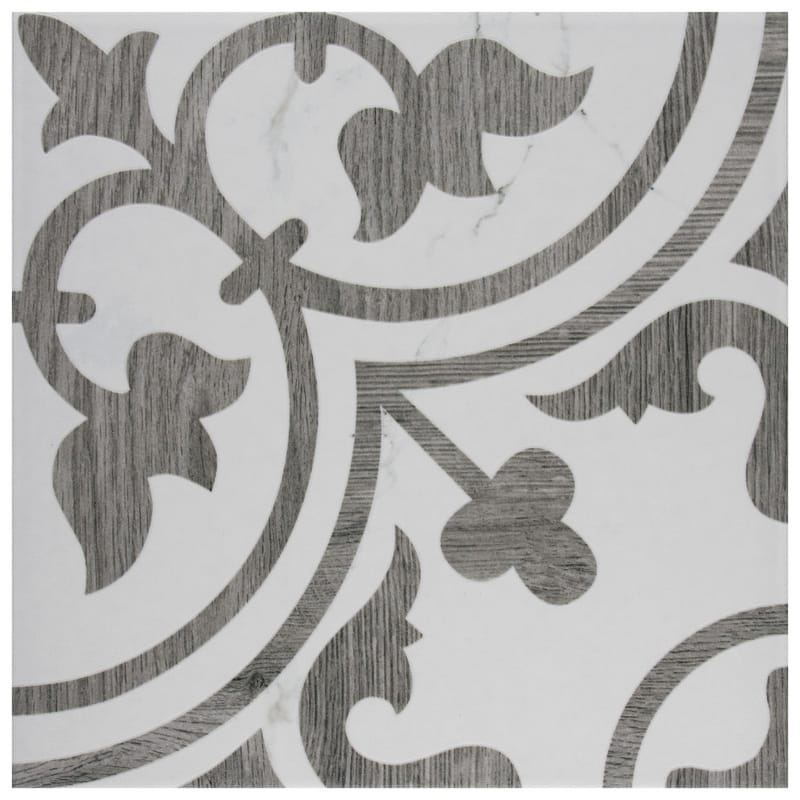
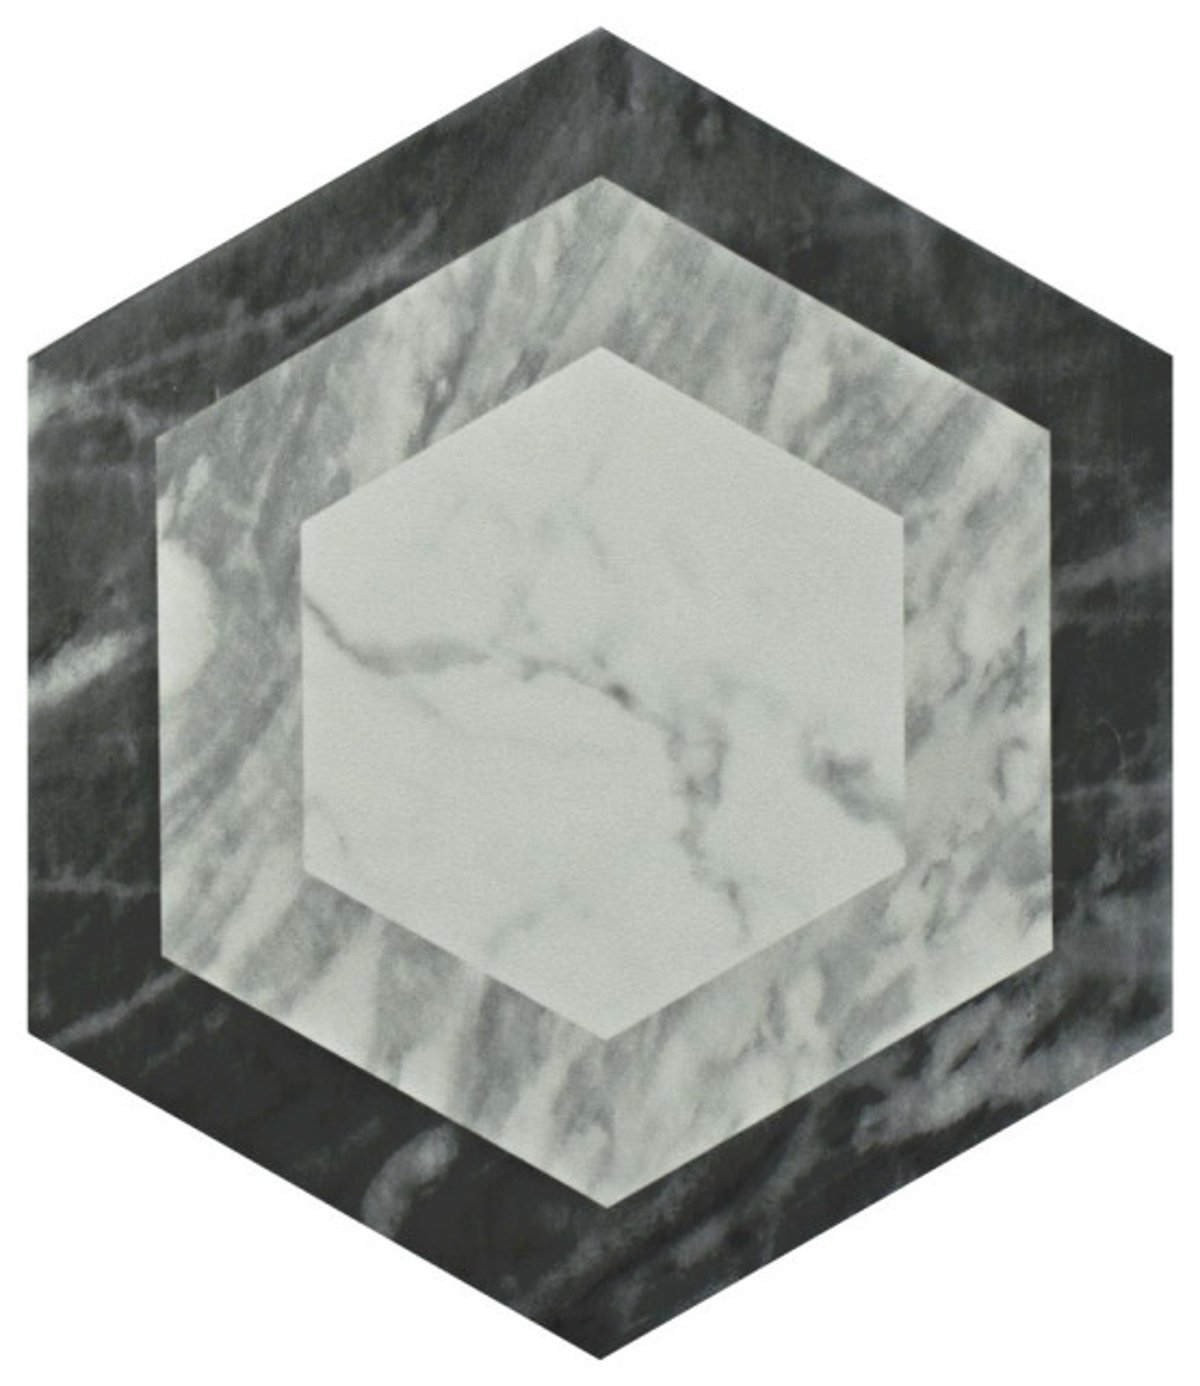
Llama Arte Loire Silver Smoke porcelain tile is a real showstopper. Its subtle variations and sophisticated aesthetic can elevate any room. But, achieving that magazine-worthy look isn't just about the tiles themselves. It's about the installation. This guide, drawn from my years of experience, will walk you through every step, ensuring a flawless finish that you'll be proud of. We'll cover everything from prep work to grouting, providing you with the knowledge and confidence to tackle this project successfully. Get ready to unlock the true potential of your space and learn the secrets to a professional-looking installation, even if you're a DIY enthusiast. And, trust me, after years of doing this, I've seen it all, and I'm happy to share my expertise with you.
Before you even think about touching a tile, proper planning is key. This isn't just about buying enough tiles (although that's important, too); it's about understanding your space, choosing the right tools, and preparing the surface. We'll start with the basics, then move onto the more nuanced aspects of getting that perfect result. Let's dive in and make sure you're set up for success. Remember, a little preparation goes a long way towards a smooth, stress-free installation. And, who doesn't like to avoid extra stress, right?
Surface Preparation: The Foundation of Success
The surface you're tiling onto is absolutely crucial. It needs to be level, clean, and structurally sound. Begin by checking for any imperfections or damage. Fill any cracks or holes with a suitable patching compound and allow it to dry completely. Next, use a level to check for any unevenness. If the floor has significant dips or high spots, you might need to use a self-leveling compound to create a perfectly flat surface. This step is non-negotiable. A poorly prepared surface will lead to cracked tiles and an uneven finish. Then, give the surface a really good cleaning to remove any dirt, dust, or debris. This ensures proper adhesion. Think of it as giving your tiles a good base to hold onto. And always, always let everything dry completely before moving onto the next step. You don't want any surprises down the road.
Laying Out Your Design: Planning for Perfection
Before you start spreading mortar, take the time to plan your layout. Dry-lay a few rows of tiles to visualize the pattern and ensure that you have balanced cuts at the edges. This is where you can make adjustments to minimize those annoying, tiny slivers of tile at the edges. Use a chalk line to mark the center lines of your space. This will act as your guide for laying the first row of tiles. Consider the direction of the grout lines and how they will affect the overall aesthetic. Do you want a straight pattern, a staggered pattern (like brick), or something more unique? Think about the visual impact of your choices. Also, remember to account for the grout lines when calculating your layout. And don't be afraid to experiment a bit with the layout. This is your chance to get creative and make your space truly unique.
Mortar Matters: Choosing and Using the Right Adhesive
The mortar you choose is as important as the tiles themselves. For porcelain tile, a modified thin-set mortar is the way to go. This type of mortar contains polymers that improve adhesion and flexibility. Follow the manufacturer's instructions carefully when mixing the mortar. Too much water, and you'll have a weak bond. Too little, and it won't spread properly. Use a notched trowel to apply the mortar to the substrate. The size of the notch depends on the size of your tiles; check the tile manufacturer's recommendations. Apply the mortar in small sections, working in manageable areas. This prevents the mortar from drying out before you can set the tiles. And, remember, a good, even spread is key for a strong, long-lasting bond. Don't skimp on this step; it's what holds everything together, literally!
Tile Placement: The Art of Precision
Once the mortar is applied, it's time to set the tiles. Place the tile gently onto the mortar and press it firmly into place. Use tile spacers to maintain consistent grout lines. These little plastic gadgets are your best friends! They ensure that your grout lines are uniform and neat. After setting each tile, use a level to check for any unevenness. Gently tap the tiles with a rubber mallet to ensure they are flush with each other. It's a delicate balance between applying enough pressure to set the tiles and not disturbing the mortar. Work methodically, checking your progress regularly. Take your time, and don't rush. Quality takes patience, and the end result will be worth it. And, don't forget to remove excess mortar that squeezes up between the tiles. A damp sponge will do the trick.
Grouting: The Finishing Touch
After the mortar has completely cured (usually 24-72 hours, depending on the mortar), it's time to grout. Choose a grout color that complements your tiles and the overall design scheme. Apply the grout with a grout float, working at a 45-degree angle to the grout lines. Make sure to press the grout firmly into the joints, ensuring that they are completely filled. After the grout has set for about 15-30 minutes (check the grout manufacturer's recommendations), use a damp sponge to clean off the excess grout from the tile surfaces. Rinse the sponge frequently to avoid spreading grout haze. Allow the grout to cure completely before sealing (if necessary). Sealing will protect the grout from stains and moisture. And, a well-grouted tile installation looks absolutely stunning, so take your time on this step. It's the final polish that really brings the whole thing together.
Troubleshooting Common Issues & Advanced Techniques
Even the most experienced installers run into problems. Here are some common issues and how to address them:
- Uneven Tiles: This often results from an uneven subfloor. Address this during surface preparation. If it's minor, you can gently tap the tiles with a rubber mallet to level them.
- Hollow Sounds: This indicates poor adhesion. Remove the tile, re-apply mortar, and re-set.
- Grout Cracks: These can be caused by movement in the subfloor or using the wrong type of grout. Consider using a flexible grout.
- Tile Cuts: For clean cuts, use a wet saw. Score the tile, then snap it along the score line.
Advanced Techniques: For complex patterns or designs, consider using a laser level for precise alignment. Experiment with different grout colors to create unique effects. And don't be afraid to consult with a professional if you encounter significant challenges. It's always better to ask for help than to make a costly mistake.
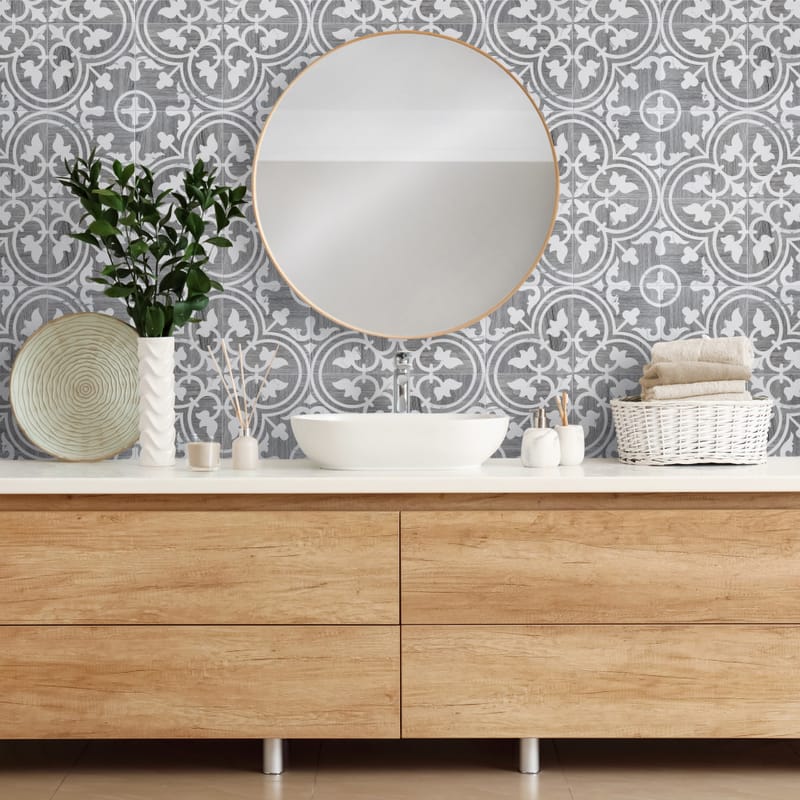
Installing Llama Arte Loire Silver Smoke porcelain tile is a rewarding project that will significantly enhance your home. By following these expert tips and tricks, you can achieve a professional-looking result, even if you're a beginner. Remember, patience, preparation, and attention to detail are key. Take your time, don't be afraid to ask for help, and enjoy the process. The end result will be a stunning, durable surface that you'll enjoy for years to come. So, go forth, and create a space that reflects your style and personality. You've got this. And, most importantly, have fun.

Related Posts
 Wall & Floor Tiles
 Understanding the Artistry Behind Classico Bardiglio Hexagon Tiles
 Wall & Floor Tiles
 Understanding the Artistry Behind Saint Germain Chaud Deco Simone Porcelain Tiles
 Wall & Floor Tiles
 Choosing the right quarry dark gray peel and stick floor tiles for your space
 Wall & Floor Tiles
 Choosing the Right Cement Tile for Your Space and Style
 Wall & Floor Tiles
 Exploring the Versatility of Llama Stella Loire's Noce Silver Porcelain Tile for Interior Spaces
 Wall & Floor Tiles