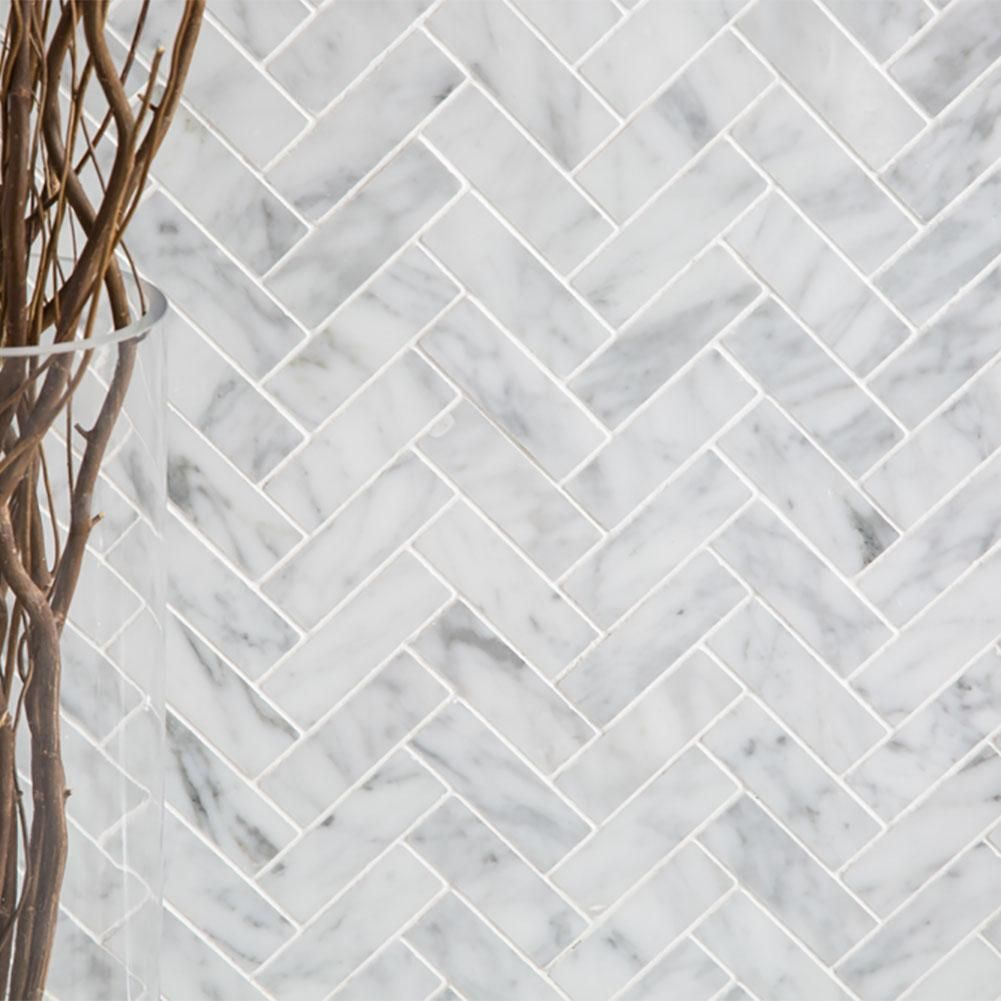
Herringbone tile, with its iconic zig-zag layout, is a design staple. It's a look that screams sophistication and class, immediately elevating any space. But, have you ever stopped to think about whether it's actually practical? Does this beautiful pattern hold up in the real world? Today, we're going to cut through the hype and dig deep into the functionality of herringbone tile – exploring its uses, its advantages, and even some potential downsides. We'll talk about how to choose the right tile for your needs and make sure this classic design works for you.
Let's be honest, herringbone tile is stunning. It has a timeless quality that makes it a favorite in kitchens, bathrooms, and even living areas. The way light plays off the angled lines creates a dynamic and engaging visual experience. But, before you fall completely in love, it's important to understand what you're getting into. Is it easy to clean? Is it durable? Does it work well in high-traffic areas? These are the questions we'll address. We'll analyze the practical aspects of herringbone tile, so you can make a choice that's not only aesthetically pleasing but also fits your lifestyle.
The Practical Benefits of Herringbone Tile
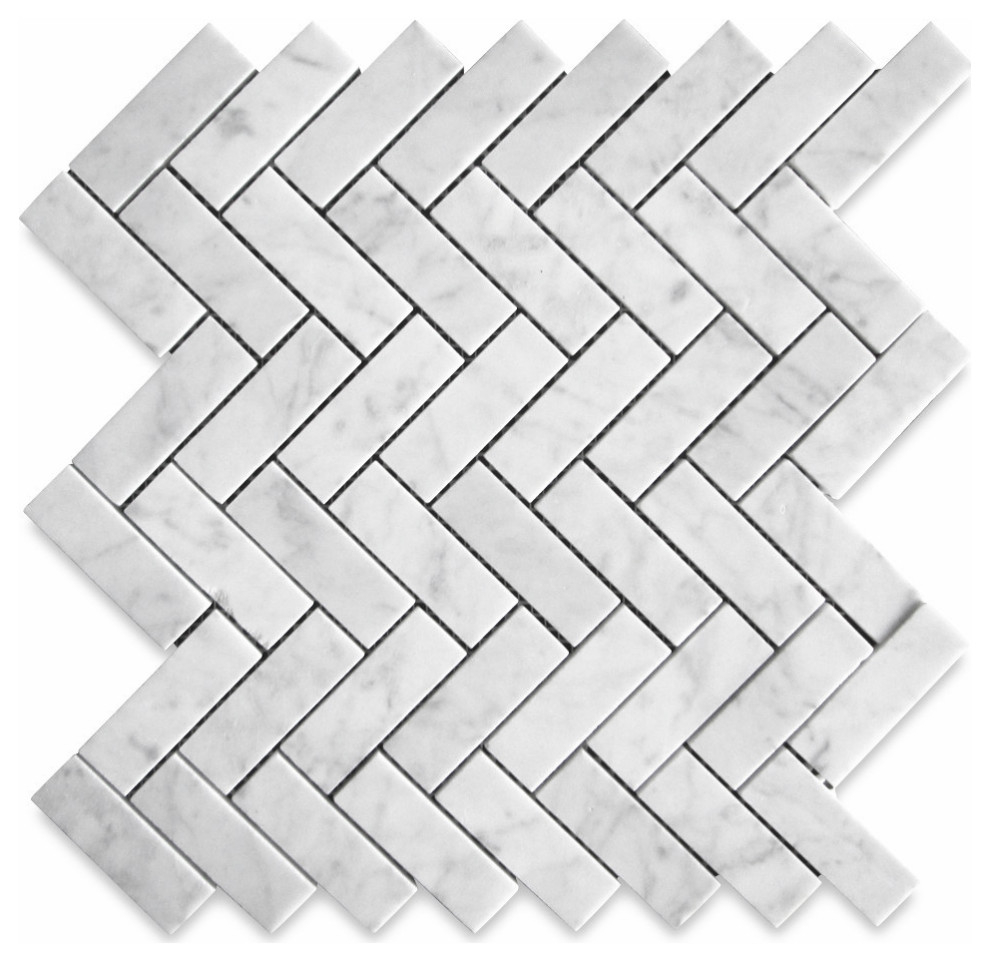
Beyond its looks, herringbone tile offers several practical advantages. First, the pattern itself can create the illusion of more space. The angled lines draw your eye, making a room feel larger than it really is. This is especially useful in smaller areas like bathrooms or hallways.
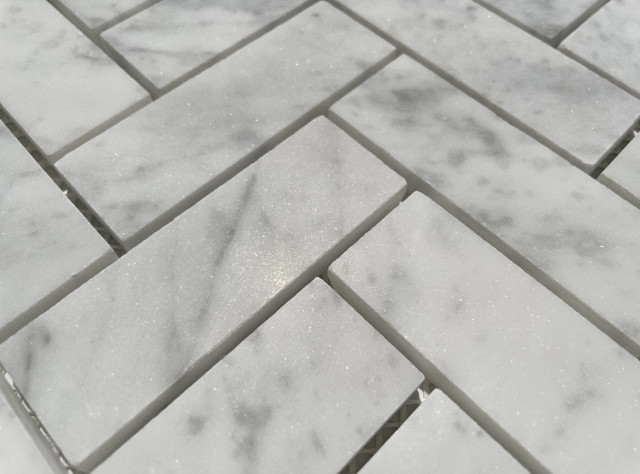
Second, the layout can actually improve the slip resistance of the surface, especially when using smaller tiles with more grout lines. More grout lines mean more grip. And, the way the tiles are arranged, the many edges create a more rough surface that helps with traction.
Third, herringbone tile can be quite versatile. It works with many different materials, from classic ceramic and porcelain to natural stone like marble or travertine. This means you can find a tile that matches your budget and your desired look.
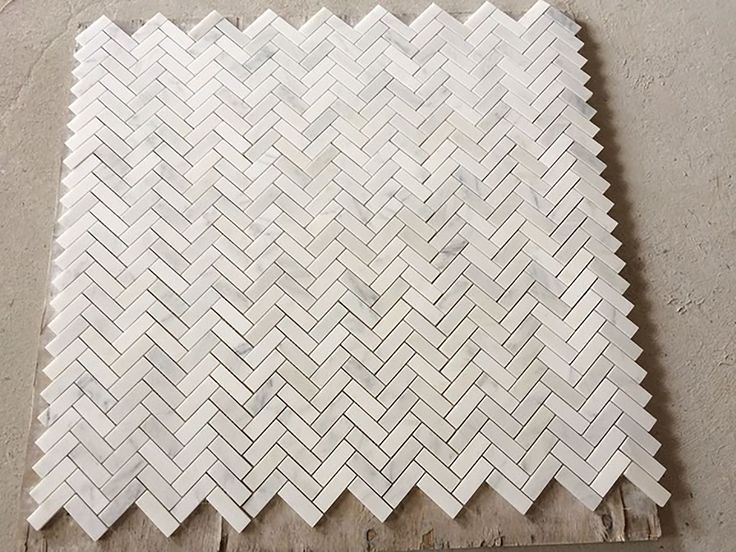
For example, imagine a small kitchen. Using a light-colored herringbone tile on the floor can make the space feel open and airy, and the pattern adds a touch of visual interest that's really neat. It's a win-win.
Material Matters: Choosing the Right Tile
The choice of tile material is critical for practicality. Consider the area where you'll be using it.
Porcelain tile: This is a super durable option, perfect for high-traffic areas and wet environments like bathrooms and kitchens. It's water-resistant and can withstand scratches and stains. It's also relatively easy to clean.
Ceramic tile: A more budget-friendly choice, ceramic is also water-resistant and works well in many settings. However, it's generally less durable than porcelain.
Natural Stone (Marble, Travertine): Offers unparalleled beauty but requires more maintenance. It's porous and prone to staining, so sealing is absolutely essential. This is more of a high-maintenance choice but offers a luxurious appearance.
Glass tile: Beautiful but less practical for floors. It can scratch easily and isn't ideal for areas with heavy use. However, it's fantastic for backsplashes or accent walls.
Think about the wear and tear your tile will face. If it's a bathroom floor, durability and water resistance are key. For a backsplash, aesthetics might be more important. And, don't forget the grout! It's just as important as the tile itself.
Installation Considerations: Making it Work
Herringbone installation is more complex than a simple grid pattern. This means it will generally cost more to install and take longer. It requires precise cuts and careful planning.
Professional Installation: Unless you're an experienced DIY-er, it's a good idea to hire a professional. This ensures a perfect layout and minimizes waste. It is easy to get the tiles slightly off and ruin the final look.
Waste Factor: Be prepared for more tile waste. The angled cuts needed for the herringbone pattern will result in more leftover pieces. Factor this into your budget when purchasing your tile.
Subfloor Preparation: A level and stable subfloor is essential for any tile installation, and it is especially important for herringbone. An uneven surface will cause the tiles to crack or shift over time.
Grout Lines: Consider the size of your grout lines. Narrow grout lines give a more seamless look but can be more difficult to clean. Wider grout lines offer more grip, but, of course, take away from the aesthetic.
Cleaning & Maintenance: Keeping it Looking Good
The cleaning and maintenance of herringbone tile depend on the material.
Porcelain and ceramic: These are relatively easy to clean. Regular sweeping or vacuuming, followed by mopping with a pH-neutral cleaner, will keep them looking great.
Natural Stone: Requires more care. You'll need to seal it regularly (usually once a year or more, depending on the stone and usage). Use a pH-neutral cleaner specifically designed for natural stone. Avoid harsh chemicals, as they can damage the stone.
Grout: Grout is porous and can stain easily. Seal your grout to protect it from stains. Clean grout regularly with a grout brush and a grout cleaner. For stubborn stains, consider using a grout pen to restore the original color. A little bit of maintenance will keep your tile looking new for years to come.
Herringbone in Different Spaces: Real-World Examples
Let's look at some real-world examples to see how herringbone tile works in different settings.
Kitchen Backsplash: A herringbone backsplash made of ceramic or porcelain tile is a popular choice. It adds a touch of elegance and is easy to wipe clean. Choose a tile color that complements your countertops and cabinets.
Bathroom Floor: Herringbone tile on a bathroom floor can create a spa-like atmosphere. Porcelain tile is a practical choice because it is waterproof and slip-resistant. Consider using a darker grout to hide dirt and make the pattern pop.
Entryway: A herringbone entryway can make a grand entrance. Use a durable tile like porcelain or ceramic, and choose a pattern that complements your home's style.
Fireplace Surround: Herringbone tile around a fireplace can add a touch of warmth and sophistication. Consider using a natural stone tile for a luxurious feel, but make sure to seal it properly to protect it from soot and smoke.
Remember, the key is to choose the right material and plan your installation carefully.
Potential Downsides: Things to Consider
While herringbone tile offers many benefits, it's important to be aware of potential downsides.
Cost: Installation costs are usually higher than for standard tile layouts due to the complexity.
Time: Installation will take longer, which can extend your project timeline.
Pattern Fatigue: The pattern can be overwhelming in large spaces. Consider using it as an accent or in a smaller area to avoid visual fatigue.
Difficulty of Repair: Replacing a single tile in a herringbone pattern can be challenging. You may need to remove multiple tiles to make the repair.
Trends: While timeless, trends do change. Consider whether you're truly in love with the look or if it's just a passing fad. Make sure you are happy with it.
Herringbone tile is a beautiful and versatile design choice. It's more than just a pretty pattern, offering practical benefits like the illusion of space and increased slip resistance. However, it's important to consider the material, installation costs, and maintenance requirements before making a decision. By carefully considering these factors, you can determine if herringbone tile is the right choice for your home. If you're willing to invest the time, money, and effort, the results can be stunning. So, go beyond the aesthetic, and make an informed decision that will bring you joy for years to come. You'll be glad you did. Good luck and happy tiling.