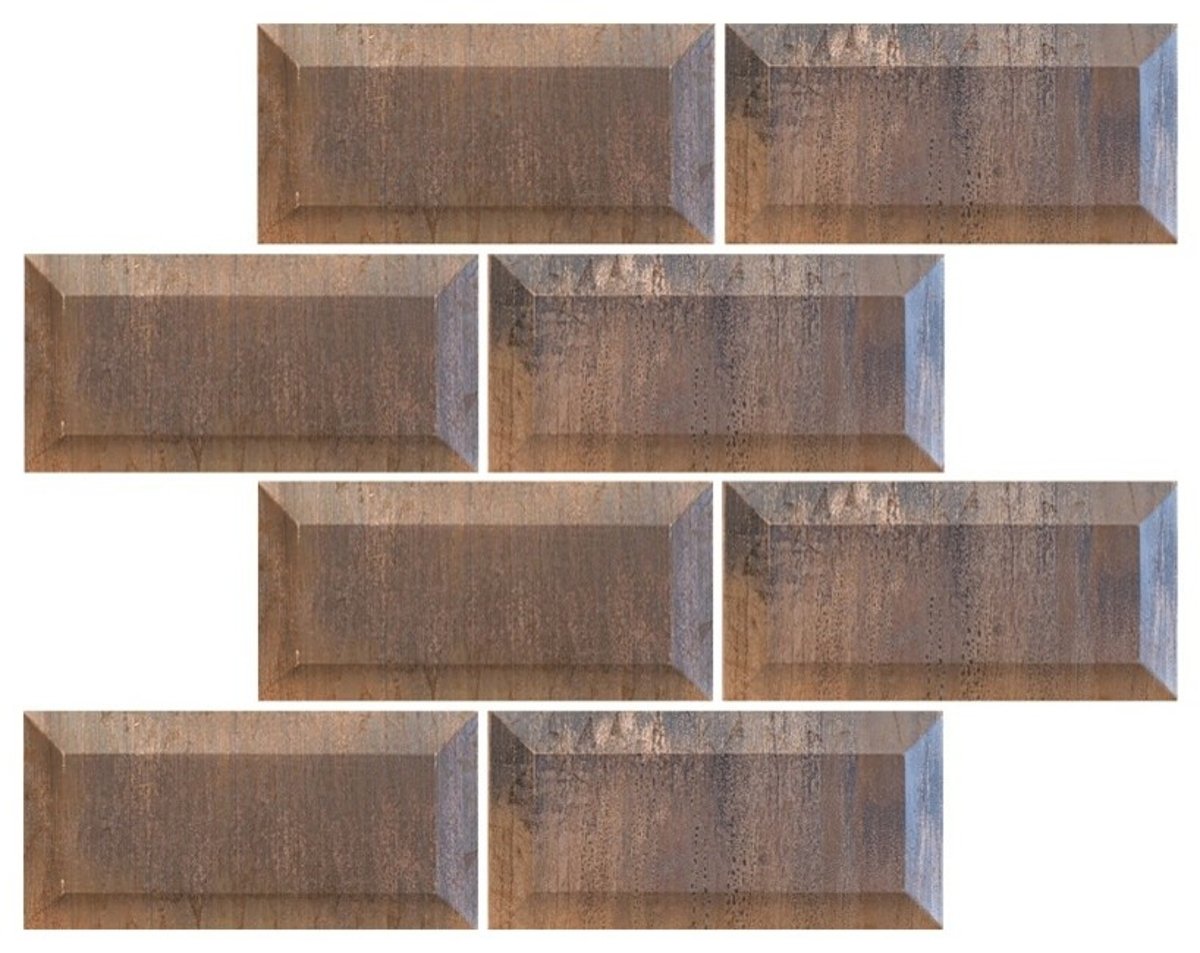
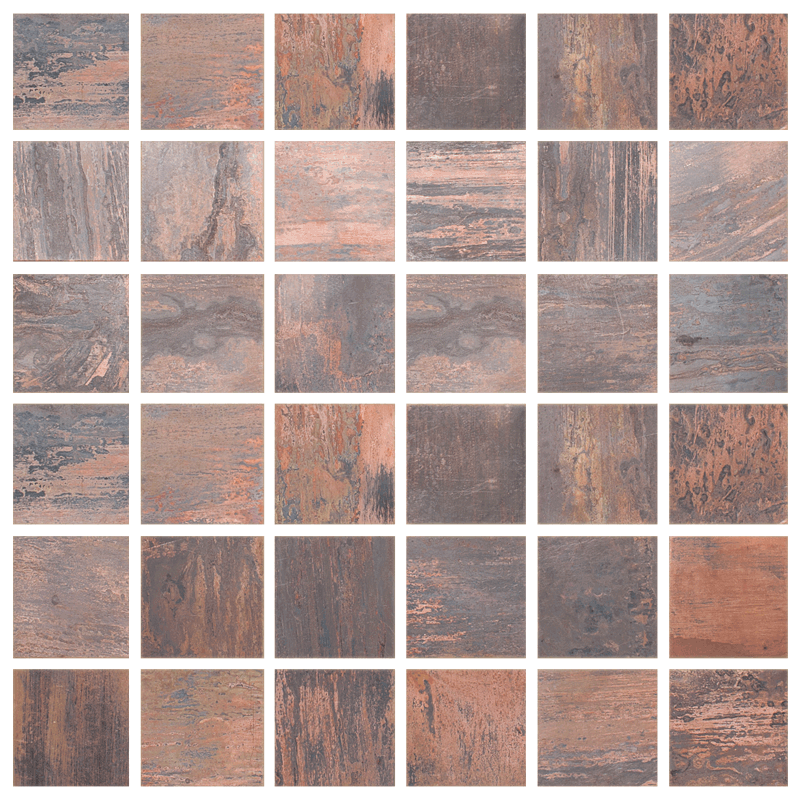
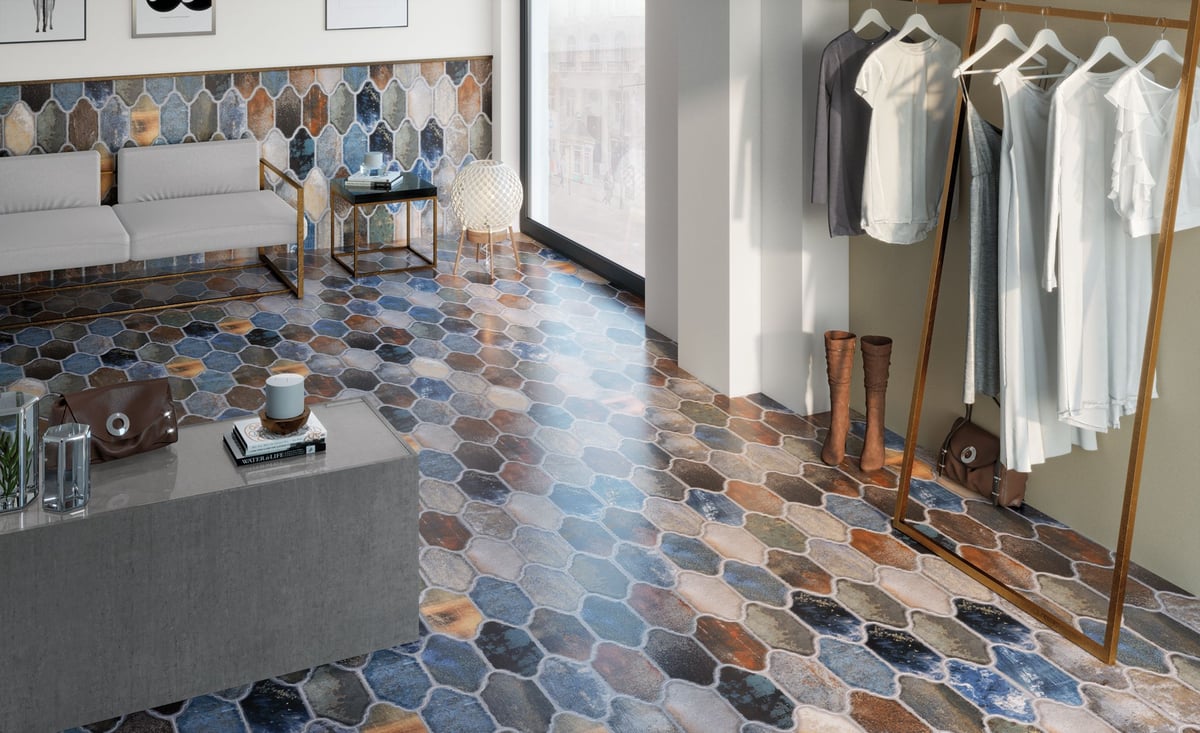
So, you've made a fantastic decision and installed beautiful antique copper tiles. Congrats. They are a statement, a touch of history, and a definite conversation starter. But now comes the crucial decision: the grout. This seemingly small detail can make or break the look of your entire project. Picking the right grout isn't just about filling gaps; it's about framing your copper tiles, enhancing their natural beauty, and ensuring longevity. Get ready to dive into the world of grout, learn the ropes, and make informed choices. We're going to make this easy, I promise.
Let's be real, grout is the unsung hero of any tiling project. It's the glue that holds everything together, literally. But beyond its structural role, grout significantly impacts the aesthetics of your design. With antique copper tiles, this is especially true. The right grout can highlight the tiles' rich color, texture, and unique character. The wrong grout, on the other hand, can clash, distract, or even undermine the overall look. We'll cover everything from color considerations to material choices, and offer practical tips to guide you through the process. Get ready to become a grout guru.
Color Coordination: Finding the Perfect Match (or Contrast)
The color of your grout is probably the most significant factor. You have several options:
- Matching the Tile: This creates a seamless, unified look. It's a safe choice that makes your copper tiles appear even more prominent, and allows your eye to flow over the surface. This can be really effective in small spaces, helping to visually enlarge them.
- Complementary Colors: Consider shades that enhance the copper tones. Think warm grays, earthy browns, or even a deep charcoal. These colors can bring out the warmth of the copper and add depth to the design.
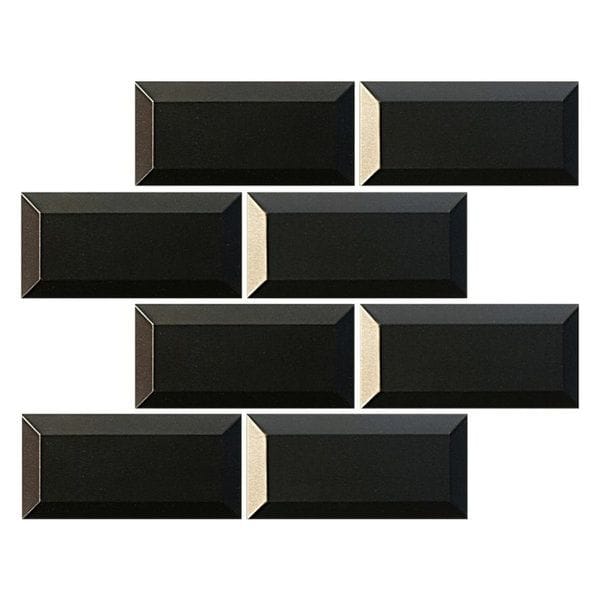
- Contrasting Colors: A bold choice, but one that can be striking. White grout, for instance, can create a high-contrast look, making your copper tiles pop. Just be mindful that this can also make the grout lines more visually prominent.
Pro Tip: Always get grout samples and test them in situ – meaning, in your space, next to your tiles – before making a final decision. Lighting plays a huge role, and what looks good in the store might not look as nice in your home.
Grout Materials: Understanding Your Options
There are two main types of grout: cement-based and epoxy-based. Each has its pros and cons:
- Cement-Based Grout: This is the most common type, available in sanded and unsanded varieties. Sanded grout is typically used for wider grout lines (1/8 inch or wider) and is more durable. Unsanded grout is ideal for narrow grout lines and is less prone to scratching delicate surfaces. Cement-based grout is relatively inexpensive and easy to work with.
- Epoxy Grout: This grout is made of epoxy resins and hardeners. It's incredibly durable, stain-resistant, and waterproof. Epoxy grout is a great choice for high-moisture areas like bathrooms and kitchens. However, it's more expensive than cement-based grout and can be more difficult to apply. Also, it's important to know that it cures quickly.
Recommendation: For antique copper tiles, especially in a kitchen or bathroom, epoxy grout is often the best choice for its superior durability and stain resistance. But, if you're a DIYer, cement-based grout might be a little more forgiving to work with.
Width Matters: Selecting the Right Grout Line Size
The width of your grout lines significantly impacts the overall aesthetic.
- Narrow Grout Lines (1/16 to 1/8 inch): These create a more contemporary, streamlined look. They can emphasize the tiles themselves, allowing the copper to be the star of the show. Unsanded grout is often preferred for narrow grout lines.
- Wider Grout Lines (1/4 inch or wider): These offer a more traditional, rustic feel. They can also be used to create a grid-like pattern that adds visual interest. Sanded grout is the go-to choice here.
Tip: Consider the size and shape of your tiles when determining grout line width. Smaller tiles often look best with narrow grout lines, while larger tiles can handle wider lines.
Sealing is Key: Protecting Your Investment
No matter which grout you choose, sealing is essential. Grout is porous and can absorb stains, moisture, and mildew. Sealing your grout creates a protective barrier, making it easier to clean and maintain.
- Cement-based grout: Should always be sealed after it cures. Choose a high-quality grout sealer, and follow the manufacturer's instructions for application. Reapply sealer every 1-2 years or as needed.
- Epoxy grout: While naturally stain-resistant, sealing epoxy grout can provide an extra layer of protection and make cleaning easier.
Remember: Sealing is a simple step that can significantly extend the life and beauty of your tile installation.
Cleaning and Maintenance: Keeping Your Grout Looking Great
Regular cleaning is vital to keep your grout looking its best.
- For cement-based grout: Clean regularly with a pH-neutral cleaner. Avoid harsh chemicals and abrasive scrubbers, which can damage the grout.
- For epoxy grout: Cleaning is usually easier due to its stain resistance. However, it is still important to clean up spills promptly.
Tip: Consider using a grout brush with soft bristles for regular cleaning. For stubborn stains, you might need a specialized grout cleaner, but always test it in an inconspicuous area first.
Real-World Examples: Grout in Action!
Let's look at some real-world examples to inspire you.
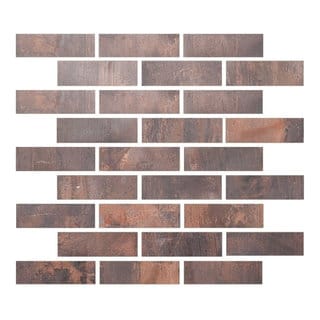
- Example 1: Warm Gray Grout: Imagine antique copper subway tiles in a kitchen backsplash, paired with a warm gray grout. The grout gently frames the tiles, enhancing their color and adding a touch of elegance. This is a classic, timeless look.
- Example 2: Charcoal Grout: Picture antique copper penny tiles in a bathroom, offset by dark charcoal grout. The contrast makes the tiles pop, giving the space a modern, edgy feel. This is a bold, but effective choice.
- Example 3: Matching Grout: For a more seamless look, consider matching the grout color to the copper as closely as possible. This can be a great choice for smaller spaces where you want to create a sense of visual continuity.
These are just a few ideas, and the best choice will always depend on your personal preferences and the overall design of your space.
Choosing the right grout for your antique copper tiles is a key step to achieving a stunning, long-lasting result. By considering color, material, grout line width, and maintenance, you can create a space that truly shines. Remember to take your time, get samples, and don't be afraid to experiment. With a little bit of planning and care, you can transform your space into something truly beautiful. Enjoy the journey and the gorgeous results. You've got this. Now go forth and grout and admire your beautiful tile installation.


Related Posts
 Wall & Floor Tiles
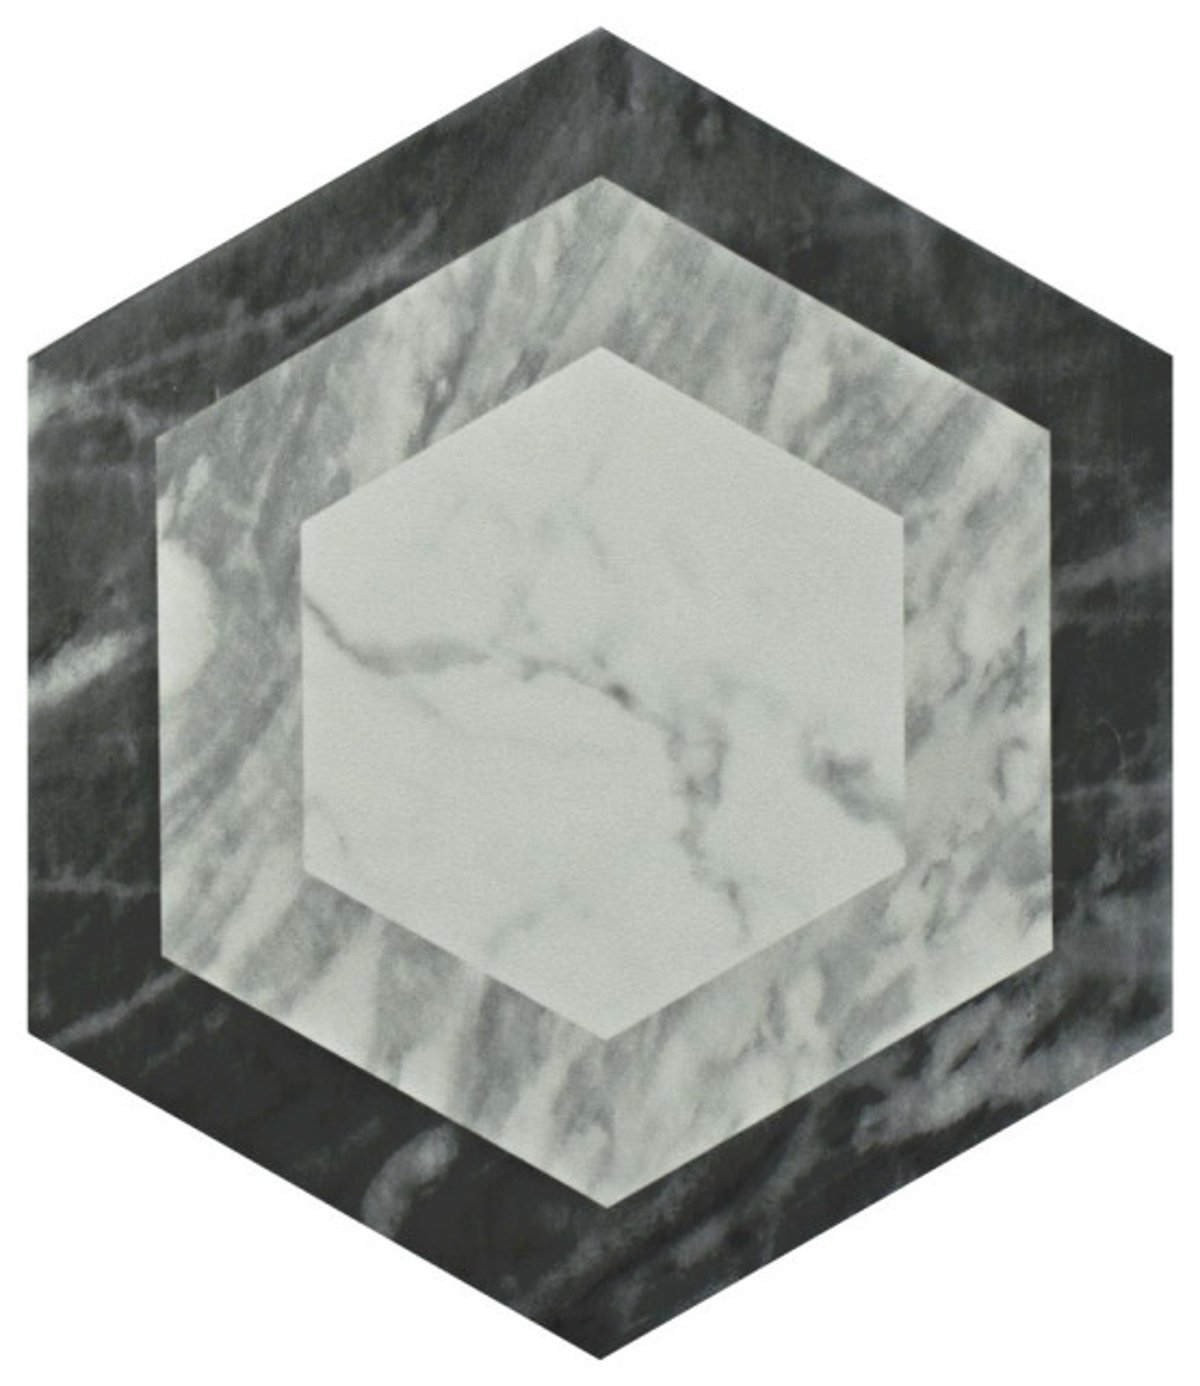
 Understanding the Artistry Behind Classico Bardiglio Hexagon Tiles
 Wall & Floor Tiles
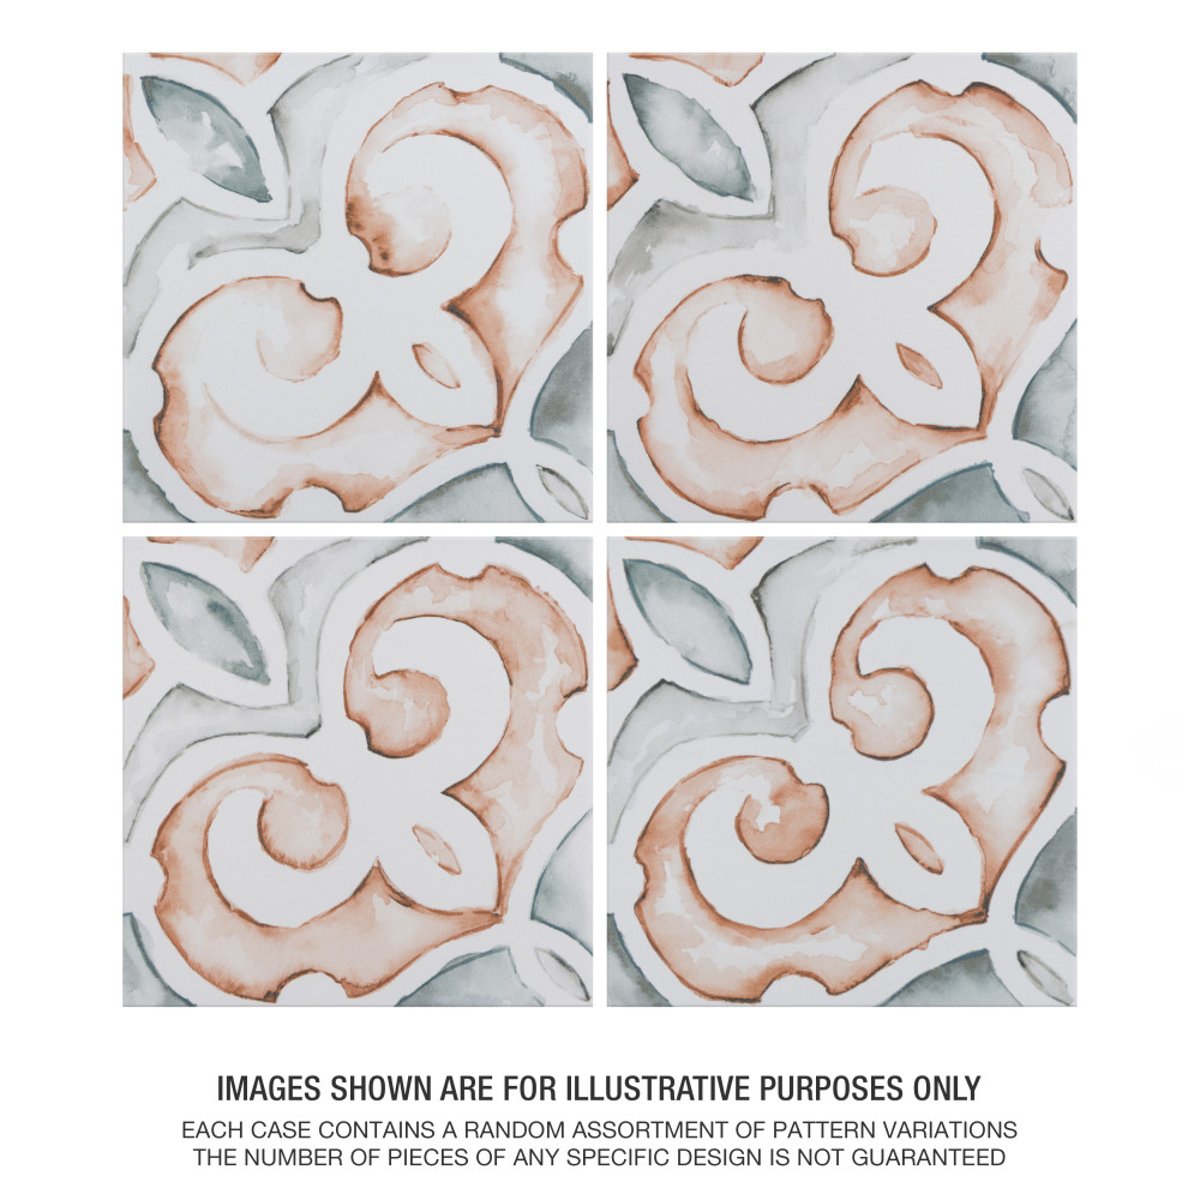
 Understanding the Artistry Behind Saint Germain Chaud Deco Simone Porcelain Tiles
 Wall & Floor Tiles
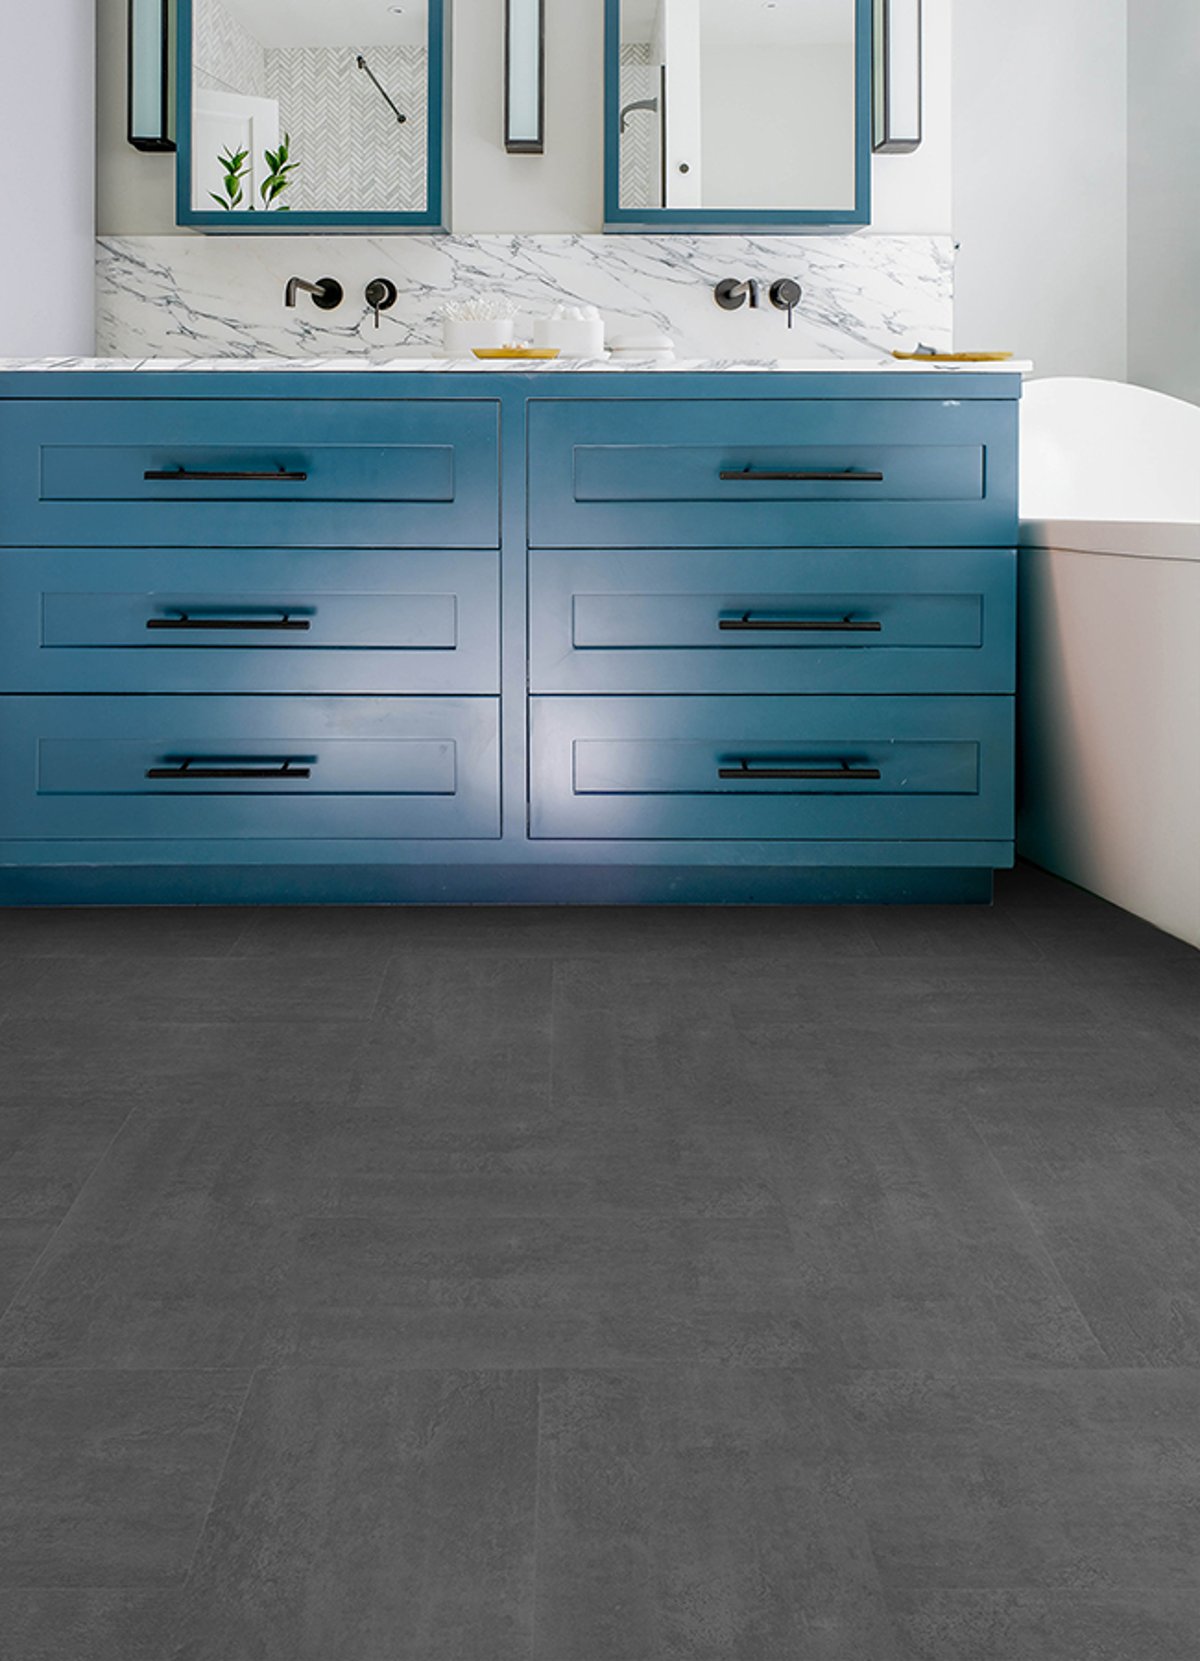
 Choosing the right quarry dark gray peel and stick floor tiles for your space
 Wall & Floor Tiles
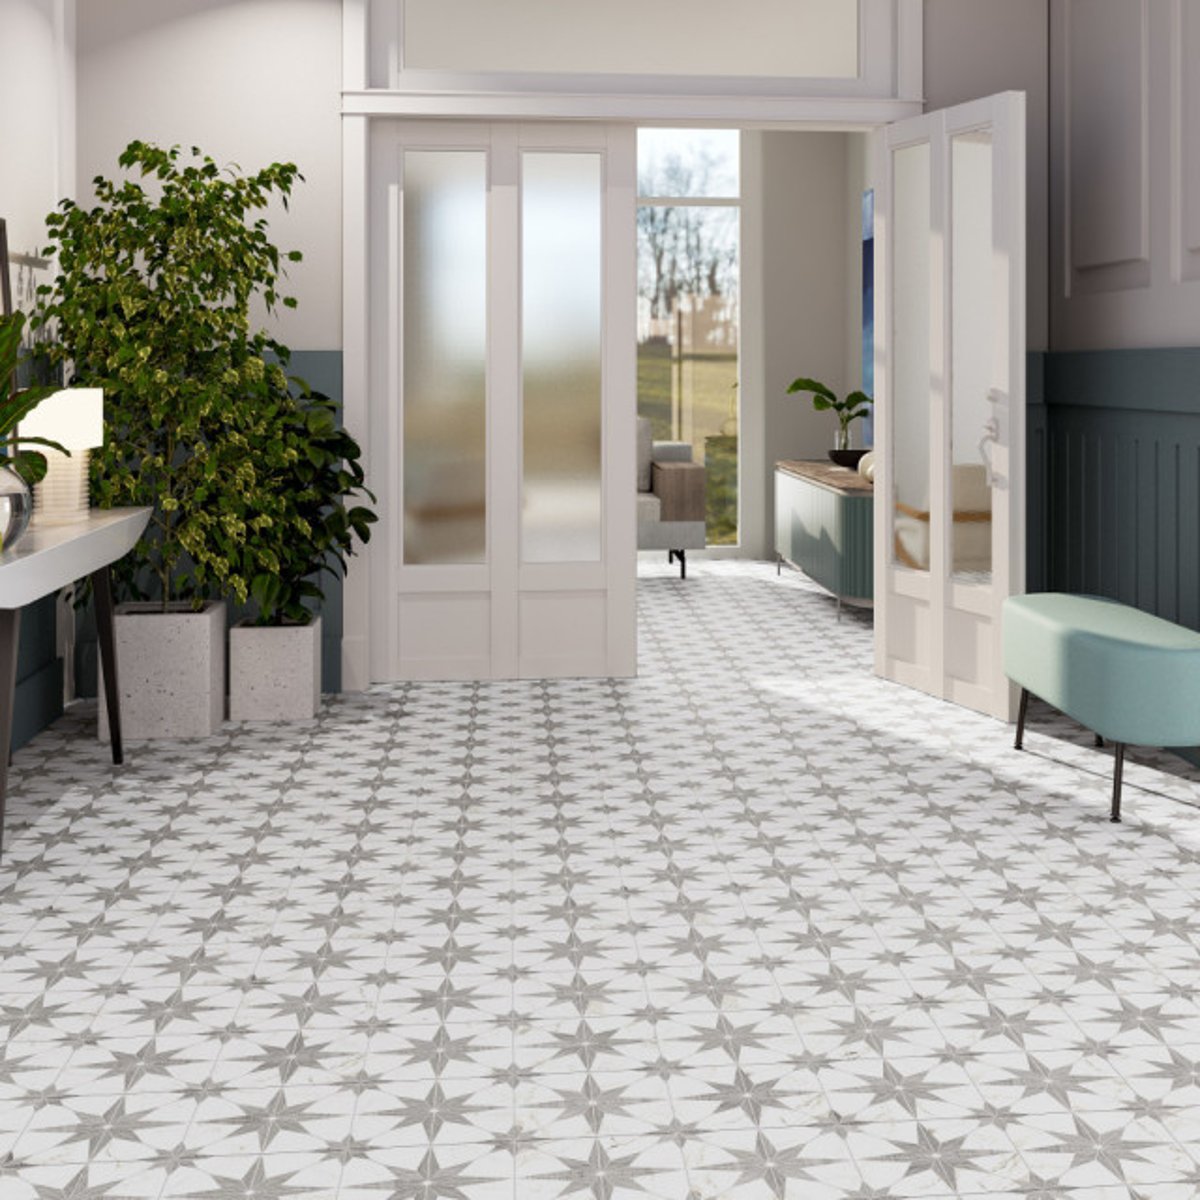
 Choosing the Right Cement Tile for Your Space and Style
 Wall & Floor Tiles
 Exploring the Versatility of Llama Stella Loire's Noce Silver Porcelain Tile for Interior Spaces
 Wall & Floor Tiles