Whether you just bought your first grill or upgraded to a new model, proper preparation makes all the difference. A well-prepped grill not only cooks better but also lasts longer and keeps your food tasting fresh. Think of it like breaking in a new pair of shoes – you want to make sure everything fits right before you start walking.
Let's face it – nobody wants to waste time or money on a grill that's not ready for action. When you bring home a brand-new grill, it's got a few things working against it. There might be manufacturing residues, protective coatings, or even dust that needs to be cleared out. But don't worry, this isn't rocket science. With a few simple steps, you'll have your grill ready to cook up some amazing meals in no time. The process is straightforward, and honestly, it's kind of fun once you get into the rhythm of it. You're essentially giving your new cooking partner a proper welcome.

Understanding What's Already There
Before you even think about turning that dial or flipping that switch, take a good look at your new grill. Most manufacturers coat grates with a thin layer of oil or wax to prevent rust during shipping and storage. This isn't harmful, but it definitely affects how your food cooks. There could also be manufacturing residue, dust, or even small metal shavings from the production process. Some grills come with protective films or covers that need to be removed. Don't skip this step – it's like skipping breakfast and wondering why you're always hungry.
The Essential Cleaning Process
Cleaning your new grill is more than just a quick wipe-down. It's actually a crucial part of the setup process. Start by removing any packaging materials, including plastic covers and protective films. Then, using a soft cloth or paper towel, gently wipe down all surfaces. Pay special attention to the grates – they're going to be your most-used parts. If there's any visible coating or residue, you might need to use a mild detergent mixed with water. Be gentle though, especially if you've got a porcelain-coated grate. Just a few minutes of cleaning can save you hours of frustration later on.
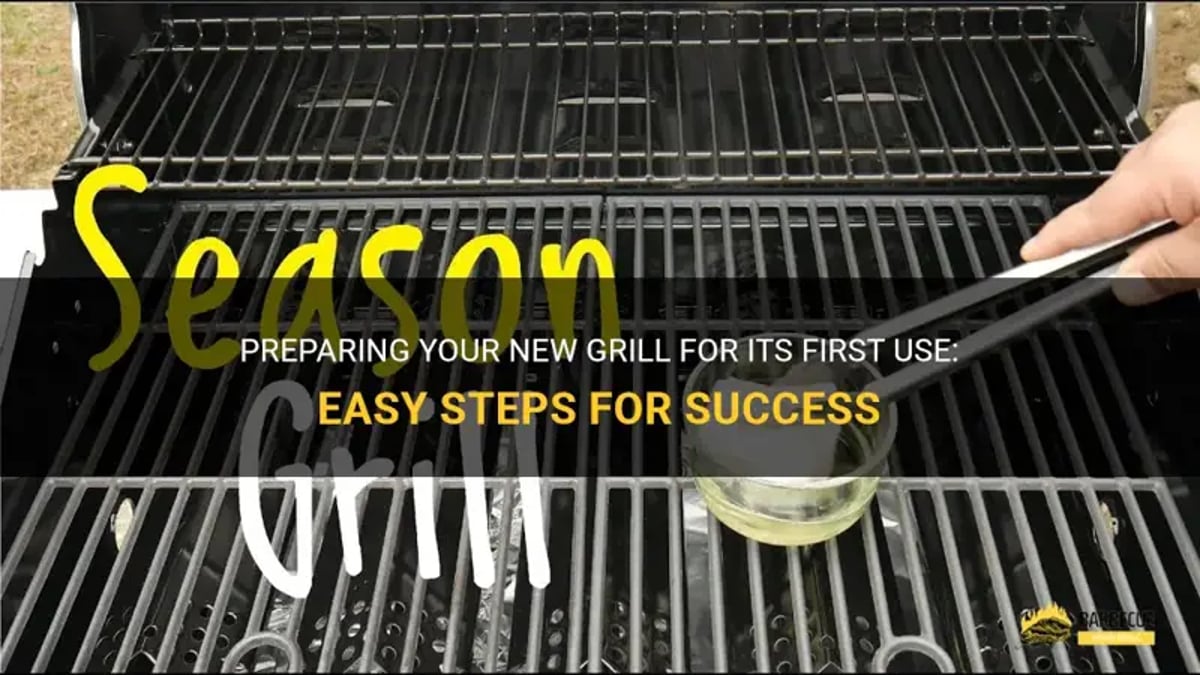
Seasoning the Grates for Better Performance
This is where things get interesting. Seasoning your grill grates helps create a non-stick surface that makes cleaning easier and prevents food from sticking. You'll want to apply a thin layer of high-heat cooking oil to clean grates. Vegetable oil, flaxseed oil, or even canola oil work great for this. Spread it evenly across the entire surface using a paper towel or brush. Then heat your grill on high for about 15-20 minutes. The oil will polymerize and form a protective layer. It's a bit like giving your grates a spa treatment – they'll thank you later when your burgers slide off effortlessly.
Checking All Components Thoroughly
Don't just assume everything works perfectly. Take a moment to inspect each component carefully. Check that all knobs and controls move smoothly. Make sure the ignition system works properly if you have electronic ignition. Test the gas connections for any leaks – you can do this by applying soapy water around connections and looking for bubbles. Verify that the lid opens and closes properly and that the grease tray is positioned correctly. These checks might seem tedious, but they're critical for safety and performance. Imagine trying to cook dinner and having your grill suddenly stop working – not ideal.
Related Posts

Unveiling the Timeless Charm of Black and White Striped Patio Um

Unpacking the Truth About Walking on Pool Covers Your Essential

Mastering the Art of the Perfect Pool Party Experience A Guest's Guide

Understanding the Pink Slime in Your Pool What It Is and How to Tackle It

Keeping Your Concrete Patio Happy and Safe Around the Fire Pit

Transforming Your Corner Lot A Masterclass in Curb Appeal
Testing the Temperature Settings
Once everything looks good, it's time to test those temperature controls. Turn your grill on and let it run for a few minutes to reach operating temperature. You should be able to see flames or hear them crackling if you have a gas grill. If you're using charcoal, light it and wait for the coals to glow red. This is also a good time to check that your thermometer readings match reality. Many people find their grill heats unevenly initially, which is normal. It's just adjusting to its new environment. Once it's stable, you'll know your grill is truly ready for business.
Safety First - What to Watch Out For
Safety should always be your top priority. Before you start cooking, make sure you have a fire extinguisher nearby, especially if you're using a gas grill. Check that your grill is placed on a stable, non-flammable surface away from overhanging branches or structures. Ensure adequate ventilation – you don't want smoke building up in enclosed spaces. Also, never leave a lit grill unattended, and keep a spray bottle of water close by for emergencies. Remember, a little extra caution now prevents big problems later. Think of it like learning to drive – practice makes progress, and safety comes first.
Preparing your new grill isn't just about following a checklist – it's about creating a foundation for great cooking experiences. When you take the time to properly prep your grill, you're investing in both quality and safety. From cleaning the grates to testing the temperature settings, each step matters. Don't rush this process. Give yourself a few minutes to get it right. Your future self will thank you when you're enjoying perfectly grilled meals without any surprises. Plus, you'll feel confident knowing your grill is ready to handle whatever comes next. It's like getting your car tuned up before a long road trip – it pays off in the end.
