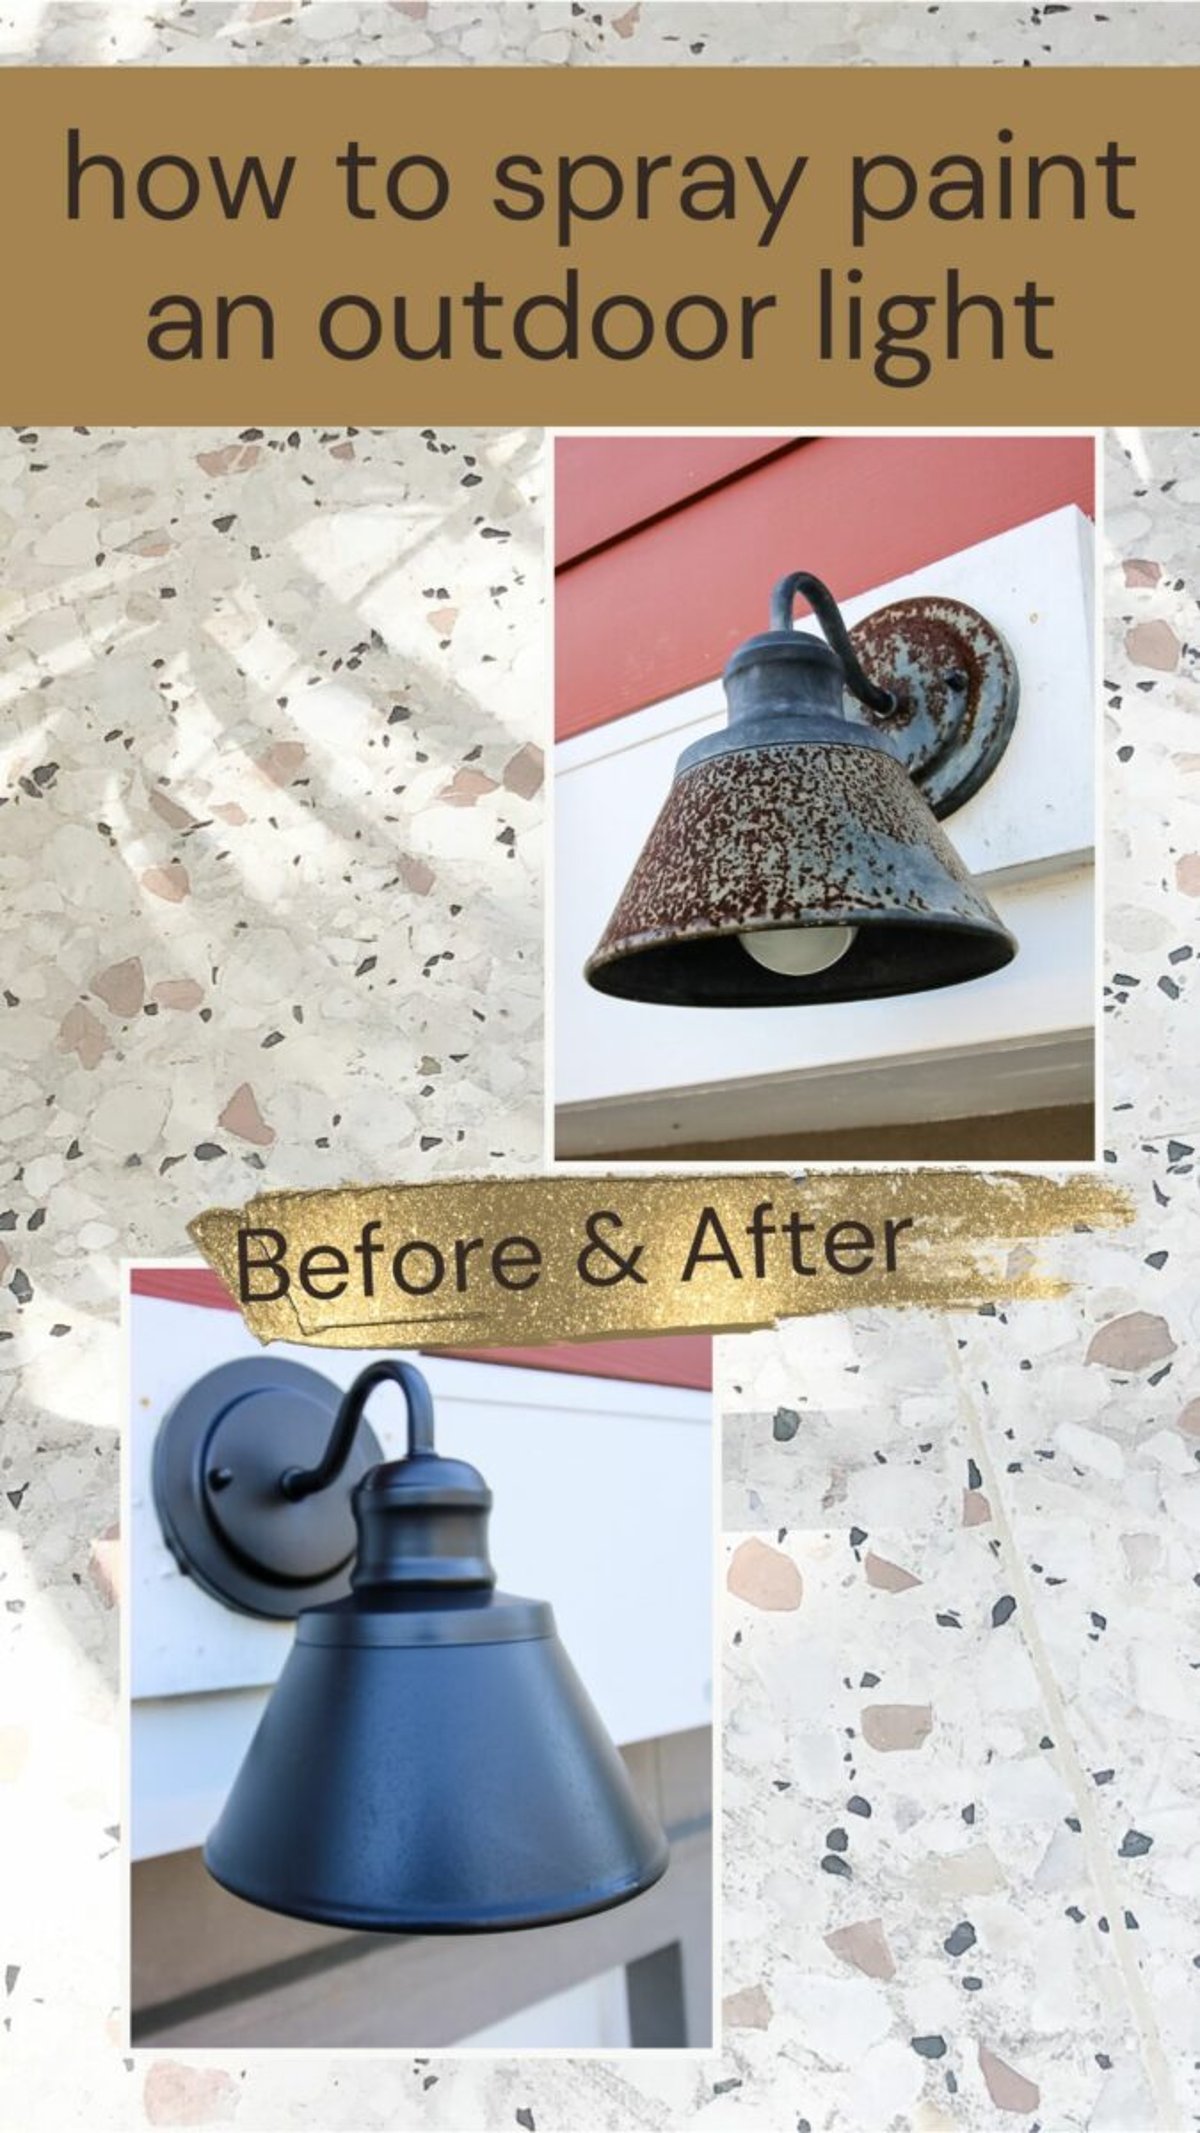
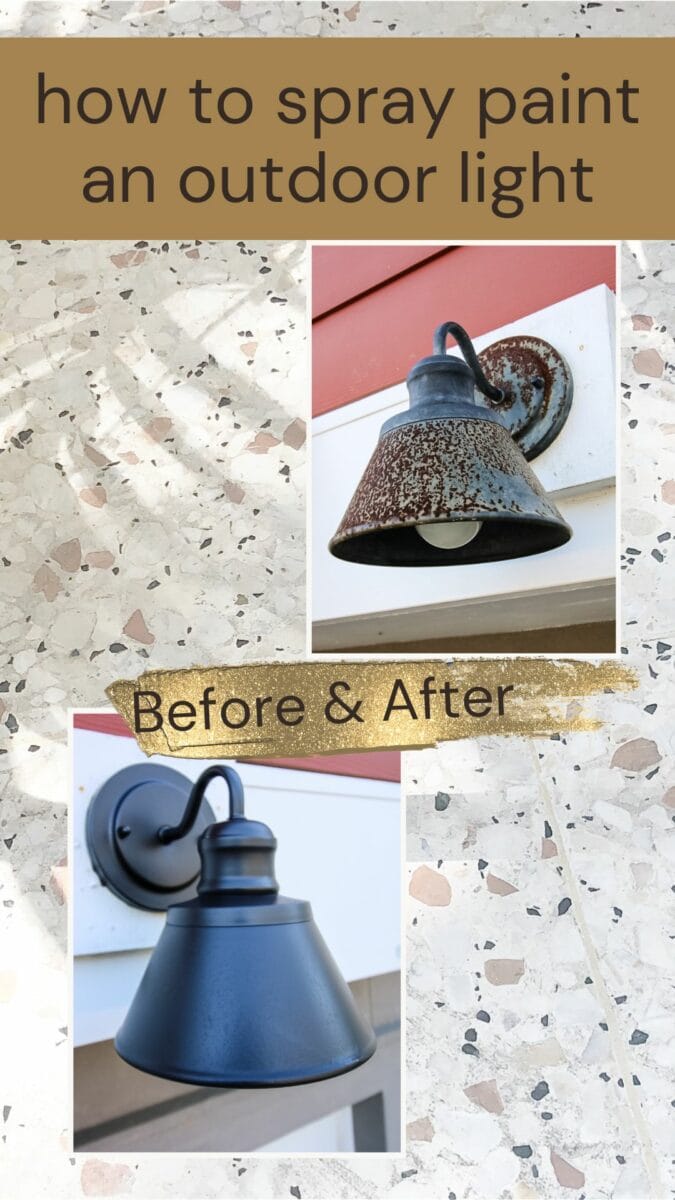
Outdoor lighting adds beauty and functionality to any home, but exposure to weather elements can quickly deteriorate fixtures. Many homeowners wonder if spray painting their outdoor lights is a viable option. The answer is yes, but it requires proper preparation and the right materials. This comprehensive guide walks you through everything you need to know about spray painting outdoor light fixtures.
Let's face it - outdoor lighting takes a beating. Rain, sun, temperature changes, and even birds can wreak havoc on your fixtures over time. You might have noticed how some outdoor lights start looking dull or faded after just a few seasons. What if you could refresh them with a fresh coat of paint? That's where spray painting comes in. But hold on - not every paint will do. We're talking about outdoor fixtures here, which means they need to withstand the elements. This guide will show you how to properly prepare, choose materials, and apply spray paint to outdoor light fixtures so they look good and last long.
Why Spray Paint Outdoor Light Fixtures?
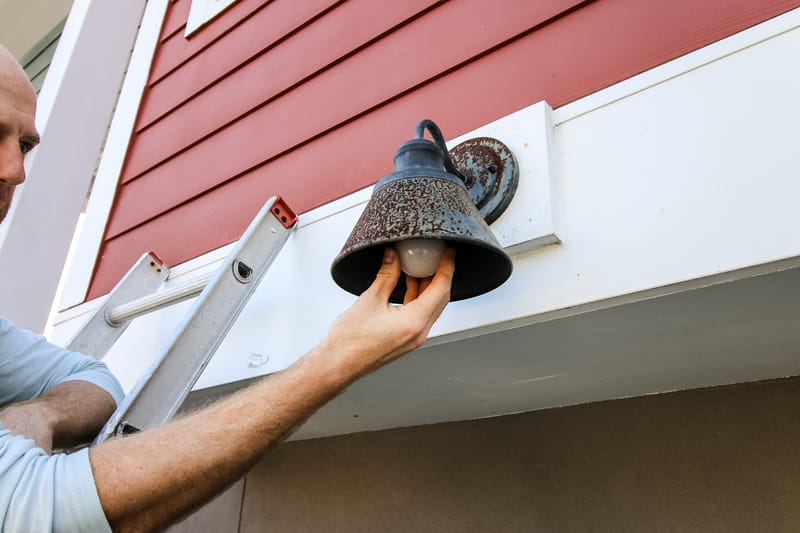
Outdoor light fixtures endure constant exposure to the elements, leading to rust, fading, and corrosion. Spray painting offers several benefits: it provides a uniform coating that's hard to achieve with brushes, covers intricate details better, and creates a protective barrier against moisture and UV rays. Think about it - a well-painted fixture can look brand new while extending its lifespan significantly. Plus, it's often much more cost-effective than replacing entire fixtures. Many people are surprised to learn that spray painting isn't just for cars or furniture anymore. It's become a popular way to breathe new life into outdoor spaces.
Choosing the Right Spray Paint
Not all spray paints are created equal, especially when dealing with outdoor fixtures. Look for paints specifically labeled as "outdoor" or "weatherproof." These typically contain UV inhibitors and are designed to resist fading and chipping. Aluminum and steel fixtures work best with high-quality exterior acrylic paints. Some excellent options include Rustoleum Universal Spray Paint, Krylon ColorMaster, and Dupli-Color Exterior Enamel. The key is choosing something that matches your fixture's material and intended environment. What color do you want to go with? Consider the overall aesthetic of your home's exterior and pick something that complements rather than clashes.
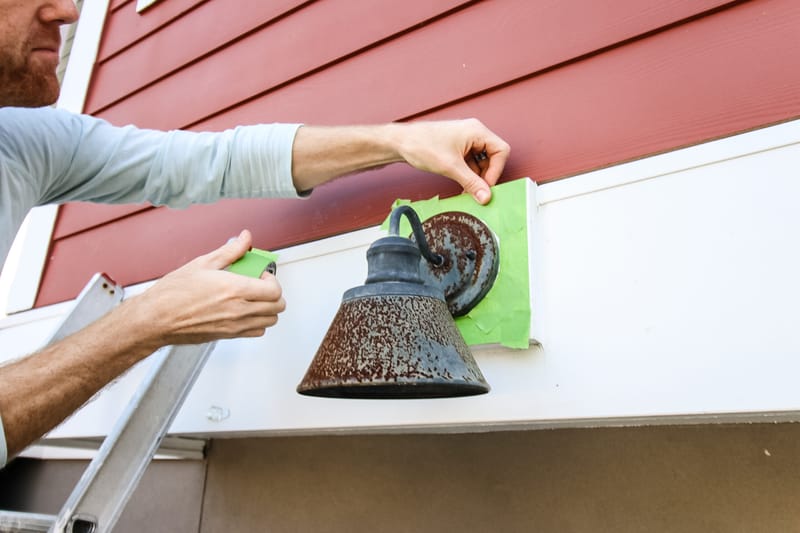
Essential Preparation Steps
Proper prep work makes all the difference in a successful spray painting project. Start by cleaning the fixture thoroughly with soap and water to remove dirt, grime, and oxidation. Sand lightly to create a smooth surface for paint adhesion. Remove any old paint chips or rust spots. Apply painter's tape around electrical components and areas you don't want painted. Finally, ensure the fixture is completely dry before starting. Some people skip this step and end up with peeling paint. Don't let that happen to you! The prep work might seem tedious, but it's worth every minute.

Safety Considerations
Working with spray paint outdoors requires some safety precautions. Ensure good ventilation, preferably outside or in a well-ventilated area. Wear a respirator mask to avoid inhaling fumes and protective gloves to keep your hands clean. Be mindful of wind conditions - too much breeze can cause uneven coverage or overspray onto unwanted surfaces. If you're painting near electrical components, turn off power at the switch first. Safety always trumps speed. Some folks rush through this part and later regret it when they realize their paint job was compromised due to poor conditions.
Related Posts

Unveiling the Timeless Charm of Black and White Striped Patio Um

Unpacking the Truth About Walking on Pool Covers Your Essential

Mastering the Art of the Perfect Pool Party Experience A Guest's Guide

Understanding the Pink Slime in Your Pool What It Is and How to Tackle It

Keeping Your Concrete Patio Happy and Safe Around the Fire Pit

Transforming Your Corner Lot A Masterclass in Curb Appeal
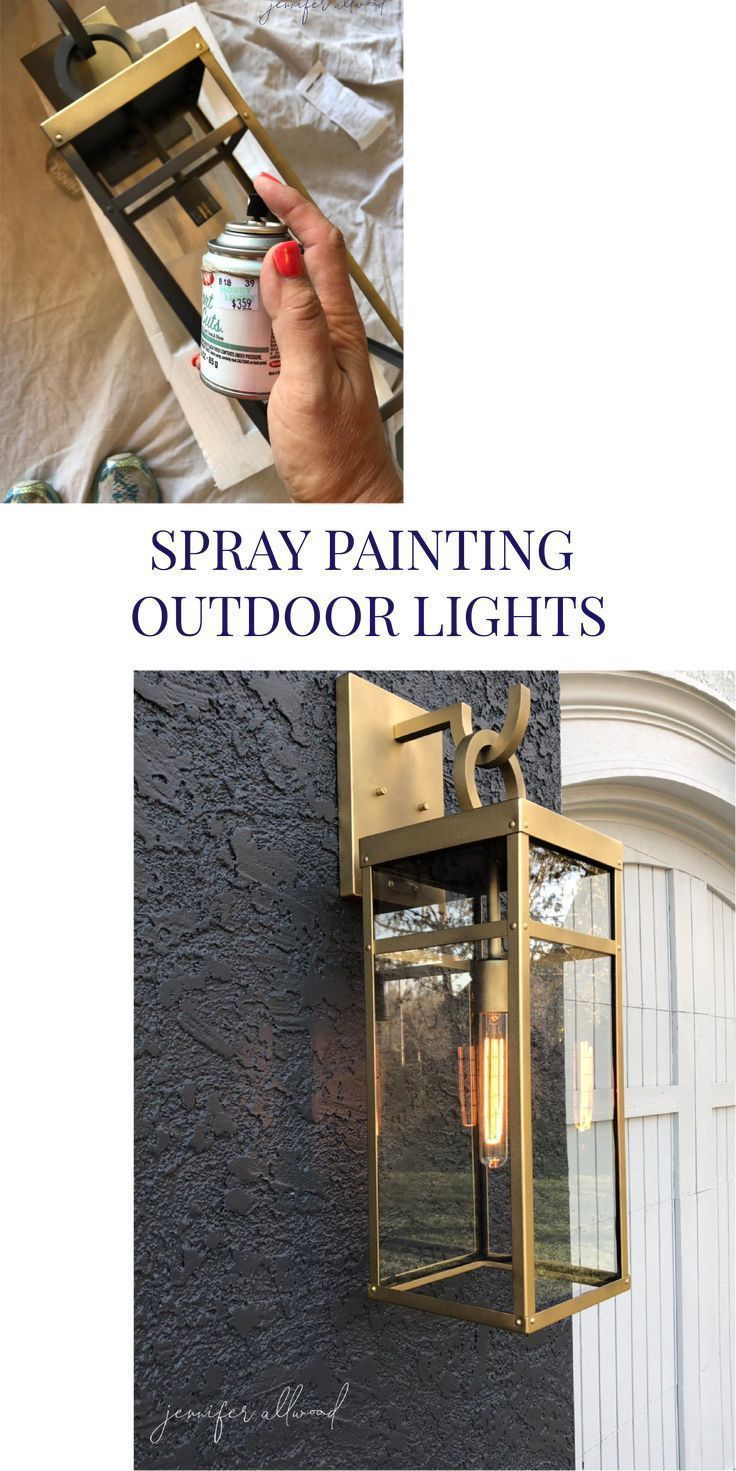
Application Techniques
Apply spray paint in thin, even coats rather than thick ones. Hold the can 10-12 inches away from the fixture and move in steady, overlapping motions. Work from top to bottom to prevent drips. Allow each coat to dry completely before applying the next one. Most projects require two to three coats for full coverage. Don't rush this process - patience pays off in a professional-looking finish. Many beginners make the mistake of applying too much paint at once, which leads to runs and an uneven appearance. Remember, it's better to take your time and do it right the first time.
Maintenance and Longevity
Once your outdoor fixtures are painted, they'll need regular care to maintain their appearance. Inspect annually for signs of wear, fading, or peeling. Touch up small areas promptly to prevent bigger problems. Keep the surrounding area clean to reduce dirt buildup. Properly applied spray paint on quality fixtures can last 5-7 years in most climates. Some people notice their painted lights looking great even after a decade with minimal maintenance. The investment in quality materials and proper technique really pays off in the long run. Consider keeping a small touch-up kit handy for future repairs.
Spray painting outdoor light fixtures is definitely achievable with the right approach and materials. It's a skill that anyone can master with practice and attention to detail. The results can transform your outdoor space while saving money on replacements. From choosing the right paint to proper preparation and application techniques, each step matters. Remember, the goal isn't just to make things look pretty - it's about protecting your investment and extending the life of your fixtures. Whether you're updating a single fixture or tackling your whole porch, the knowledge you've gained here gives you the confidence to try this yourself. The next time you see an old fixture looking tired, think about giving it a fresh coat of paint instead of replacing it entirely. It might just be the most rewarding DIY project you've ever tackled.
