
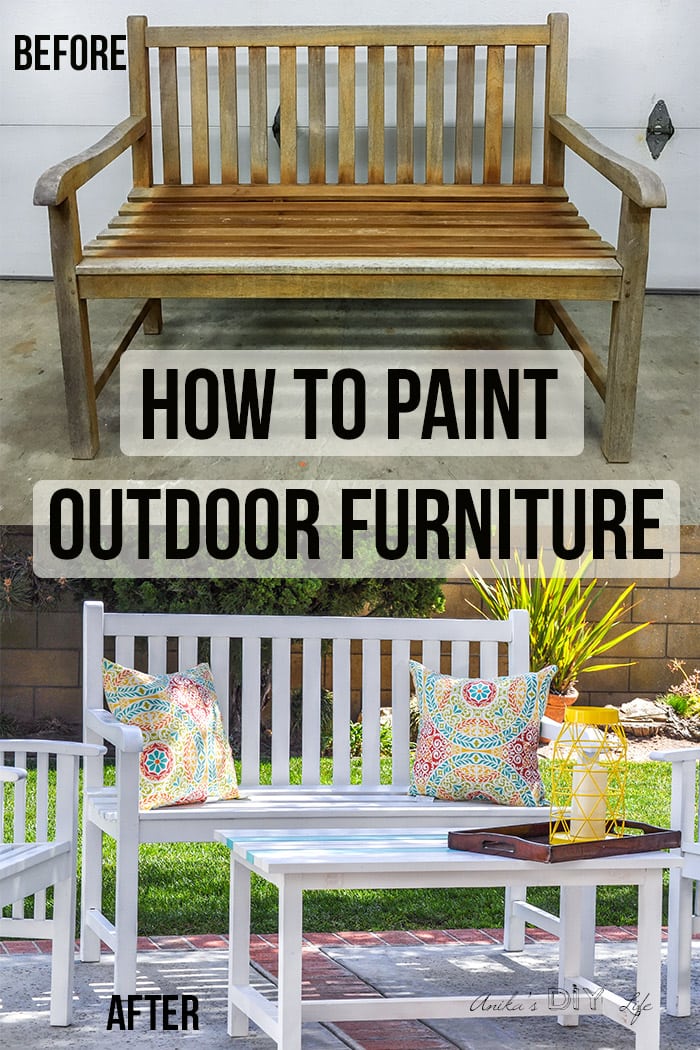
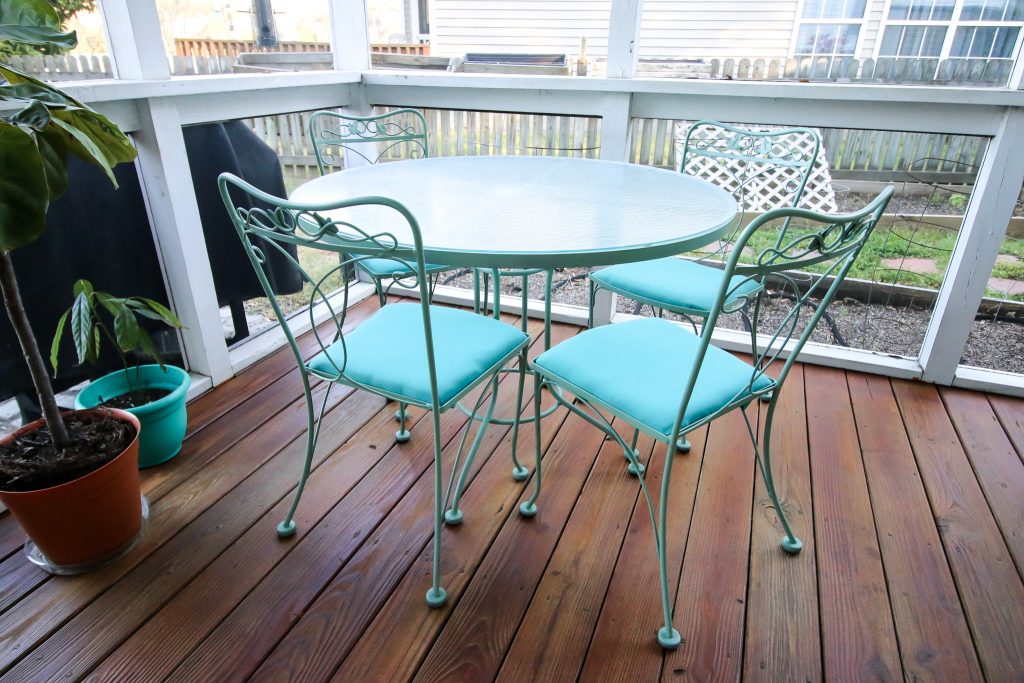
There's something magical about watching old patio furniture come back to life with a fresh coat of paint. Whether your outdoor seating has seen better days or you're looking to give new life to a set you've had for years, repainting is one of the most cost-effective ways to transform your outdoor space. It's not just about aesthetics though – a good paint job can actually extend the life of your furniture significantly.
Patio furniture takes a beating from the elements year after year. Sun, rain, wind, and temperature changes all work together to fade colors and deteriorate surfaces. But here's the thing – with the right approach, you can bring that weathered beauty back to life. Whether you're dealing with teak, aluminum, wrought iron, or plastic, there's a method that works for your specific material. The secret lies in preparation, choosing the right products, and applying them with patience and care.
Understanding Your Furniture Material
Before you even think about paint, you need to know what you're working with. Different materials require different approaches, and getting this wrong can mean a frustrating project with disappointing results.
Wooden furniture like teak or cedar needs thorough cleaning and sanding to remove weathered layers. These woods often have natural oils that can interfere with paint adhesion, so using a deglosser or light sanding helps create a surface that paint can grip onto.
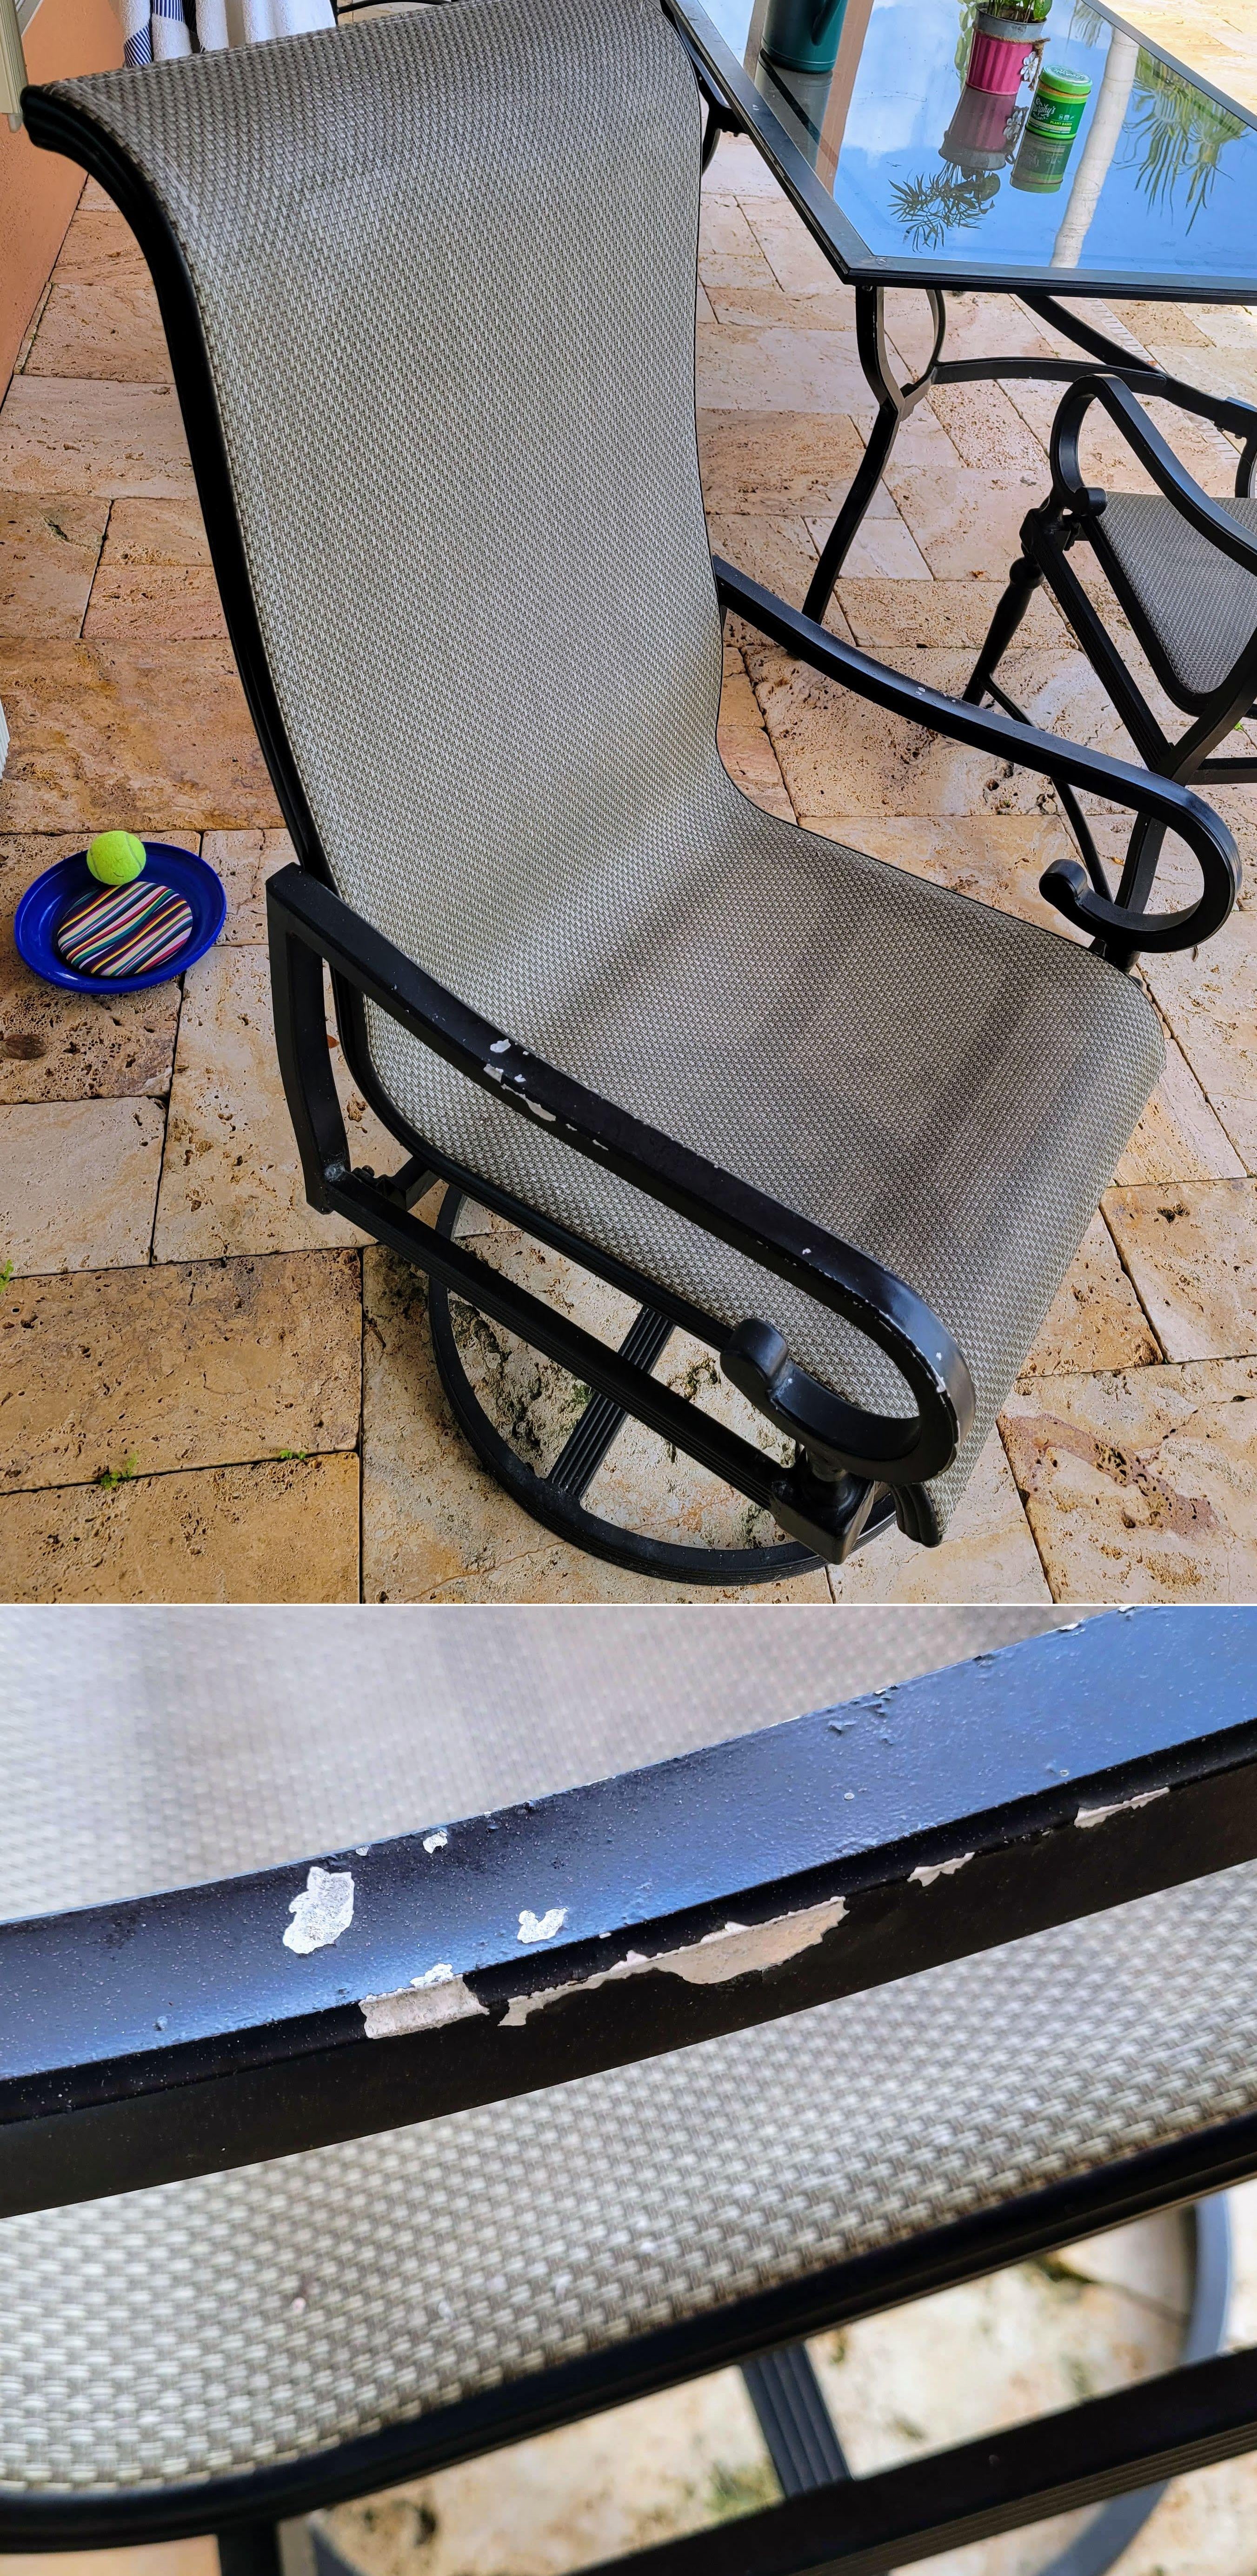
Metal furniture, particularly aluminum and wrought iron, may need rust removal and primer application. Even if it looks fine, microscopic rust can be lurking under the surface. Look for flaking paint or dark spots that indicate corrosion.
Plastic and resin furniture behave differently than wood and metal. They often don't require extensive prep work, but you'll want to clean thoroughly and possibly use a special primer designed for plastics.
Essential Tools and Materials
Having the right supplies on hand makes all the difference between a successful project and a messy disaster. You'll want to gather these items before starting:
The investment in quality tools pays off quickly. Cheap brushes tend to shed bristles, while good-quality rollers provide even coverage. Don't skimp on safety equipment either – painting involves chemicals that can be harmful if inhaled or touched.
Preparation Steps That Make the Difference
This is where most people make their biggest mistake. Skipping proper prep means poor paint adhesion and a quick return to the original worn state. Here's how to do it right:
First, clean everything thoroughly. Remove any loose debris, dirt, and grime with soap and water. For stubborn spots, use a scrub brush. Let everything dry completely before moving on.
Next, sand lightly to create texture for better paint adherence. This step is especially important for previously painted surfaces. Remove all loose paint chips and rust. Use fine-grit sandpaper for the final smoothing pass.
Apply primer to bare metal or wood surfaces. This creates a foundation that helps paint stick and provides additional protection against moisture. Some primers also offer rust-inhibiting properties.
Finally, cover everything around your workspace. Protect your deck, plants, and nearby furniture with drop cloths or tarps. This prevents accidental spills and splatters.
Choosing the Right Paint Formula
Not all paints are created equal, especially when it comes to outdoor applications. You need to select a formula that can handle the elements.
For wood furniture, consider using an exterior wood stain or paint formulated for outdoor conditions. These products typically contain UV inhibitors that prevent fading. Look for paints that offer both color and protective qualities.
Metal furniture requires specialized coatings. Choose a paint that's specifically made for metal surfaces, ideally one with rust-inhibiting properties. Some formulas also offer superior flexibility to handle expansion and contraction due to temperature changes.
Plastic furniture benefits from acrylic-based paints that adhere well to synthetic surfaces. These often come in spray form, which can be easier for detailed work.
Color selection matters too. Lighter colors reflect heat better and show less fading over time. Darker colors absorb heat and may require more frequent touch-ups. Consider how the color will complement your existing outdoor decor.
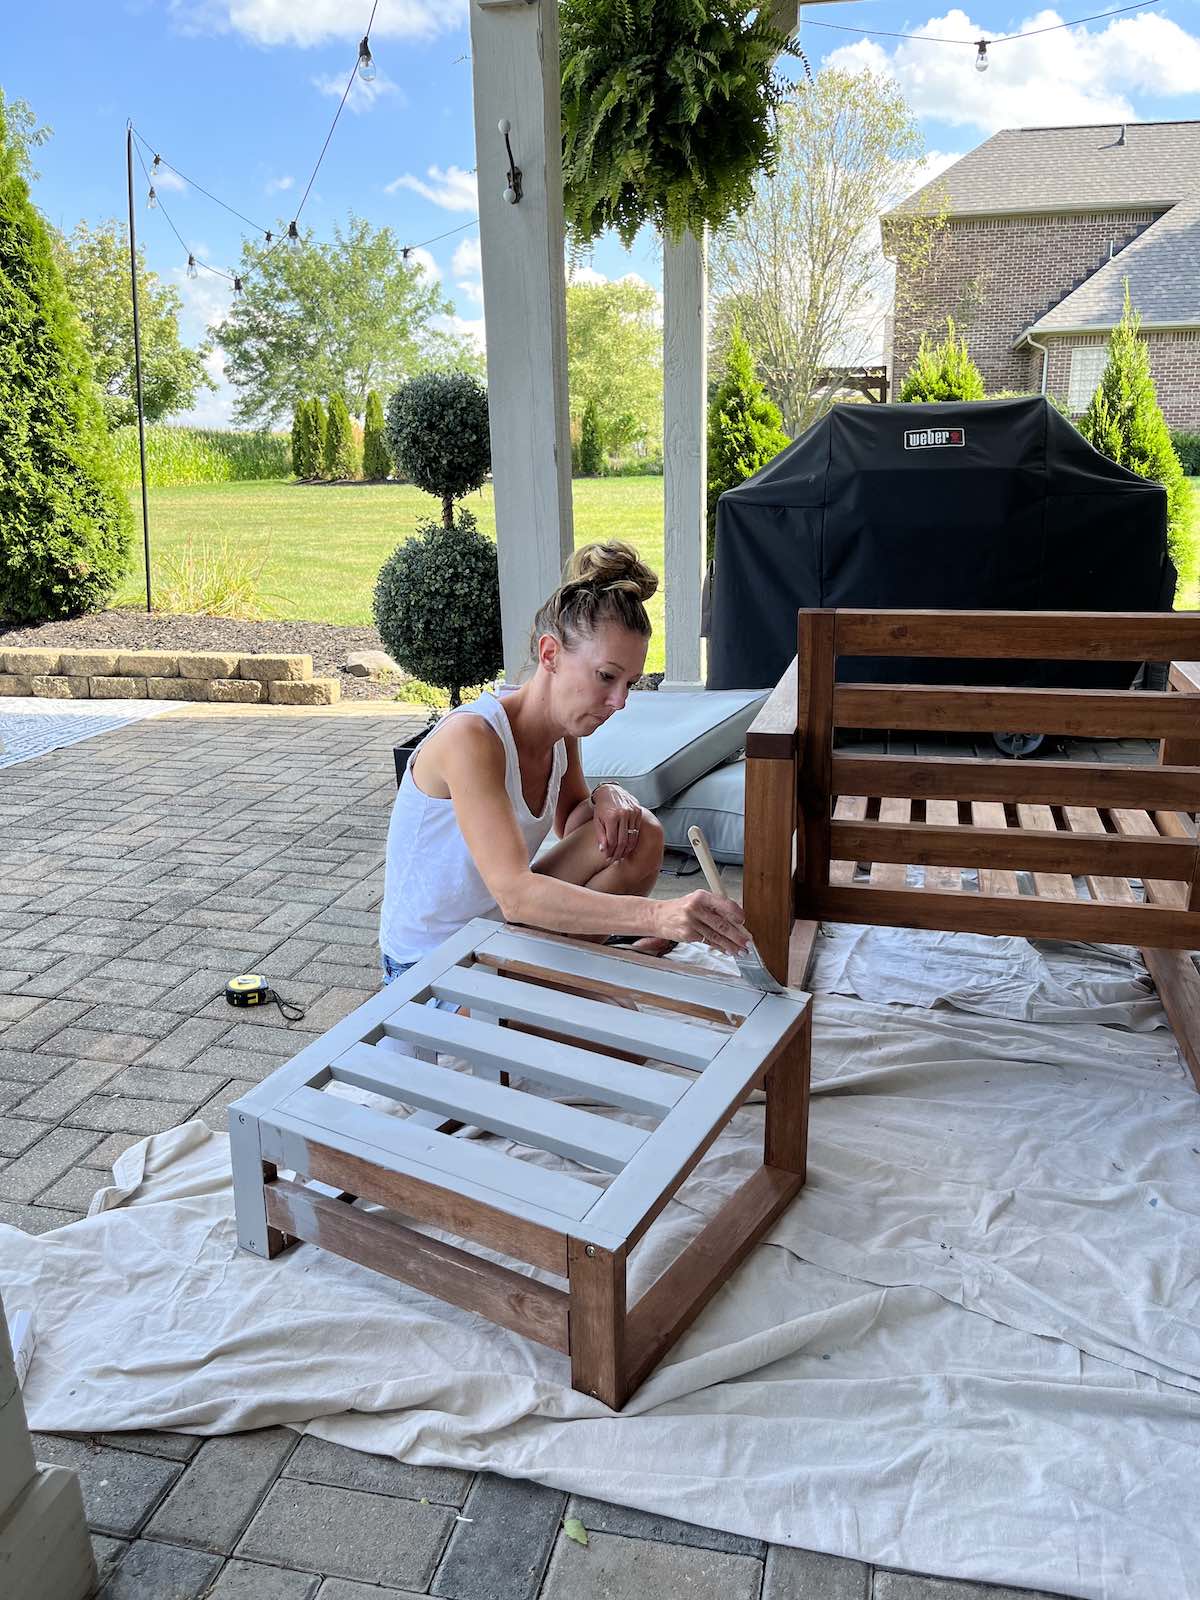
Application Techniques for Best Results
Once you've prepared everything and selected your paint, it's time to apply. This part requires patience and attention to detail.

Start with thin, even coats rather than thick ones. Multiple thin layers will provide better coverage and reduce the risk of drips or uneven drying. Allow each coat to dry completely before applying the next one.
Use long, smooth strokes in the direction of the wood grain or natural lines of the furniture. This creates a professional-looking finish. Work in sections, keeping your brush or roller moving consistently.
Don't forget to pay attention to details. Edges, corners, and crevices often need extra care. These areas can collect dirt and moisture, so they deserve special attention during both cleaning and painting.
Consider the weather conditions. Avoid painting in direct sunlight or high humidity. Ideal conditions are temperatures between 50°F and 90°F with low humidity levels. If you're unsure about conditions, wait until tomorrow or check forecasts carefully.
Maintenance and Longevity Tips
Repainting isn't just about the initial project – it's about planning for ongoing care. Proper maintenance extends the life of your paint job and keeps your furniture looking great.
Related Posts

Unveiling the Timeless Charm of Black and White Striped Patio Um

Unpacking the Truth About Walking on Pool Covers Your Essential

Mastering the Art of the Perfect Pool Party Experience A Guest's Guide

Understanding the Pink Slime in Your Pool What It Is and How to Tackle It

Keeping Your Concrete Patio Happy and Safe Around the Fire Pit

Transforming Your Corner Lot A Masterclass in Curb Appeal
Regular cleaning prevents buildup that can damage paint over time. Wipe down surfaces periodically with mild soap and water. Remove any moss or mildew that appears.
Inspect your furniture regularly for signs of wear. Small areas of chipped or peeling paint can be touched up before they become bigger problems.
Consider applying a clear protective coating over your painted surface. This adds another layer of defense against UV rays and weather exposure.
Plan for touch-ups. Even the best paint jobs will eventually need attention. Keep some leftover paint for future repairs.
Remember that different materials age differently. Wood may need repainting every 3-5 years, while metal might last 7-10 years with proper care. Understanding these timelines helps you plan your outdoor maintenance schedule effectively.
Repainting patio furniture is one of those projects that brings immediate joy and long-term satisfaction. It's not just about covering up old appearances – it's about investing in your outdoor living space and extending the useful life of your belongings. The key is taking the time to prepare properly, choosing the right materials, and applying the paint with care. With these techniques, your patio furniture will look refreshed and feel durable for many seasons to come. Whether you're tackling a single chair or an entire set, the principles remain the same. Take pride in the work, and remember that the time invested upfront will pay dividends in the years ahead. Your outdoor space will thank you for the effort.
