
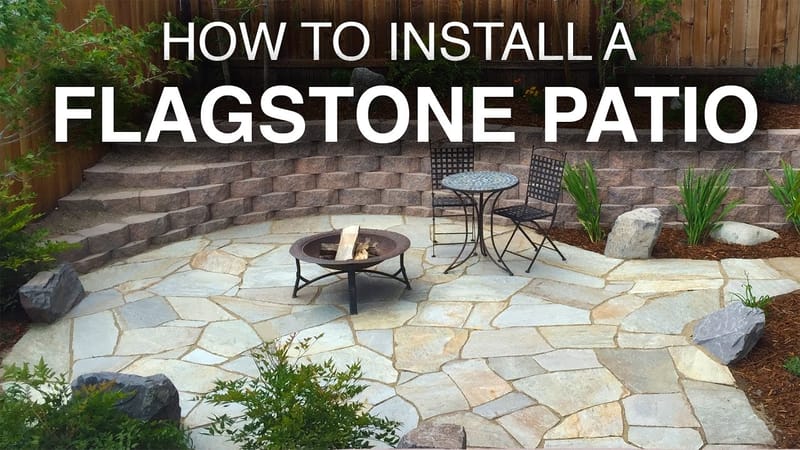
There's something magical about stepping onto a perfectly laid flagstone patio. The way the stones catch the light, the subtle textures underfoot, and that sense of craftsmanship that fills every corner - it's more than just a walkway. It's a statement of quality and care. Whether you're planning a small backyard oasis or a grand entertaining area, understanding how to properly lay flagstone is essential.
Flagstone patios have been gracing homes for generations, and for good reason. They offer timeless appeal, durability, and that distinctive character that makes every outdoor space feel special. But before you start dreaming about your dream patio, you need to understand the fundamentals of laying these beautiful stones. It's not just about placing them randomly - there's a method to the madness that will ensure your patio lasts for decades. The process requires patience, proper preparation, and attention to detail. What might seem like a simple DIY project actually involves several crucial steps that determine whether your patio will be a masterpiece or a mess. Let's break down exactly how to approach this rewarding endeavor.
Planning and Preparation
Before you even think about picking up a stone, proper planning is absolutely critical. Start by measuring your intended patio area carefully. Take note of any existing features like trees, garden beds, or utility lines that might affect your layout. Consider the natural slope of your yard - water needs to drain away from your patio, not pool on it. Sketch out a rough design showing where major stones will go, keeping in mind that you'll want some variation in sizes and shapes for a natural look. Think about access points, such as doorways or garden paths, and plan accordingly. You'll also want to check local building codes, especially if you're planning to build near property lines or drainage areas. Many people skip this step and end up with a patio that's either too narrow or awkwardly positioned. Once you've got your plan, gather all necessary materials including flagstones, sand, concrete mix, and tools. Don't forget to check weather forecasts - you'll want dry conditions for installation.
Site Preparation and Base Layer
The foundation of any great patio lies in the ground preparation. Begin by clearing the area of grass, weeds, and debris. If you're working on a slope, you may need to level the ground first using a shovel and rake. Next comes the excavation phase - remove soil to create a level base approximately 6 inches deep. This depth allows room for the base materials and gives you a stable platform. Then it's time for the first layer: compacted gravel. Use 1-inch crushed stone or limestone gravel, spreading it evenly across the area. The key here is compaction - use a hand tamper or mechanical compactor to press the gravel down firmly. You want a solid, level surface that won't shift over time. This base layer is crucial because it provides drainage and prevents settling. Some people try to skip this step thinking it's unnecessary, but they often regret it later when their patio becomes uneven or waterlogged. After compaction, add a 2-inch layer of coarse sand on top. This creates a smooth surface for your flagstones and allows for fine adjustments during placement.
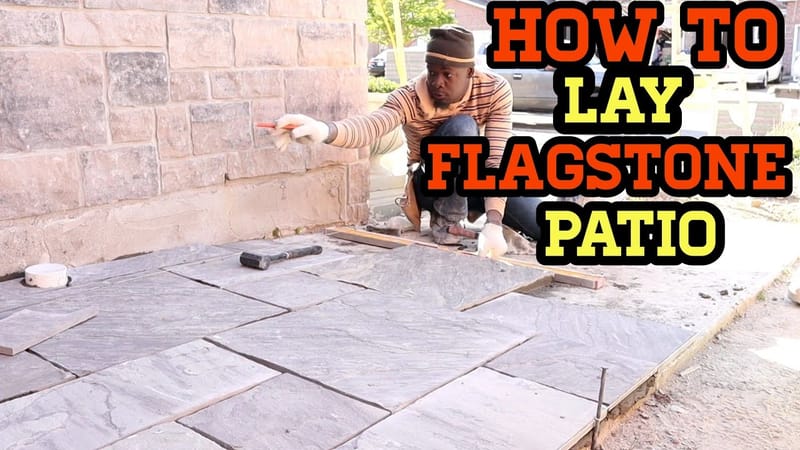
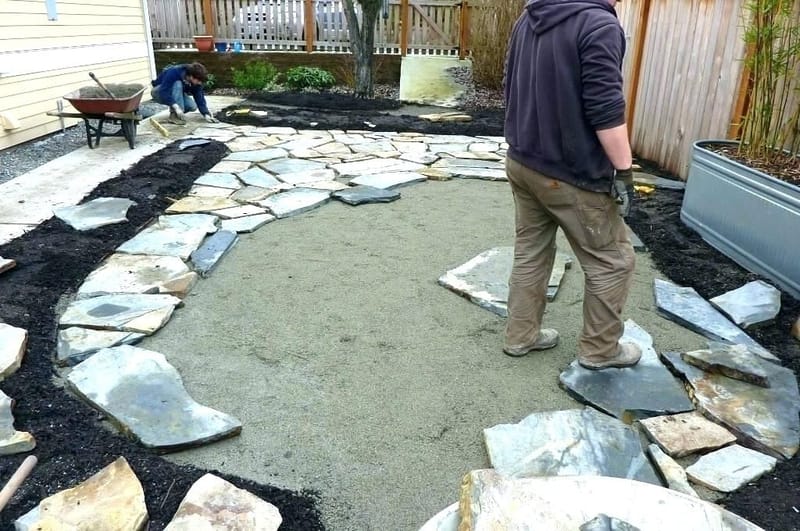
Laying the First Course
Now comes the exciting part - actually placing the flagstones. Start by laying out your stones on the prepared base to plan the arrangement. Look for stones that complement each other in size and color, but don't worry about matching perfectly - that's what makes natural stone so appealing. Begin with one edge of your patio, typically against a wall or fence, and work outward. Place stones carefully, ensuring they're level with each other. Use a spirit level to check that each stone sits flat. For the first row, keep the stones relatively straight and aligned with your planned edges. This sets the foundation for the entire patio. Don't rush this step - it's better to spend extra time getting the first course right than to fix problems later. As you place each stone, tap it gently with a rubber mallet to settle it into the sand. Check the gaps between stones regularly - they should be consistent, typically about 1/4 inch. If you find gaps that are too wide, you can add sand to fill them. If they're too narrow, you might need to adjust the positioning slightly.
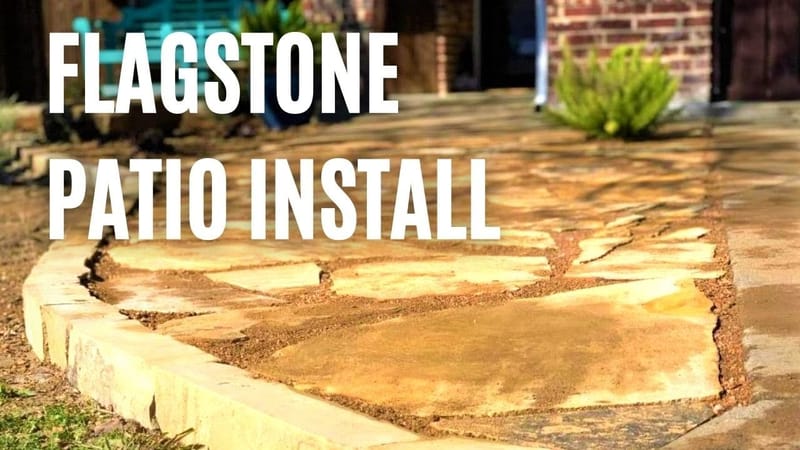
Creating the Pattern and Filling Gaps
Once your first row is in place, you'll want to establish a pattern for subsequent rows. This is where creativity really comes into play. You can alternate stone orientations, vary sizes, or create interesting geometric arrangements. One popular technique is the offset pattern, where each row is placed slightly offset from the previous one. This creates visual interest and helps distribute weight more evenly. As you work through each row, keep checking levels and alignment. Use a straight edge to ensure that the stones form a flat surface. When you encounter gaps between stones, fill them with coarse sand rather than concrete. This allows for easier adjustments later and provides better flexibility. The sand acts as a kind of mortar, holding stones in place while still allowing for minor movement. Don't overfill the gaps - you want just enough to hold the stones together without creating a rigid structure. Remember, flagstone patios are meant to have some give, which helps prevent cracking from temperature changes or settling.
Related Posts

Unveiling the Timeless Charm of Black and White Striped Patio Um

Unpacking the Truth About Walking on Pool Covers Your Essential

Mastering the Art of the Perfect Pool Party Experience A Guest's Guide

Understanding the Pink Slime in Your Pool What It Is and How to Tackle It

Keeping Your Concrete Patio Happy and Safe Around the Fire Pit

Transforming Your Corner Lot A Masterclass in Curb Appeal
Finishing and Sealing
After all stones are laid and the sand has settled, it's time for final touches. Sweep sand into all gaps and use a broom to work it down into the spaces between stones. You can also use a small amount of thinset mortar or specialized flagstone adhesive if you want extra stability, though this isn't always necessary. Once the sand is well-compacted, sweep away excess material and clean the surface gently. Water the patio lightly to help settle the sand further, but avoid soaking it. The next day, inspect your work carefully. Look for any stones that are higher or lower than others, and adjust if needed. This is also when many people choose to apply a sealant. While flagstone naturally weathers beautifully, sealing can help protect against stains and weathering. Apply the sealant according to manufacturer instructions, usually when the patio is completely dry. Some prefer to wait a few months to allow the stones to settle fully before sealing. Others find that sealing immediately after installation provides better protection from the start. Either approach works, but consistency matters more than timing.
Maintenance and Longevity Tips
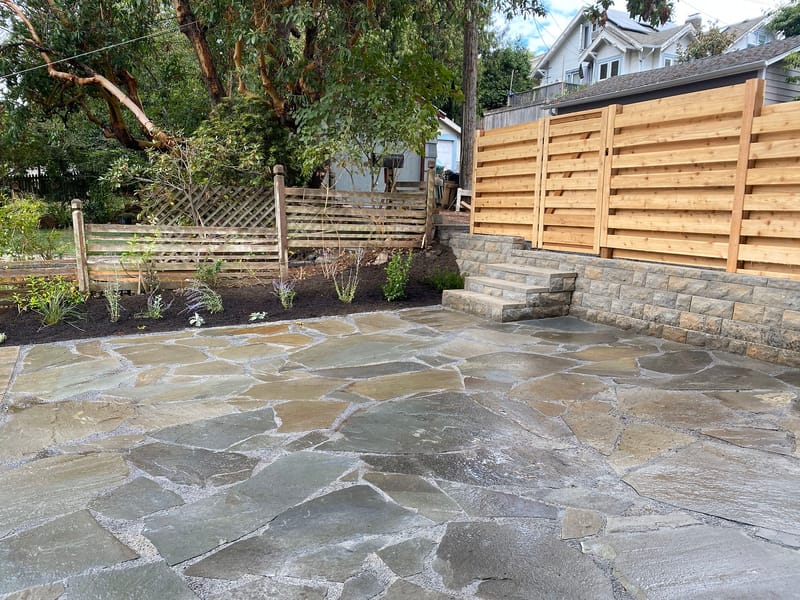
A well-laid flagstone patio can last for decades with proper care. Regular maintenance keeps it looking its best and extends its lifespan significantly. Sweep the patio regularly to remove leaves and debris that could trap moisture. Deep cleaning once or twice per year with a mild soap solution helps maintain appearance. Avoid harsh chemicals that might damage the stone or sealant. Address any loose stones promptly - they can become trip hazards and indicate settling issues. If you notice water pooling in certain areas, it might be time to relevel or adjust the base. In winter regions, be mindful of freeze-thaw cycles that can cause expansion and contraction. Proper drainage remains crucial even after installation. Consider adding edging around the perimeter to keep stones in place and prevent erosion. Many homeowners find that their flagstone patios improve with age, developing a beautiful patina that tells stories of countless summer gatherings and autumn evenings. With the right approach from start to finish, your flagstone patio will become one of your most cherished outdoor features.
Laying a flagstone patio is both an art and a science. It combines careful planning with hands-on craftsmanship to create something that will serve your family for generations. From the initial site preparation to the final sealant application, each step builds upon the last. The beauty of flagstone lies in its natural variation - no two stones are exactly alike, which means every patio will have its own unique personality. Whether you're a seasoned DIYer or tackling this project for the first time, remember that patience and attention to detail are your greatest allies. Don't rush through the process, and don't skip the foundational steps. Invest time in proper preparation, and you'll be rewarded with a stunning outdoor space that brings joy year after year. Your future self will thank you for taking the time to get it right the first time. The satisfaction of walking across a professionally laid patio, knowing exactly how each element contributes to the whole, is worth every moment of effort. It's not just about the stones themselves - it's about creating a space where memories are made and life is lived outdoors.
