
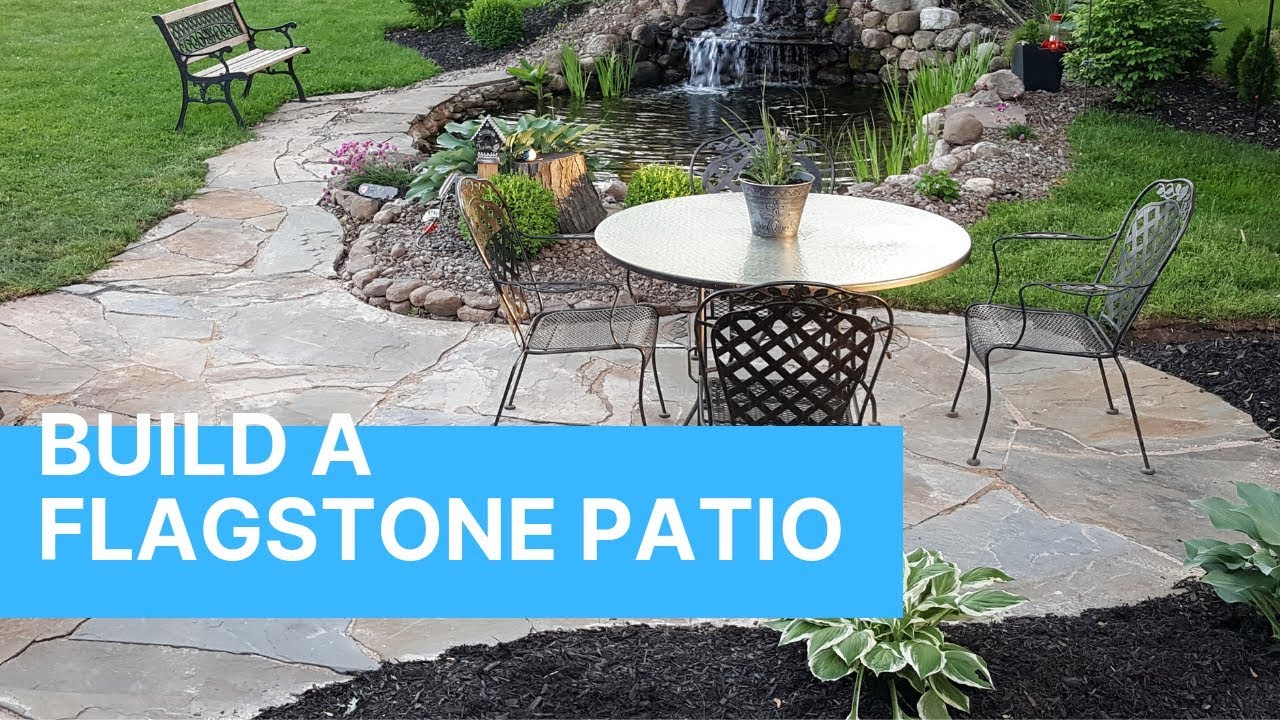
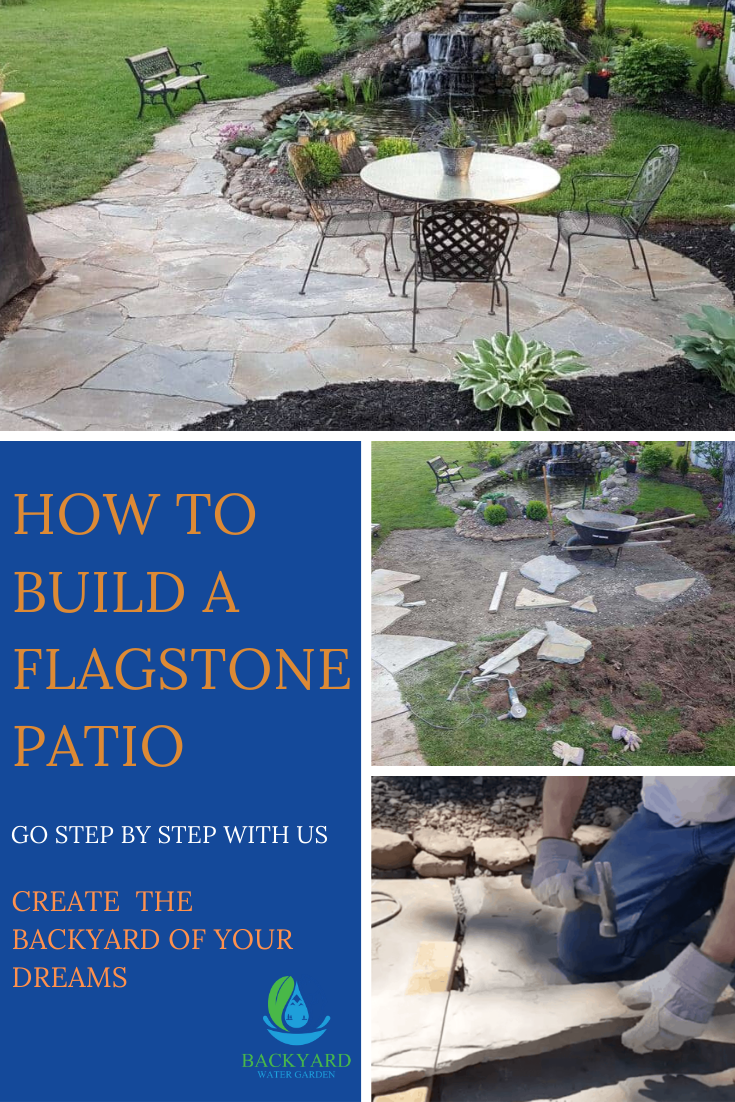
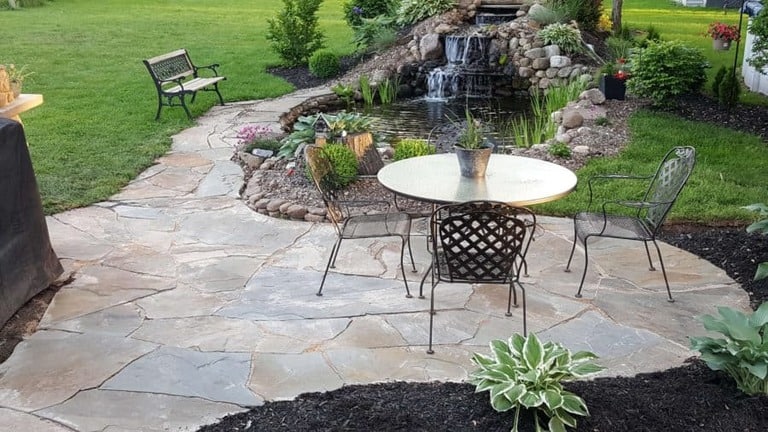
There's something magical about stepping onto a well-crafted flagstone patio. The warm tones, the texture underfoot, and that classic look that never goes out of style. Whether you're planning a small backyard oasis or a grand outdoor entertaining area, building a flagstone patio can be one of the most rewarding DIY projects you'll ever tackle.
Flagstone patios have been gracing homes for decades, offering that timeless charm that makes any outdoor space feel special. But before you start dreaming about your perfect patio, it helps to understand the process. Building a flagstone patio isn't just about laying stones - it's about creating a foundation that will last for years while looking stunning. From choosing the right stones to preparing the ground, every step matters. This guide will walk you through each phase, helping you avoid common pitfalls and create a masterpiece that will be the envy of your neighborhood.
Planning Your Flagstone Patio
Before you even think about buying stones, you need to plan. Start by measuring your space carefully. Consider the size of your home, existing landscaping, and how you want to use the area. Will it be for dining, lounging, or maybe a combination? Think about traffic flow too. A good rule of thumb is to leave at least 3 feet of clearance around seating areas. Also consider drainage - water should flow away from the patio, not pool on top of it. Sketch out different layouts, and don't forget to check if you need permits in your area. Some neighborhoods have specific requirements for outdoor construction.
Choosing Quality Flagstone
The stone you choose sets the tone for your entire project. Look for flagstone that's uniform in thickness - ideally between 1 and 2 inches. You want stones that are relatively flat and have minimal warping. Natural limestone and sandstone work well for patios, but granite and slate also offer excellent durability. When shopping, check for cracks or chips, and always buy extra stones - about 10% more than you think you'll need. That way, you won't be left scrambling when you discover a stone is damaged during installation. Visit multiple suppliers to compare prices and quality. Sometimes the cheapest option isn't the best long-term investment.
Preparing the Ground
Good preparation is half the battle. Start by clearing the area of grass, weeds, and debris. Then use a shovel to dig down about 6 inches. Level the ground as much as possible, using a rake to smooth things out. Next comes the base layer - a mixture of crushed stone and sand. This creates a stable foundation that prevents settling. Pour about 4 inches of this mixture and compact it well using a tamper. The ground needs to be perfectly level because any uneven spots will show through the finished surface. It's worth spending extra time here - a poor foundation leads to problems later.
Laying the Base Layer
Once the ground is prepared, you'll lay your first layer of material. This typically involves placing a 2-inch layer of concrete sand over the crushed stone base. Concrete sand is ideal because it compacts well and provides a smooth surface for the stones. Spread it evenly with a shovel, then use a screed board to level it. You want everything to be within 1/8 inch of level across the entire patio area. This is where many beginners make mistakes - rushing through this step means trouble later. Take your time and check the level frequently with a long straightedge. If you're working with a large patio, do this in sections.
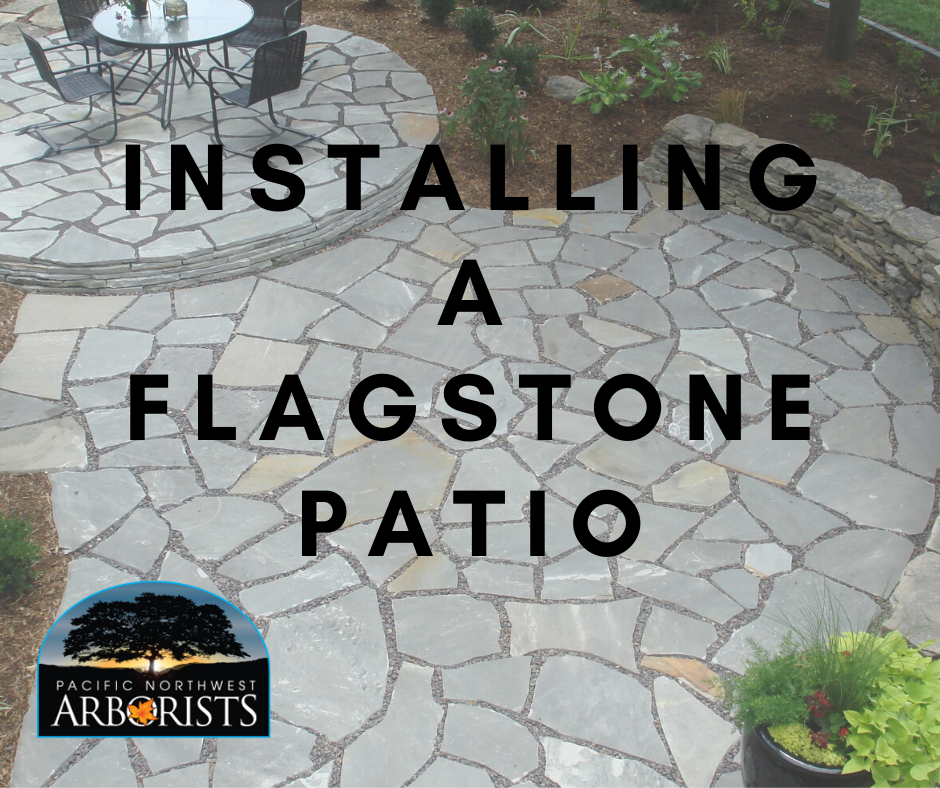
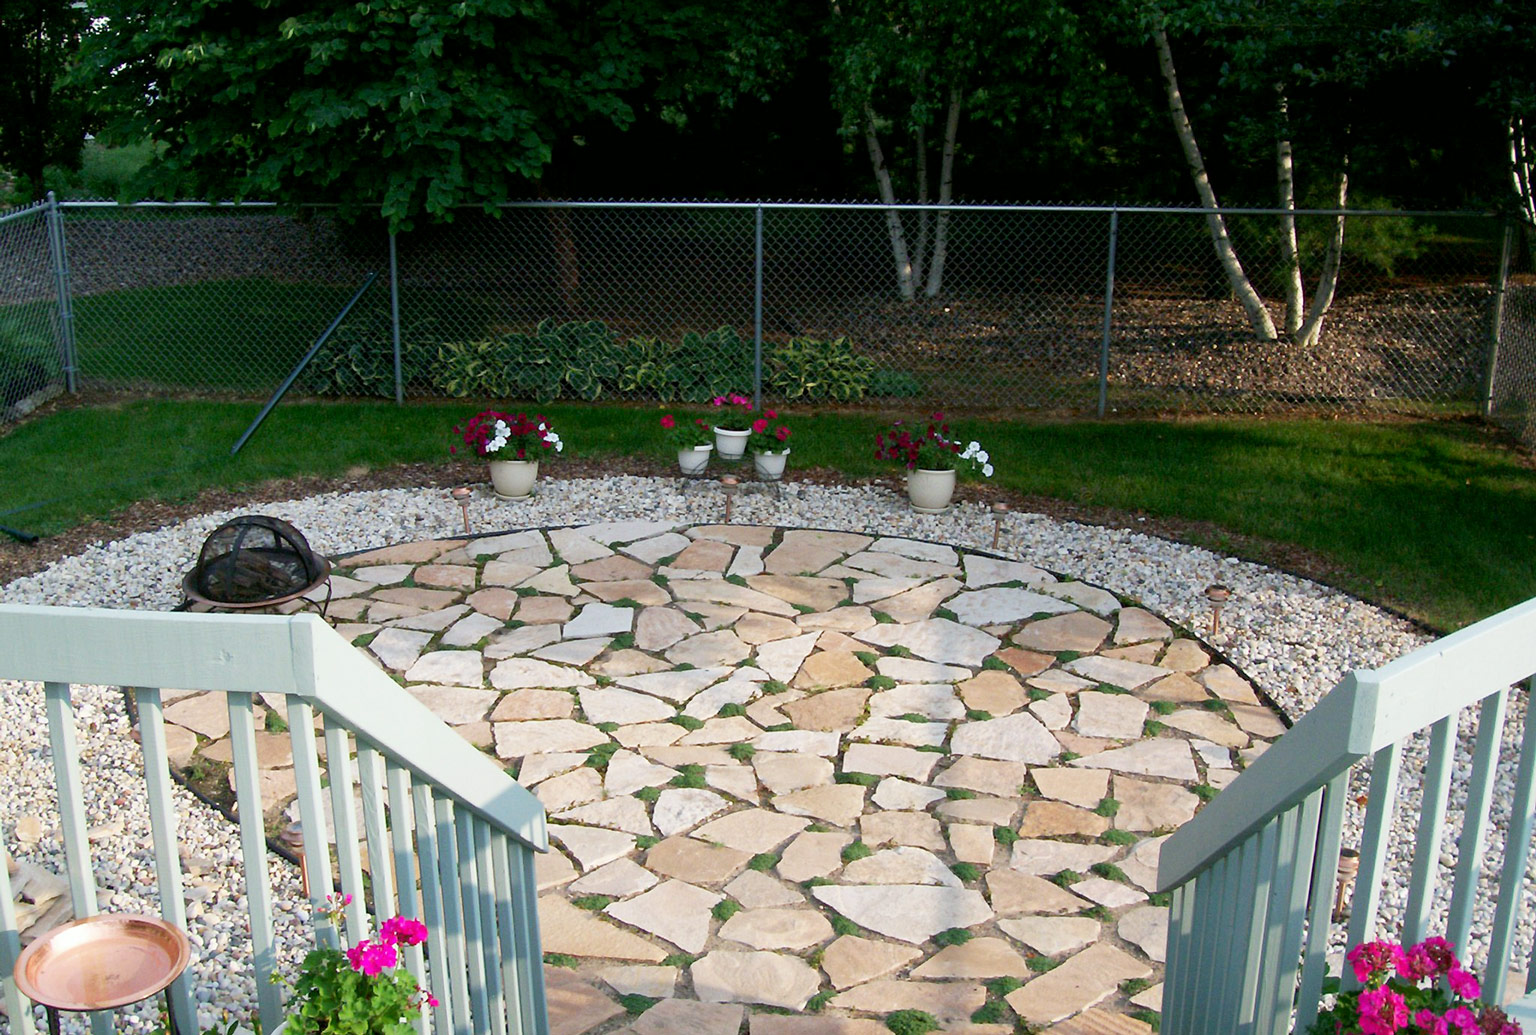
Installing the Flagstone
Now comes the fun part. Start by laying out your stones in the desired pattern before actually installing them. This helps you visualize the final result and identify any stones that might not fit properly. Begin at one end of the patio and work your way across. Place each stone carefully, tapping it gently with a rubber mallet to seat it properly. Leave small gaps between stones - usually about 1/4 inch - for the mortar or sand to fill. Make sure each stone is level with its neighbors. If a stone sits higher or lower, remove it and adjust the base underneath. This attention to detail pays off in the final appearance.
Finishing Touches and Maintenance
Once all stones are in place, you'll need to fill the gaps between them. Use coarse sand or specialized flagstone mortar to do this. Sweep the sand into the joints, then tamp it down gently. After it settles, sweep away excess material. You can also add a thin layer of sand over the entire surface to create a uniform look. For maintenance, regular sweeping and occasional cleaning with mild soap and water will keep your patio looking great. Consider sealing the stones after installation to protect against stains and weather damage. This step isn't required but can extend the life of your patio significantly. Watch for weeds that might grow between stones and address them promptly.
Building a flagstone patio is a significant undertaking, but the results are absolutely worth the effort. You're not just creating a functional outdoor space - you're crafting a piece of art that will enhance your home for years to come. Remember that patience and careful preparation are key. Rushing through any step, especially the foundation work, often leads to costly repairs down the road. The satisfaction of walking across a beautifully laid patio, knowing you built it yourself, is unmatched. Whether you're a seasoned DIYer or tackling this project for the first time, approach it with care and attention to detail. Your future self will thank you for taking the time to do it right the first time.


