
Have you ever wondered how to install a patio screen door properly? Maybe you've been putting off that DIY project because it seems complicated. Well, let's break it down together. Installing a patio screen door isn't just about hanging a door - it's about creating a seamless transition between your indoor and outdoor spaces. The right installation can transform your home's functionality and aesthetics.
Installing a patio screen door might seem like a daunting task, but it's actually one of those projects that becomes much more manageable when you have the right approach. Whether you're replacing an old door or adding one to a new space, the process involves careful planning, proper measurements, and attention to detail. This guide will walk you through everything from preparation to final adjustments, ensuring you end up with a door that functions perfectly and looks great.
Preparation and Planning
Before you even think about measuring or purchasing materials, take some time to plan ahead. Start by examining your existing doorway carefully. Check if the frame is square and sturdy enough to support a screen door. Measure the width and height of your opening multiple times to ensure accuracy. It's better to double-check than to find out you need to start over later. Also, consider the direction the door swings and whether you want it to open inward or outward. Most patio screen doors are designed to swing outward, which helps prevent them from getting caught on furniture inside the house. If you're unsure about the swing direction, look at the hinges - they'll tell you which way the door naturally opens. Don't forget to check local building codes, especially if you live in an area prone to high winds or storms. Some regions require specific hardware or installation methods for security and safety reasons. You might also want to consider the type of screen door you want. There are sliding options, swinging doors, and even retractable screens. Each has its own set of requirements and benefits.
Tools and Materials Needed
Having the right tools makes all the difference in a successful installation. You'll want to gather these essentials before starting: a drill with both bits and a screwdriver, a level, a measuring tape, a pencil, a stud finder, and a utility knife. For materials, you'll typically need the screen door itself, mounting brackets, screws, shims, and possibly a door stopper. If you're working with an older frame, you might also need weatherstripping or caulk. Make sure to read the manufacturer's specifications for exact requirements. Sometimes, special hardware is needed for specific door models. A good rule of thumb is to have a few extra screws on hand - you never know when you'll need them. Having a helper nearby can also make things much easier, especially when lifting the door into place. Consider bringing a friend along who's handy with tools, or at least someone who can hold things steady while you work. The last thing you want is to drop a heavy door or misalign components due to lack of assistance.
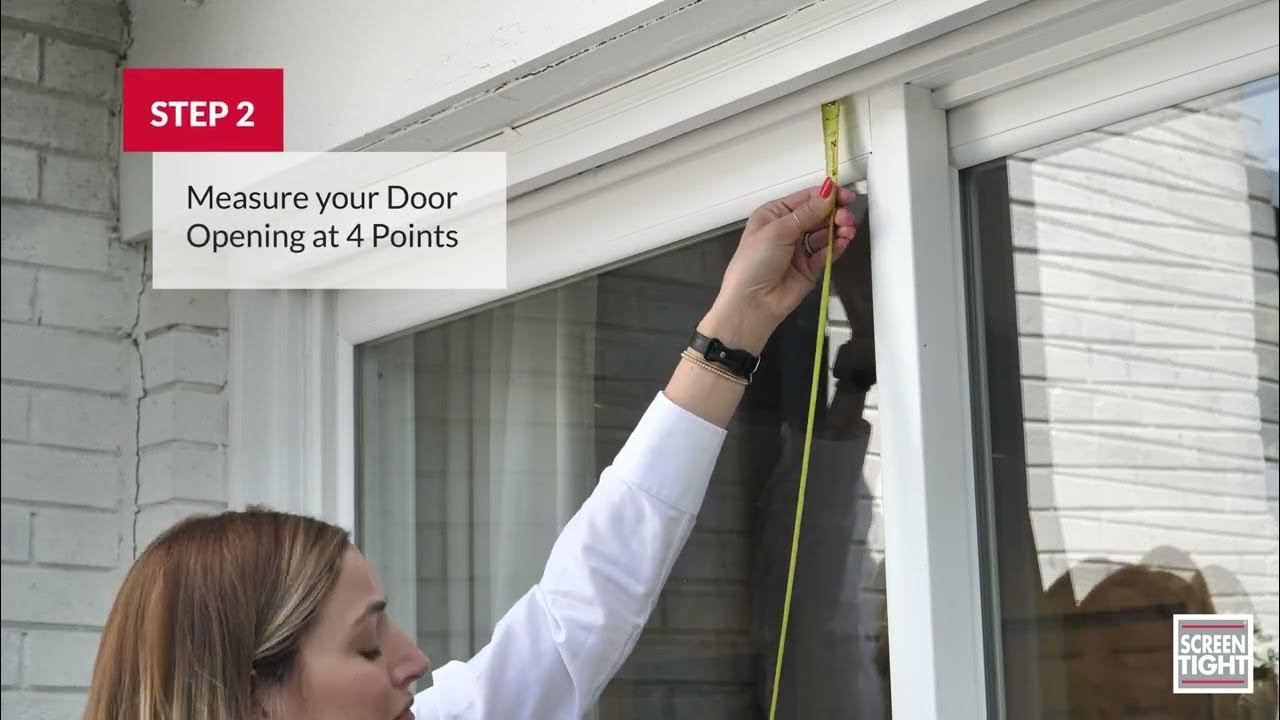
Measuring Your Opening
Accurate measurements are crucial for a proper fit. Start by measuring the width of your doorway at three different points: top, middle, and bottom. Take note of the smallest measurement since you'll want to accommodate that. Then measure the height from floor to header at three points. Again, record the smallest dimension. If you're working with an existing door, measure from the outside edge of the frame to the opposite side. Remember to account for any trim or molding that might affect the final placement. When measuring, don't forget to add a little extra room for adjustments. A gap of about half an inch around the edges usually works well for most installations. But always verify what your specific model requires. Sometimes, manufacturers specify very tight tolerances. If you're measuring a rough opening, you might need to do some framing work first. A level surface is essential for proper installation. If your measurements show the opening isn't perfectly square, you may need to adjust the frame before proceeding. Take photos of your measurements and bring them to the store when purchasing your door.
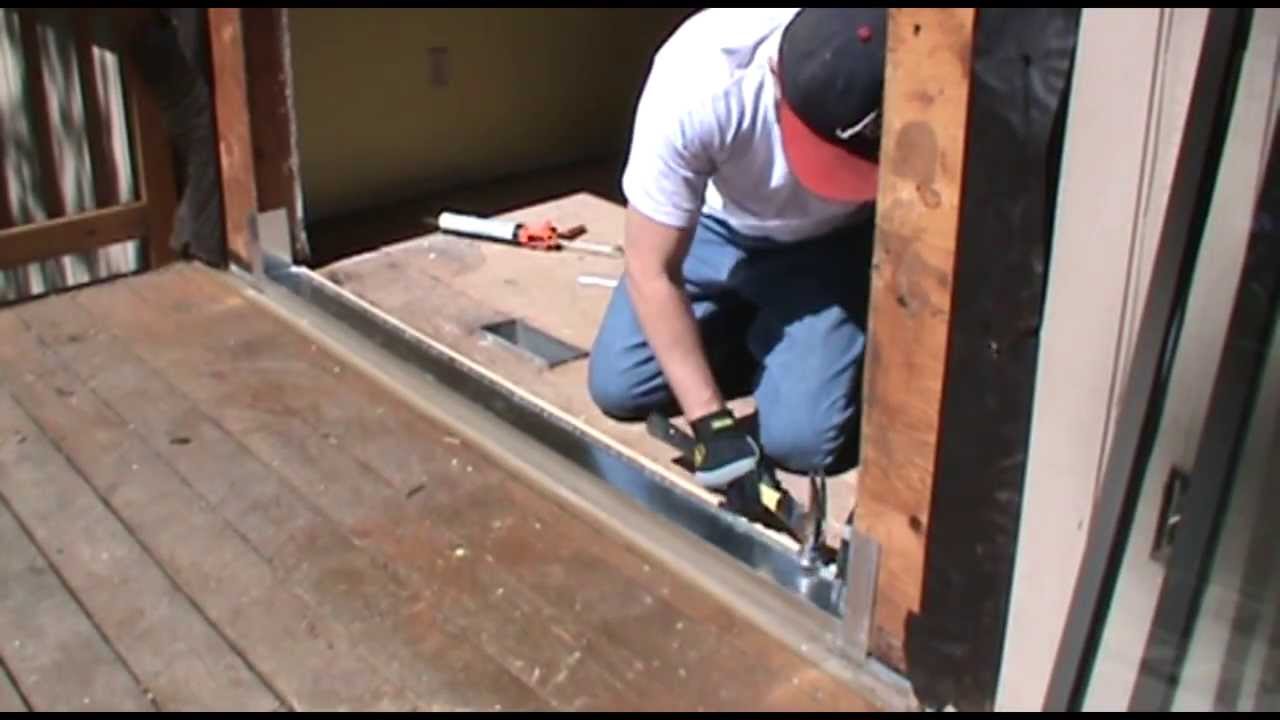
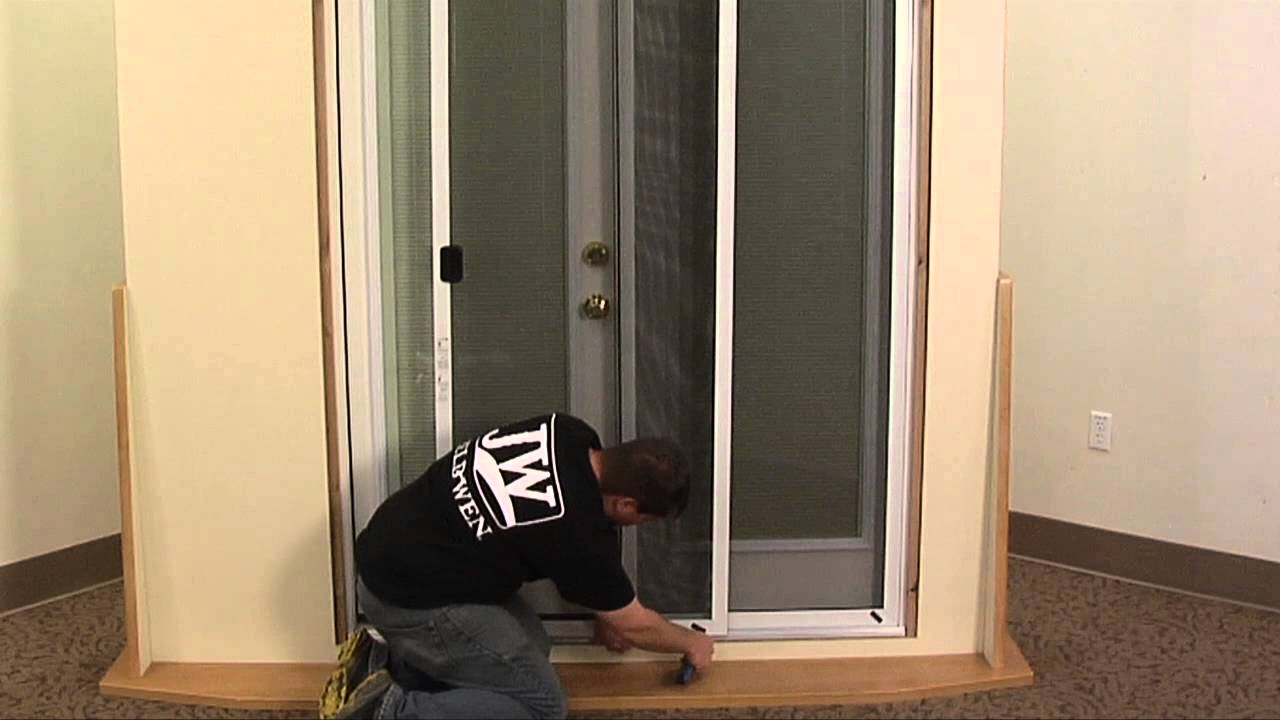
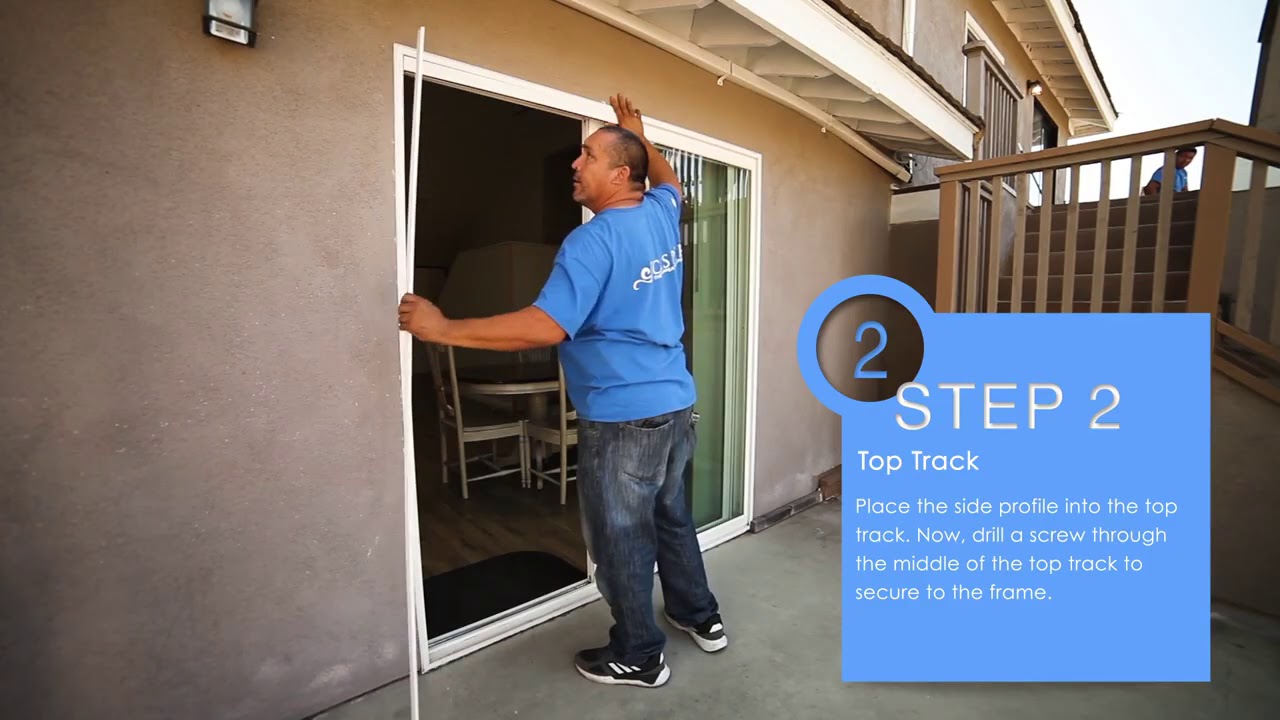
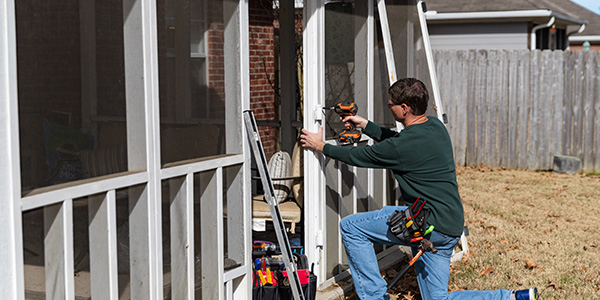
Installing the Hardware
The hardware installation phase is where things start to come together. Begin by attaching the hinges to the door panel according to the manufacturer's instructions. Most doors have pre-drilled holes, but double-check that everything lines up correctly. Next, position the door in the opening and mark where the hinges will go on the frame. Remove the door and drill pilot holes at the marked spots. Be careful not to over-tighten the screws initially - you want to be able to adjust the door position if needed. The strike plate installation is equally important. Position it where the door latch will meet the frame when closed. Test this fit several times to ensure proper alignment. Some people prefer to install the strike plate after the door is in place to get exact positioning. If you're dealing with a new installation, you might need to cut the frame to accommodate the door. Always measure twice, cut once, and double-check your work. Make sure all mounting hardware is secure and aligned properly. Use a level to check that the door hangs straight and doesn't lean to one side.
Door Alignment and Adjustment
Once the basic installation is complete, it's time to fine-tune everything. Check that the door opens and closes smoothly without binding or rubbing against the frame. Adjust the hinges as needed using the adjustment screws provided. These typically allow you to move the door up/down or in/out slightly. If the door doesn't close properly, it might be too high or low. Try adjusting the top hinge first, then the bottom one. You might also need to adjust the door's position in the frame. Many doors have adjustable stops that control how far the door swings. If the door rubs against the frame when closing, check that the hinges aren't too tight. Sometimes, a small shim can solve alignment issues. Test the door several times with different weights to ensure it operates correctly under normal conditions. Pay attention to how it feels when opened fully - it should feel balanced and not wobble. Some doors have adjustable handles or latches that might need fine-tuning as well. Make sure the door latches securely when closed. If it doesn't stay shut, you might need to adjust the strike plate or door alignment.
Final Touches and Testing
The finishing touches can make all the difference in how your screen door performs and looks. Apply weatherstripping around the edges to prevent drafts and insects from entering. This simple step often goes overlooked but provides significant benefits. Check that all screws are tightened properly and that nothing rattles or moves when the door is operated. Clean the screen thoroughly to remove any dust or debris that might have accumulated during installation. Some people like to apply a light coat of protective sealant to the wood frame if it's exposed to weather. Make sure the door operates smoothly in both directions - it should open easily from either side. Test the locking mechanism thoroughly and ensure it engages properly. Finally, give your newly installed door a good test run. Open and close it multiple times to check that everything works as expected. Walk around the house and listen for any unusual sounds or movements. If everything feels right, you're ready to enjoy your new patio screen door. Consider taking a photo of your work to remember the successful installation.
Installing a patio screen door is definitely achievable with patience and proper preparation. While it might seem overwhelming at first, breaking the process into manageable steps makes it quite straightforward. Remember that accuracy in measurements is crucial, and having the right tools will save you time and frustration. Don't rush the alignment process - a well-aligned door not only looks better but also functions much better. Take your time with each step, and don't hesitate to ask for help if needed. Once completed, your new screen door will provide a wonderful barrier between indoor comfort and outdoor enjoyment. It's a project that adds both practical value and visual appeal to your home. Whether you're looking to keep bugs out, control airflow, or simply enhance your outdoor living space, a properly installed screen door delivers on all fronts. The satisfaction of completing this project yourself is worth every minute of effort invested. So go ahead, tackle that installation with confidence, and soon you'll be enjoying the benefits of your new patio screen door.


