
Picture this: you're sitting on your patio, enjoying the sunset, when a gentle breeze rustles through your outdoor living space. What if I told you that the ceiling above you isn't just decorative, but also protects you from the elements? That's exactly what tongue and groove outdoor ceilings can do for your home.
When we think about outdoor spaces, we often focus on flooring, furniture, and landscaping. But there's something magical about having a seamless, weather-resistant ceiling that ties your entire outdoor area together. Tongue and groove ceiling systems have become increasingly popular for outdoor applications, offering both aesthetic appeal and practical protection. These cleverly designed panels work together like a well-orchestrated dance, creating a tight seal that keeps rain out while letting in natural light. Whether you're building a new deck, renovating a covered patio, or adding a pergola, understanding how to properly install and maintain tongue and groove outdoor ceilings can transform your outdoor experience.
Understanding Tongue and Groove Design
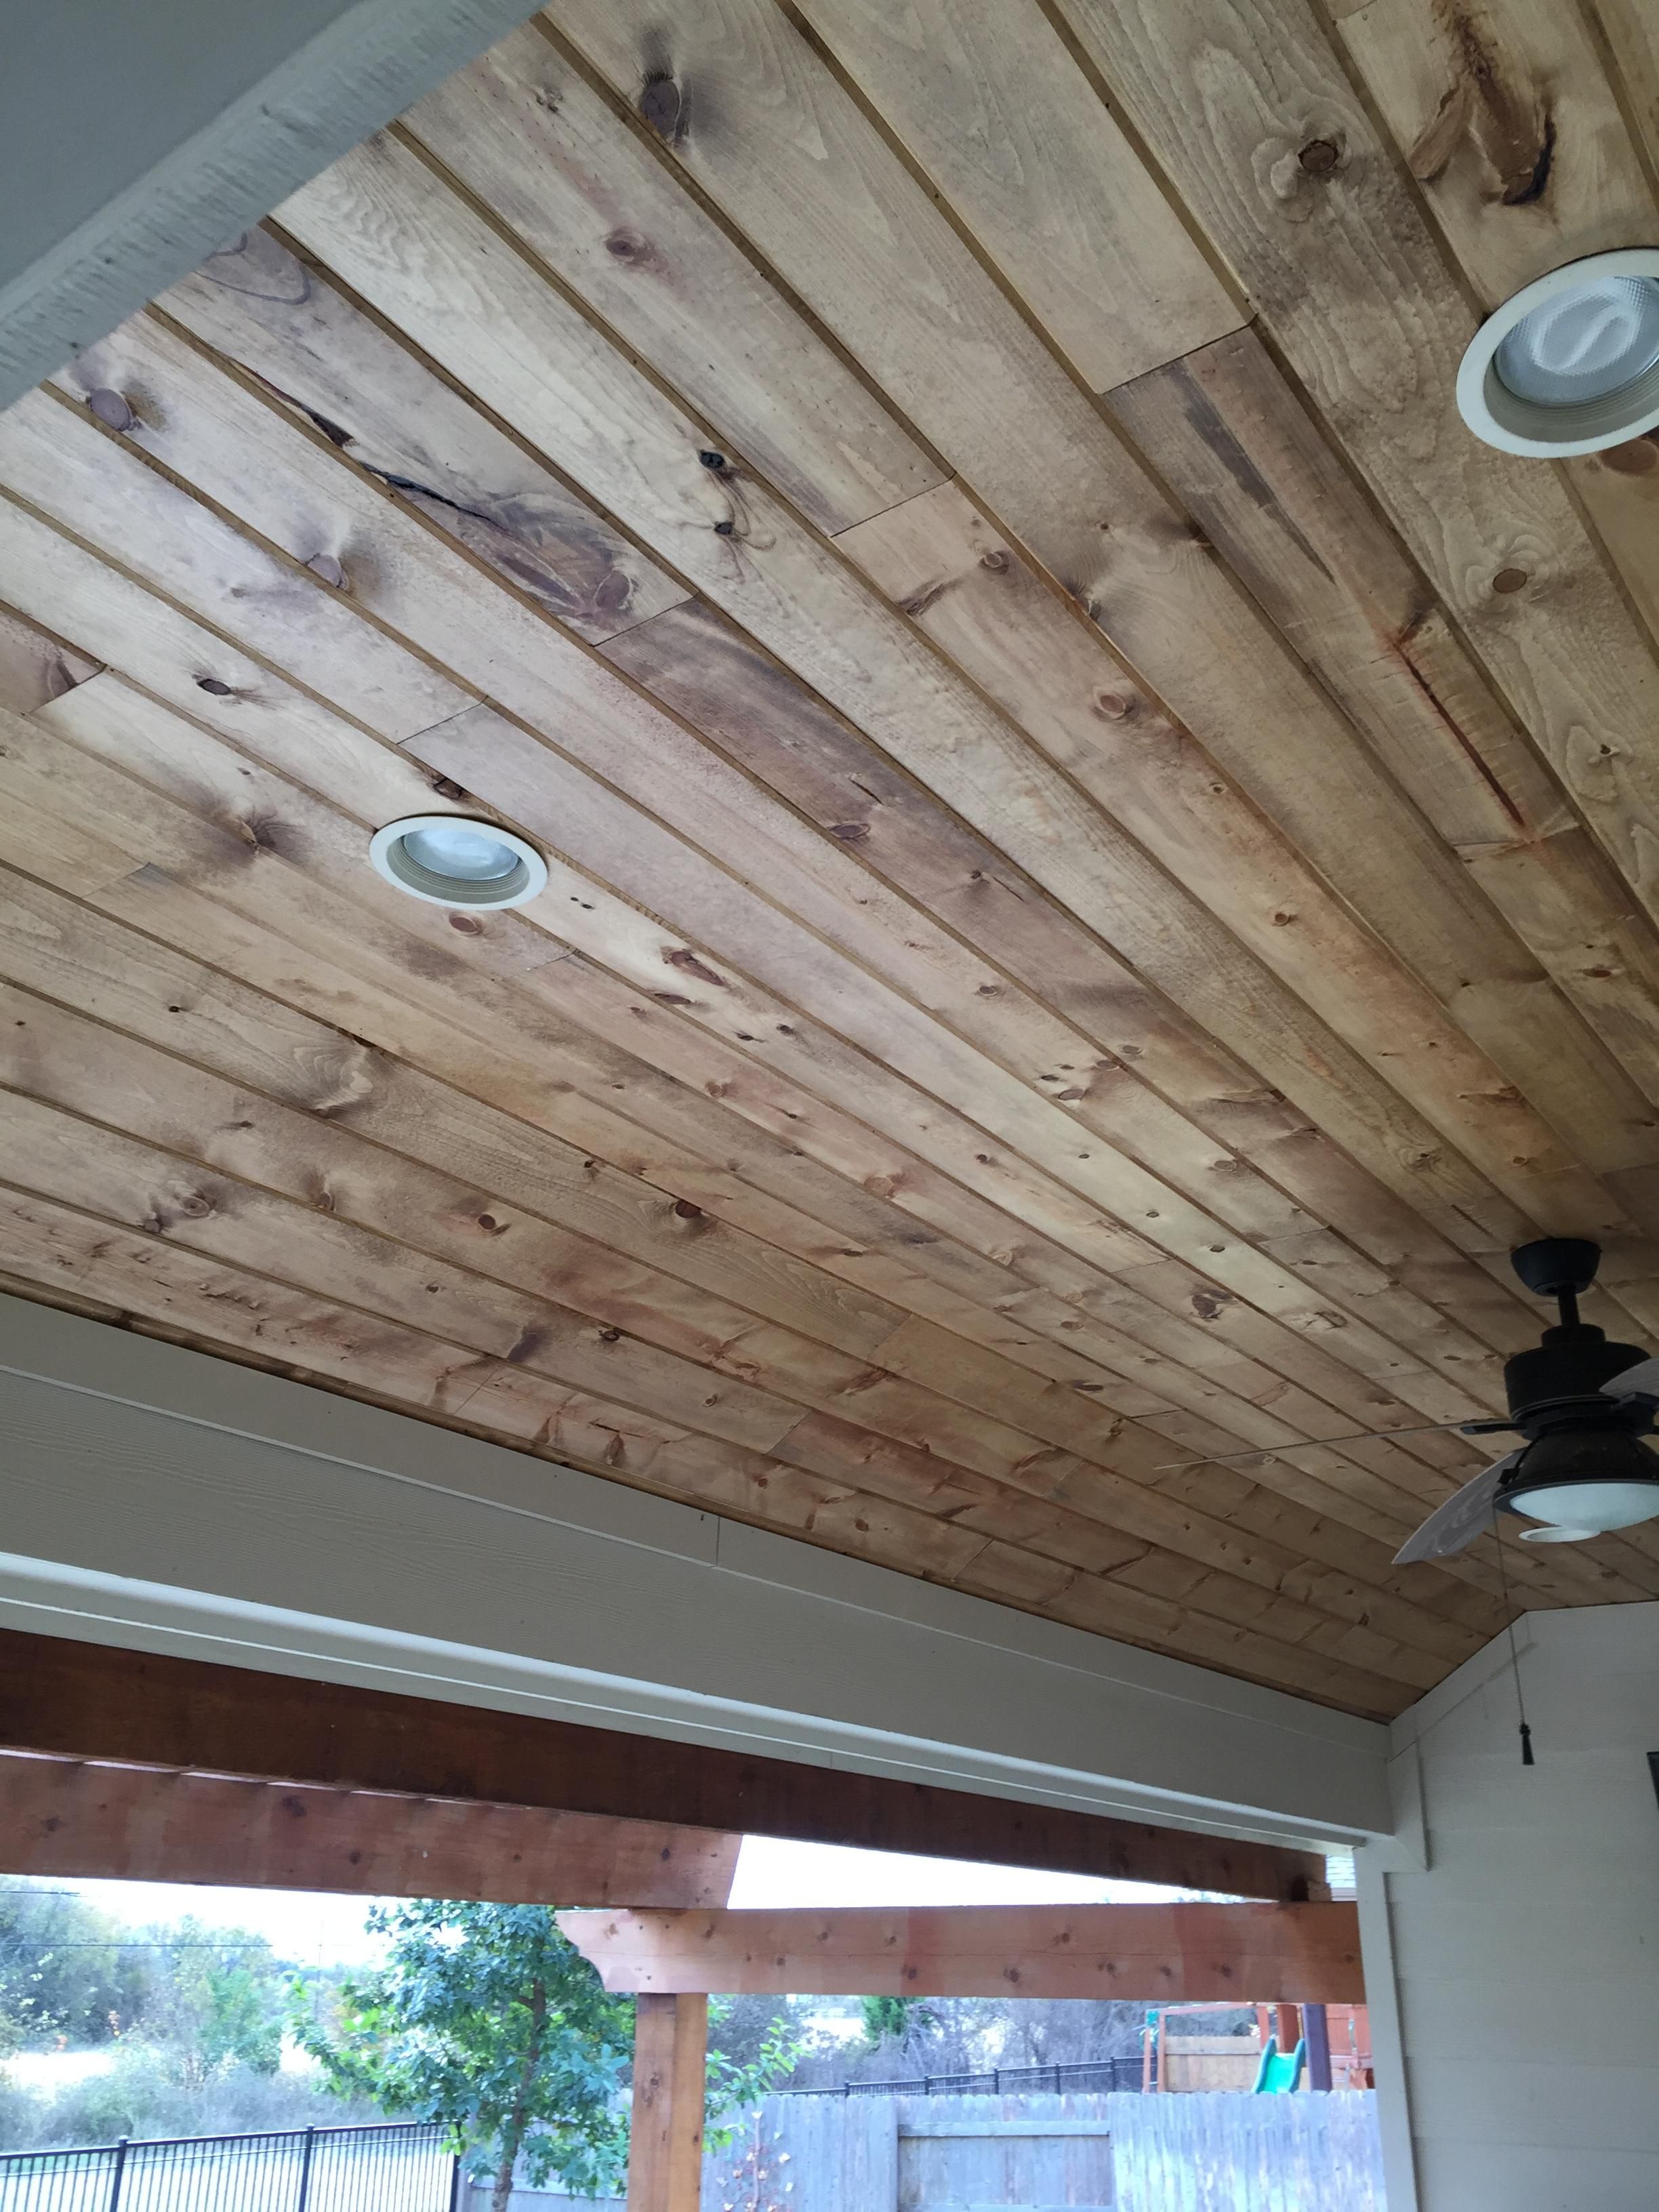
The beauty of tongue and groove construction lies in its simplicity and effectiveness. Think of it like a puzzle where each piece fits perfectly with its neighbor. The 'tongue' is the protruding edge on one side of the panel, while the 'groove' is the matching recessed slot on the adjacent panel. When these pieces interlock, they create a seamless surface that resists water infiltration and provides structural integrity.
This design isn't just about appearance – it's a practical solution for outdoor environments where moisture and temperature changes are constant factors. Unlike traditional ceiling materials that might warp or deteriorate under sun exposure, tongue and groove systems distribute stress evenly across the entire panel structure. The interlocking mechanism creates multiple contact points that make the system incredibly stable, even during high winds or sudden weather shifts.
Consider a typical installation scenario: imagine laying down boards on a porch. Without proper tongue and groove alignment, gaps could form between panels, allowing water to seep through. But with the right technique, each board locks securely into place, forming a continuous protective barrier that can withstand everything from light drizzle to heavy downpours.
Choosing the Right Materials
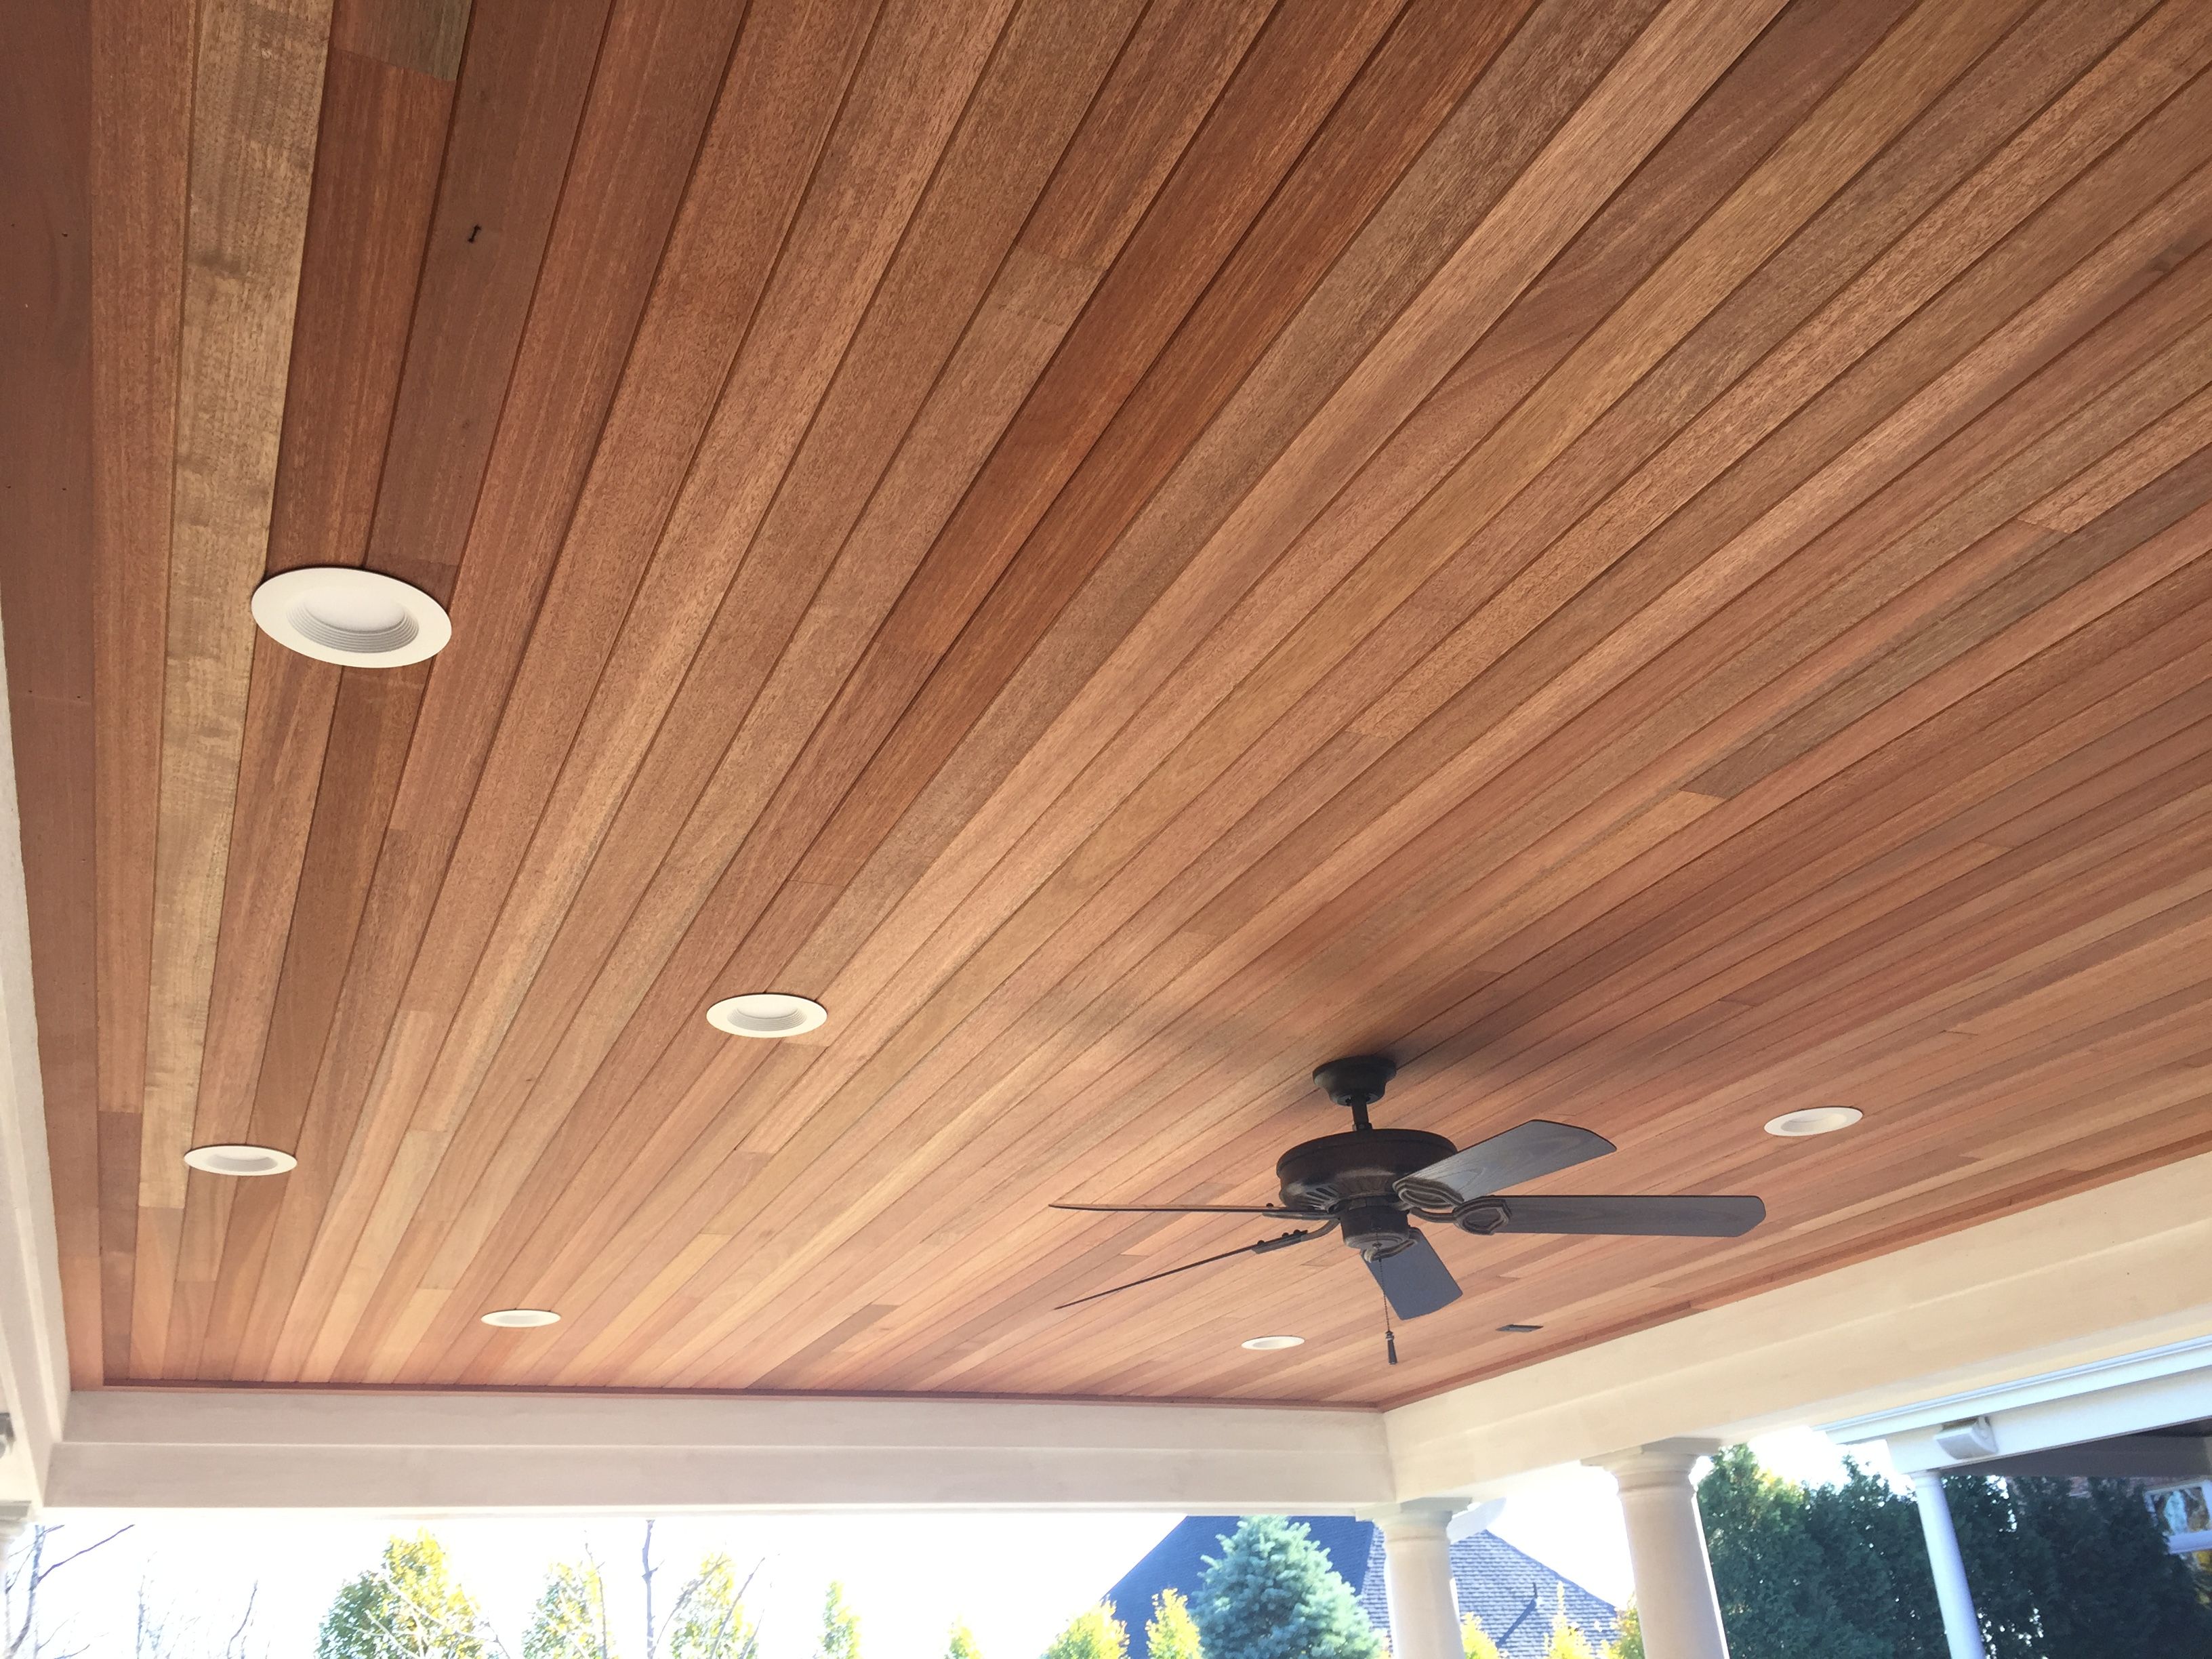
Not all materials are created equal when it comes to outdoor tongue and groove applications. The right choice depends on several factors including climate, budget, and desired longevity. Let's break down some of the most popular options:
Each material brings unique advantages to the table. For instance, cedar offers natural beauty and warmth, while composite materials provide long-term value with little upkeep. The key is matching the material to your specific environment and expectations. A coastal home might benefit more from aluminum than wood, while a mountain cabin could thrive with natural cedar.
Essential Tools and Preparation
Before diving into installation, proper preparation makes all the difference. This isn't just about gathering tools – it's about setting yourself up for success from day one. Start by measuring your space carefully. Take multiple measurements to account for any irregularities in your ceiling structure.
Essential tools include:
The preparation phase is crucial because outdoor installations face additional challenges. Moisture, temperature fluctuations, and UV exposure all impact how materials behave. Always allow extra material for cutting waste and potential adjustments. Consider the expansion and contraction properties of your chosen material – some woods expand significantly in humid conditions.
Proper site preparation involves checking for existing structures that might interfere with panel placement. Look for electrical wires, plumbing, or ventilation systems that could complicate installation. If you're working with an existing ceiling, assess its condition and determine whether reinforcement is necessary. A shaky or unstable base will compromise the entire system, regardless of how well the panels are installed.
Installation Techniques and Best Practices

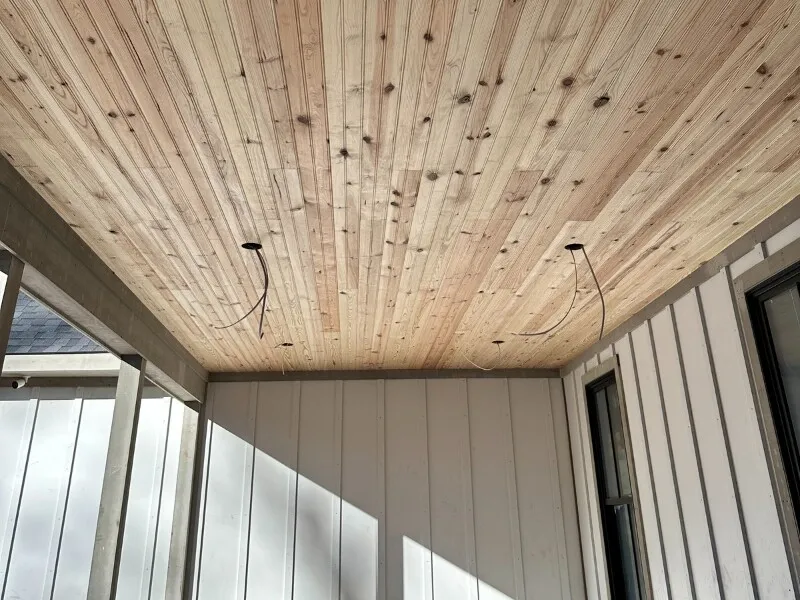
Installing tongue and groove outdoor ceilings requires attention to detail that goes beyond simple assembly. The first rule is always start with a clean, flat surface. Even small imperfections can cause misalignment issues later on.
Begin by installing the first row along the longest wall, ensuring it's perfectly level. Use a string line or laser level to maintain consistency throughout the installation. Once the first row is secure, work systematically across the space, maintaining consistent spacing between panels.
Key installation tips include:
One common mistake is over-tightening screws, which can cause panels to bow or crack. Instead, use moderate pressure and ensure fasteners are flush with the surface. Some professionals recommend pre-drilling holes to prevent splitting, especially with softer woods.
Timing matters too. Install during dry weather conditions whenever possible. Humidity can affect how materials expand and contract, potentially leading to gaps or buckling after installation.
Weather Resistance and Performance Factors
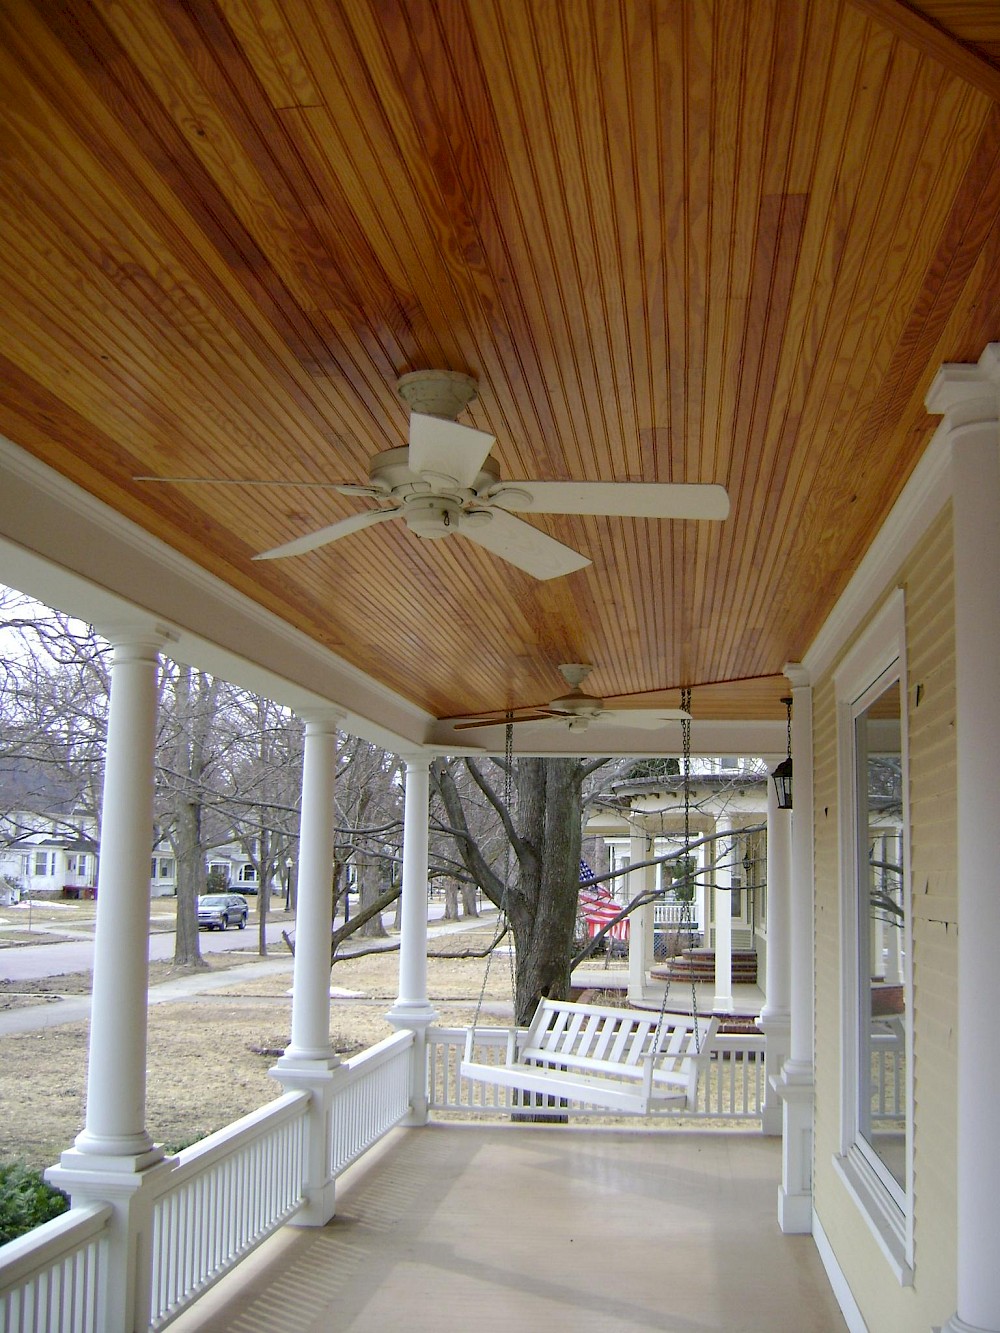
The main advantage of tongue and groove outdoor ceilings is their ability to handle various weather conditions effectively. When properly installed, these systems create a watertight seal that protects against rain, snow, and even wind-driven moisture.
Several factors contribute to overall performance:
Real-world testing shows that quality tongue and groove systems can handle sustained rainfall without leaks. The interlocking design prevents water from finding gaps, while proper fastening ensures panels remain secure during storms. In regions with frequent hail or strong winds, the structural integrity of the system becomes even more important.
Seasonal variations also play a role. During winter months, frozen moisture can cause expansion issues. Panels with adequate flexibility and proper installation tolerances typically handle these changes better than rigid alternatives.
Maintenance and Longevity Tips
Once installed, outdoor tongue and groove ceilings require minimal but regular maintenance to maintain their appearance and functionality. The good news is that these systems are generally low-maintenance compared to other outdoor building materials.
Regular maintenance tasks include:
For wood-based materials, periodic treatments may be necessary. These can include reapplication of protective finishes or stain to maintain color and prevent weathering. Composite materials typically need less attention, though they should still be cleaned periodically to remove dirt and debris.
Longevity varies based on several factors. Quality materials and proper installation can extend life spans to 20-30 years or more. Environmental conditions, such as coastal exposure or extreme temperature swings, may shorten lifespan. Regular inspections help catch small problems before they become major repairs.
Remember that preventive maintenance costs far less than emergency repairs. A few minutes each season to check for issues can save hundreds in future repair costs.
Tongue and groove outdoor ceilings represent more than just a building trend – they're a practical solution for anyone looking to enhance their outdoor living spaces. From the initial planning stages to long-term maintenance, these systems offer reliable protection and attractive aesthetics. The key to success lies in choosing the right materials for your specific environment, preparing thoroughly, and following proper installation techniques.
Whether you're building a new outdoor kitchen, upgrading an existing patio, or creating a peaceful covered porch, tongue and groove ceilings can transform your space into a weather-resistant sanctuary. The investment pays dividends in comfort, protection, and property value. With proper care, these systems can serve you faithfully for decades, providing both functional benefits and visual appeal. So next time you're considering outdoor improvements, remember that sometimes the most overlooked element – the ceiling – can be the most impactful addition to your home.


