
These stunning trees bring tropical elegance to gardens, but they need just the right conditions to thrive. Whether you're a seasoned gardener or new to outdoor tree care, understanding how to properly tend to Norfolk Island pines can transform your landscape.
Norfolk Island pines are like nature's living sculptures – graceful, elegant, and full of character. They're not just pretty to look at though; these remarkable trees have a way of making any garden feel more exotic and sophisticated. But here's the thing: they're not exactly easy to grow. They have specific needs that must be met if you want them to flourish outside. From soil preferences to climate requirements, there's a lot to know about keeping these beautiful trees healthy and thriving in the great outdoors.
Understanding Norfolk Island Pine Basics
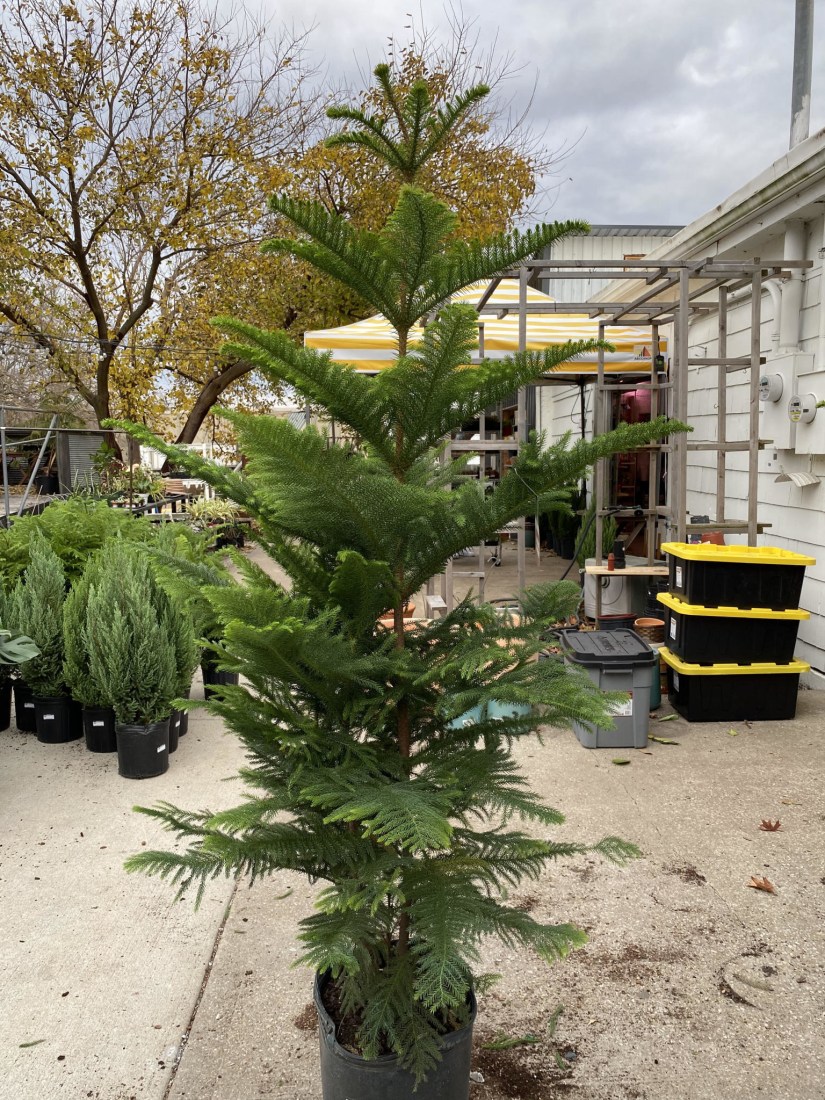
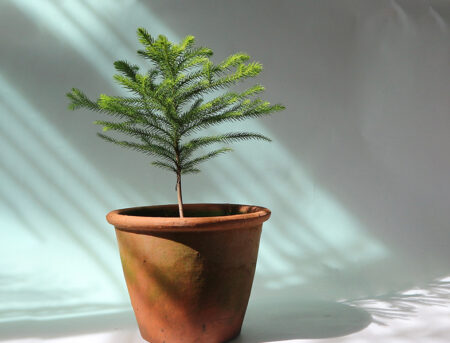
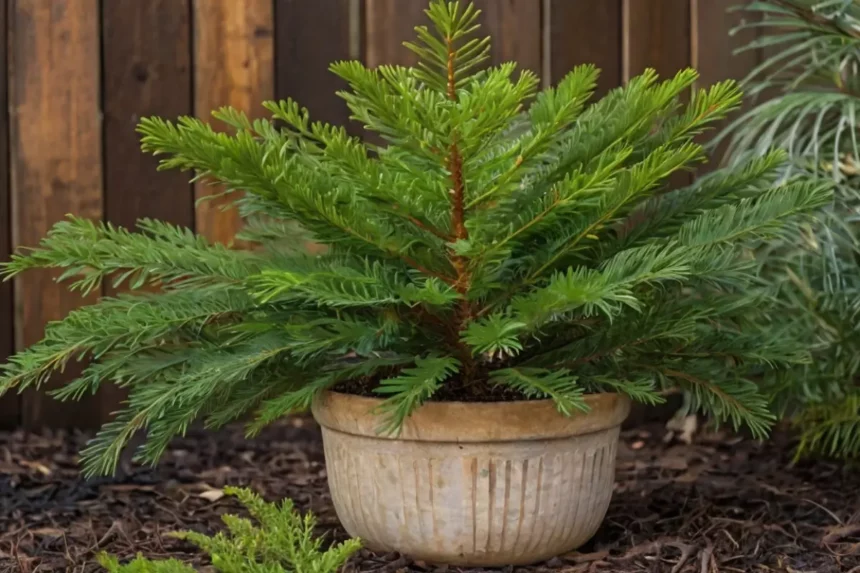
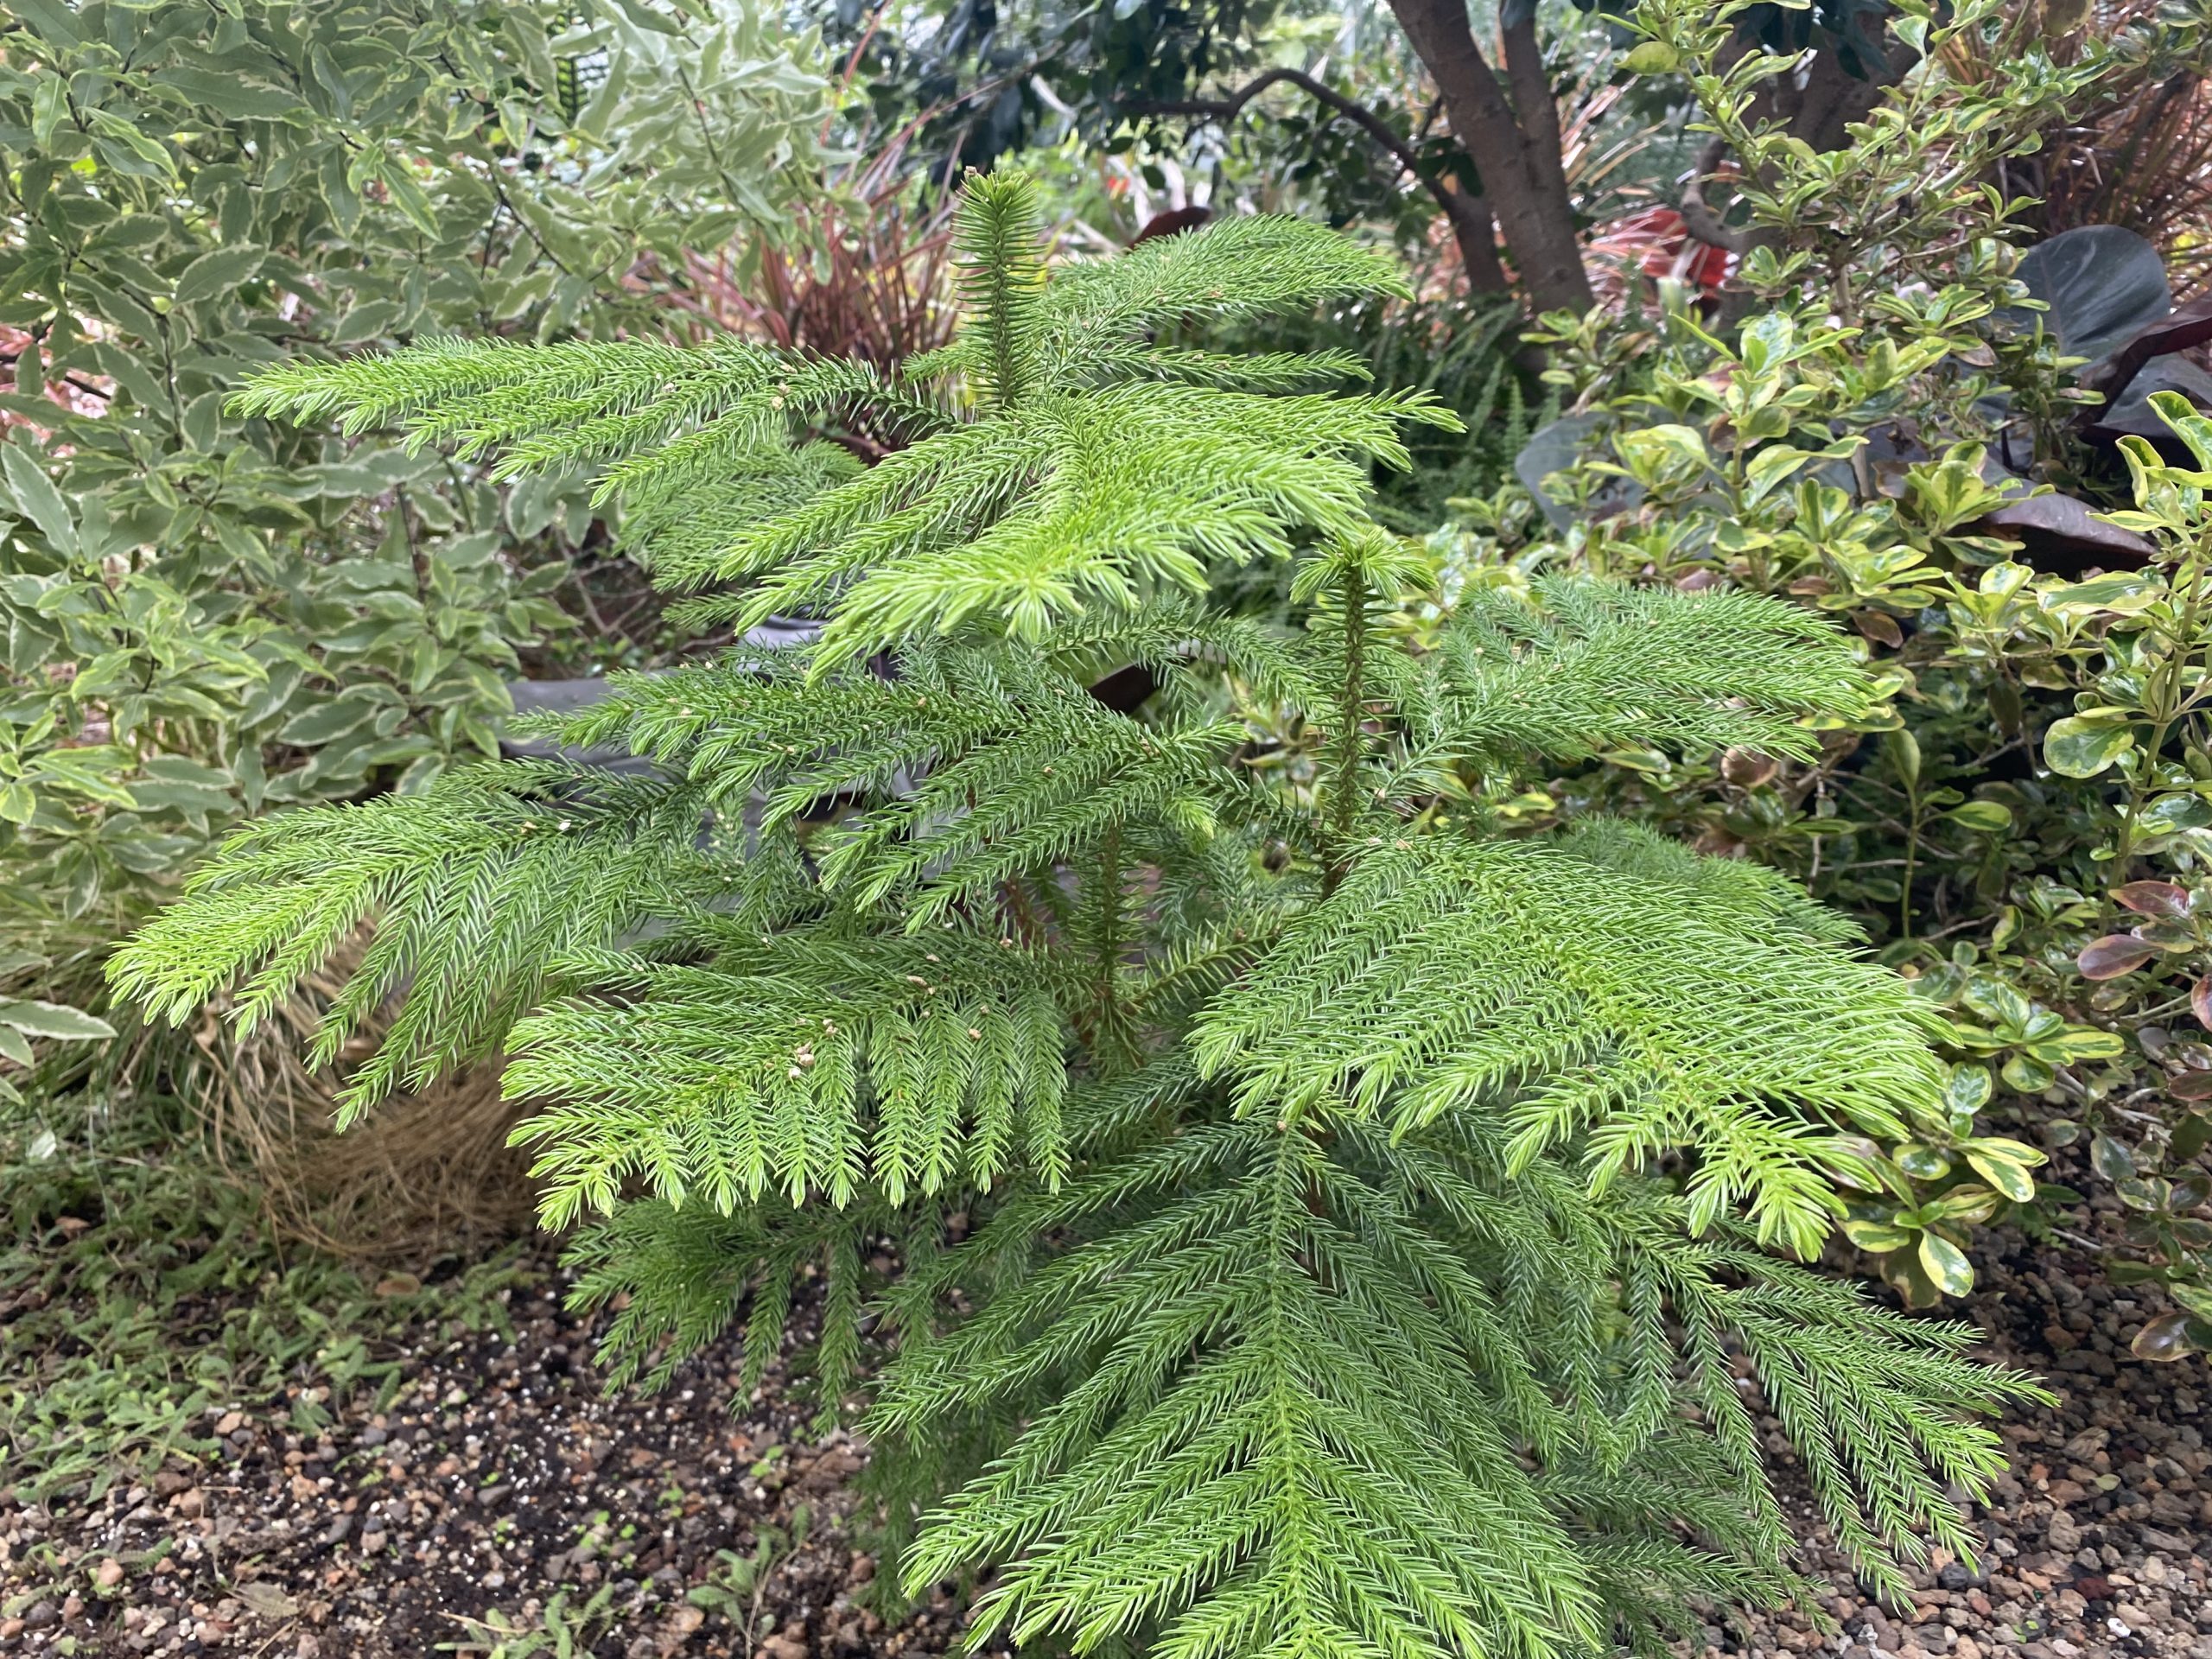
Norfolk Island pines (Araucaria heterophylla) aren't actually pines at all. They're conifers from Norfolk Island in the South Pacific, which explains why they have that distinctive, almost alien appearance. These trees can grow quite tall – up to 100 feet in their native habitat – but when grown outdoors in temperate climates, they typically reach 20-40 feet. What makes them special isn't just their height, but their unique needle structure. Unlike regular pine needles, these are soft, feathery, and come in a brilliant blue-green color that seems to glow in the sunlight. They're also incredibly slow-growing, which means they'll take their time reaching maturity, but they're worth the wait. When you see one of these trees in full bloom, you'll understand why gardeners go to such lengths to keep them alive and healthy.
Climate and Hardiness Zones
The first thing you need to know about growing Norfolk Island pines outdoors is that they're very particular about temperature. They do best in USDA zones 8-11, which means they're essentially tropical trees that can't handle freezing temperatures. If you live in zone 7 or below, you'll need to treat them as annuals or bring them indoors during winter. The ideal temperature range is between 60-75°F during the day and 50-60°F at night. What happens when they get too cold? Their needles start turning brown and dropping off. It's a sad sight, but it's also a clear warning sign that something's wrong. These trees don't like humidity either, which can lead to fungal problems. So, if you're in a humid climate, make sure they have good air circulation around them. They're like the sensitive types – they need a stable environment to really shine.
Soil Requirements and Drainage
Good drainage is absolutely crucial for Norfolk Island pines. These trees hate sitting in waterlogged soil, and they'll quickly develop root rot if their roots stay soggy. The ideal soil mix should be well-draining and slightly acidic, with a pH between 5.5 and 6.5. Think of it like a perfect balance – not too rich, not too poor, just right for their taste buds. Adding organic matter like compost or aged manure helps improve soil structure and provides essential nutrients. You might even consider creating a raised bed or mound to ensure proper drainage. A simple test is to dig a small hole, fill it with water, and see how quickly it drains. If it takes more than a few hours, you've got a problem. These trees are not forgiving when it comes to soggy conditions, so invest in good drainage from the start.
Planting and Spacing Guidelines
When it comes to planting Norfolk Island pines, timing matters more than you might think. Plant them in early spring after the last frost, or in fall before the first freeze. The key is to give them time to establish their roots before facing harsh weather conditions. Space them appropriately – they need room to spread out. For a single tree, you'll want at least 15-20 feet of space around it. If you're planting multiple trees, plan for 20-25 feet between each one. This spacing allows for proper air circulation and prevents competition for resources. Dig a hole that's twice as wide as the root ball but no deeper. Place the tree so that the top of the root ball sits slightly above ground level. Backfill carefully, making sure not to compact the soil too much. Water thoroughly after planting, and mulch generously to retain moisture and regulate soil temperature.
Watering and Moisture Management
Watering Norfolk Island pines requires a delicate touch. They need consistent moisture, but not constant saturation. During the growing season, aim for about 1 inch of water per week, either from rainfall or irrigation. The soil should be moist but not waterlogged. What's the best way to check? Stick your finger into the soil about 2 inches deep. If it feels dry, it's time to water. If it's still damp, wait a day or two. These trees are particularly sensitive to overwatering, which can cause root problems and leaf discoloration. During hot summer months, you might need to water more frequently, but always check soil moisture first. Mulching helps retain moisture and keeps the root area cool, which is especially important during heat waves. A thick layer of organic mulch like bark chips or pine needles works perfectly.
Fertilizing and Nutrient Needs
Norfolk Island pines don't require heavy feeding, but they do appreciate occasional nutrient boosters. A balanced, slow-release fertilizer applied in early spring works well. Look for formulations with equal parts nitrogen, phosphorus, and potassium, along with trace elements like iron and magnesium. Over-fertilizing can actually harm these trees, causing salt buildup in the soil and burning the roots. Apply fertilizer according to package directions, usually once or twice per year. Organic options like fish emulsion or compost tea provide gentle nutrition while improving soil health. Some gardeners swear by using coffee grounds as a natural fertilizer, though this should be used sparingly. The key is consistency rather than intensity – these trees prefer steady, moderate nourishment over dramatic feeding programs.
Pruning and Maintenance
Pruning Norfolk Island pines is rarely necessary, but it can be helpful for maintaining shape and removing damaged branches. The best time to prune is in late winter or early spring before new growth begins. Remove dead, diseased, or damaged branches at their base, cutting back to healthy wood. Never remove more than 25% of the tree's foliage in a single pruning session. These trees naturally develop a symmetrical shape, but they can become lopsided if not properly maintained. Light trimming to remove lower branches can create a more attractive silhouette, but avoid heavy pruning that might stress the tree. Regular inspection for pests and diseases is essential. Scale insects, spider mites, and fungal issues can appear, so keep an eye out for yellowing needles or unusual spots. Early detection makes treatment much easier and more effective.
Pest and Disease Management
While Norfolk Island pines are generally hardy, they can fall victim to several common problems. Root rot is probably the most serious threat, often caused by poor drainage or overwatering. Signs include yellowing needles, wilting, and eventual branch dieback. Fungal diseases like rust and blight can also occur, especially in humid conditions. Watch for brown spots on needles, premature needle drop, or white powdery coatings on leaves. Insects like scale, mealybugs, and spider mites sometimes attack these trees, particularly when stressed by drought or poor soil conditions. Prevention is always better than cure – maintaining proper watering, drainage, and air circulation goes a long way toward keeping pests away. If you do notice problems, treat promptly with appropriate fungicides or insecticides. Sometimes a simple spray of water can wash away mites and scale insects, so don't overlook the basics.
Winter Protection Strategies
If you live in a region where temperatures drop below freezing, protecting your Norfolk Island pine becomes essential. The most effective approach is to move potted trees indoors during winter months. For ground-planted trees, wrapping the trunk with burlap or tree wrap provides insulation against cold winds. Mulching heavily around the base helps insulate the root system. Some gardeners use frost cloths or covers during extreme cold snaps, but make sure they don't touch the foliage directly. The key is to maintain consistent temperatures and avoid freeze-thaw cycles, which can damage bark and roots. Consider installing windbreaks or positioning trees in sheltered locations to reduce exposure to harsh winter conditions. If you're planning to plant a Norfolk Island pine, check your local frost dates and plan accordingly.
Common Mistakes to Avoid
Even experienced gardeners can make mistakes when caring for Norfolk Island pines. One of the biggest errors is planting in poorly drained soil. These trees simply cannot tolerate wet feet, and they'll quickly decline if their roots stay soggy. Another common mistake is overwatering, especially in containers where drainage is limited. Many people assume these trees need lots of water, but they actually prefer slightly drier conditions. Using the wrong type of fertilizer or applying it too frequently can also cause problems, leading to salt build-up and root burn. Some gardeners try to force growth with excessive feeding or pruning, which stresses the tree and can cause long-term damage. Remember, these are slow-growing trees that prefer stability over rapid development. Patience pays off when it comes to Norfolk Island pines.
Troubleshooting Common Issues
When things go wrong with Norfolk Island pines, it's usually due to environmental stress or improper care. Yellowing needles are often a sign of overwatering or nutrient deficiency. Brown needles typically indicate underwatering, drought stress, or cold damage. If you notice needle drop, check for root problems or pest infestations. Wilting leaves might suggest fungal disease or root issues. Always start troubleshooting by examining the soil moisture and drainage first. Are the roots waterlogged or bone dry? Then check for signs of pests or disease on the foliage. Sometimes the problem is simply that the tree is in the wrong location – too much sun, too little light, or inadequate space. Keeping detailed notes about your tree's condition can help you spot patterns and prevent future problems.
Benefits and Advantages of Outdoor Growth
Growing Norfolk Island pines outdoors offers many advantages beyond their aesthetic appeal. These trees provide excellent shade, especially when mature, and their unique shape creates visual interest in any landscape. They're also excellent for creating privacy screens or windbreaks due to their dense foliage. Many gardeners find that these trees attract beneficial wildlife, including birds that nest in their branches. The evergreen nature means they provide year-round beauty, unlike deciduous trees that lose their leaves in winter. They're also relatively low-maintenance once established, requiring less attention than many other ornamental trees. Plus, there's something deeply satisfying about watching these magnificent trees grow and develop over the years. They're living art pieces that reward patience and proper care.
Caring for Norfolk Island pines outdoors is both rewarding and challenging. These remarkable trees require specific conditions to thrive, but when given the right environment, they can become stunning focal points in any garden. The key lies in understanding their unique needs – from proper drainage to appropriate climate zones. Whether you're planting a single tree or several specimens, taking the time to learn about these beautiful conifers will pay dividends in the years to come. With thoughtful attention to soil, water, and seasonal care, your Norfolk Island pines can grace your landscape for decades. They're not just trees; they're living treasures that deserve our respect and careful cultivation.


