
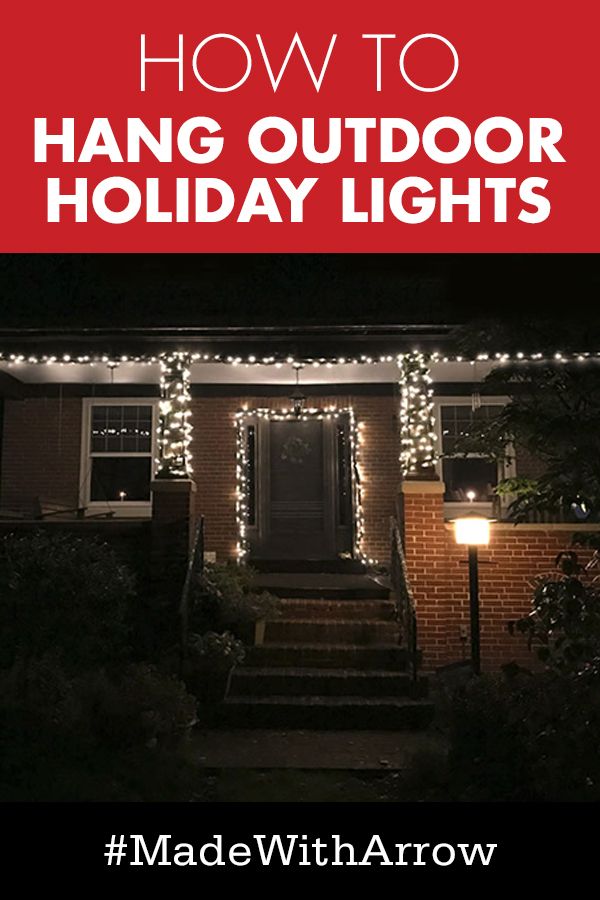
Christmas lights transform any home into a winter wonderland, but hanging them outdoors requires special care and technique. Whether you're decorating your front porch or wrapping your entire house, proper hanging methods ensure your lights stay safe, secure, and stunning all season long.
There's something magical about watching your home glow with festive lights during the holiday season. But when those lights have to brave wind, rain, and cold temperatures, the right approach matters more than ever. The good news? With some basic knowledge and the right tools, anyone can master the art of outdoor light hanging. It's not just about stringing lights across your house - it's about creating a beautiful display that will last through the entire winter months.

Choosing the Right Outdoor Lights
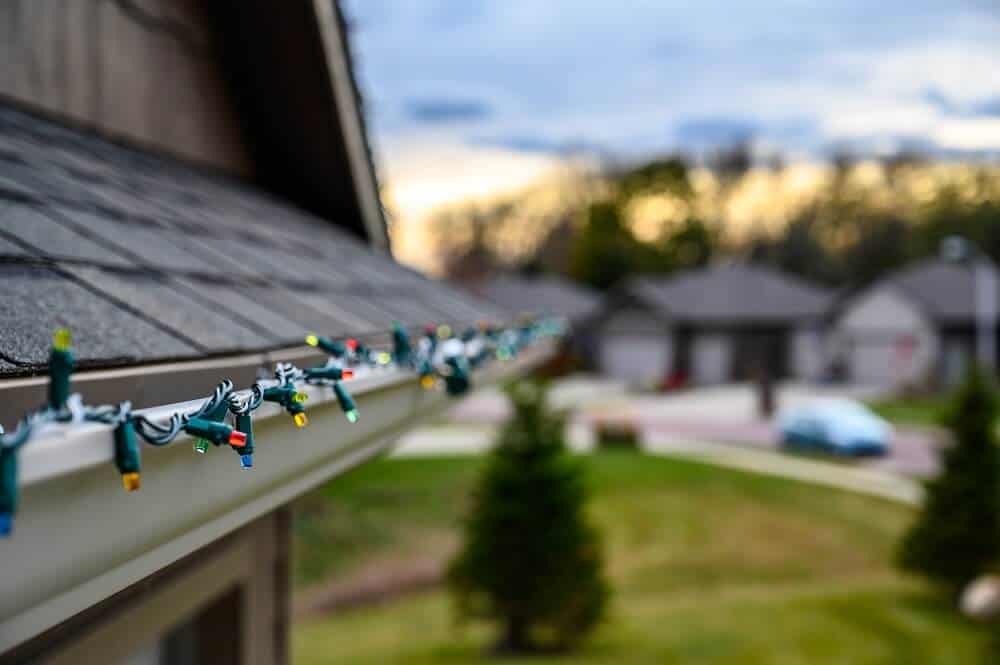
Not all Christmas lights are created equal, especially when they're meant for outdoor use. You'll want to look for lights specifically rated for exterior installation. These typically feature weather-resistant bulbs and connectors that won't let water seep through. Check for UL certification, which means they've passed safety testing. LED lights are often better choices for outdoor use because they run cooler and last longer than traditional incandescent bulbs. Consider the length of your space too - longer strings mean fewer connections, which reduces potential failure points. Some people prefer the classic look of white lights, while others go for colorful options. Think about how much light you actually need and what effect you want to create. A mix of different brightness levels can make your display more dynamic.

Planning Your Light Layout
Before you start hanging anything, take a moment to plan out exactly where everything will go. Walk around your home and identify the main areas you want to illuminate. Pay attention to architectural features like eaves, gables, and columns that can serve as natural light anchors. Sketch out a rough layout on paper or use your phone to take photos from different angles. This helps you visualize how the lights will flow and whether you might need extra strands. Consider the path of least resistance - hanging lights along existing structures like railings, gutters, or tree branches rather than creating new attachment points. Think about safety too. Make sure your planned routes won't interfere with walkways or create tripping hazards. Remember to account for any areas that might be difficult to reach later, such as high eaves or narrow spaces between buildings. Sometimes it helps to think of your light display like a painting - plan the composition first, then add the details.
Essential Tools and Equipment
Having the right gear makes all the difference in successful outdoor light hanging. Start with a sturdy ladder - one that's tall enough and has solid feet. A step ladder works well for most residential projects, but if you're dealing with very high walls or multiple stories, consider a telescoping ladder or even a bucket truck for safety. You'll also need good gloves to protect your hands from sharp edges and cold temperatures. A small flashlight or headlamp comes in handy when working in dark areas or checking your work after dark. Basic tools like wire cutters, electrical tape, and zip ties are essential for securing lights properly. If you're planning to hang lights on metal surfaces, having a drill with appropriate bits can help you make clean holes for hooks or staples. Don't forget a helper - someone to hold the ladder or pass you supplies can make the whole process much safer and faster. A small bucket or bag can help organize your lights and keep them from getting tangled.

Safe Installation Techniques
Safety should always come first when working with electricity and heights. Never attempt to hang lights in wet conditions or during storms. Even a small amount of moisture can create dangerous electrical situations. Always double-check that power is off before working near electrical outlets or fixtures. When using ladders, position them on stable ground and make sure they're at the correct angle - roughly four feet back for every one foot up. Have someone spot you while you're on the ladder, and never lean too far from the ladder's edge. For very high installations, consider using a pole-mounted light hanger instead of climbing. When attaching lights to surfaces, use appropriate fasteners designed for outdoor use. Avoid drilling into electrical conduits or structural elements unless you know what you're doing. Test each connection carefully before turning power back on. If you're unsure about any aspect of the installation, it's always better to call a professional electrician.
Proper Attachment Methods
The way you attach your lights can determine whether they stay put through the winter or end up on the ground come spring. For most surfaces, zip ties work well - they're strong, weather-resistant, and easy to adjust. When hanging on wood or plastic, use small screws or nails, but make sure they're the right size and type for the material. Hooks and clips are great for temporary installations or when you want to remove lights easily. For metal surfaces, specialized outdoor mounting hardware works best. Avoid using regular household tape or glue, which won't withstand the elements. When using hooks, make sure they're rated for the weight of your lights plus some extra margin. For heavy or long strands, consider using a pulley system or rope to lift them up rather than dragging them across surfaces. Remember to space your attachments evenly to prevent sagging, and leave a little slack so the lights aren't stretched tight.
Troubleshooting Common Issues
Even with careful planning, problems can happen. If some lights don't turn on, check for blown bulbs first. Often, a single burned-out bulb can cause an entire strand to go dark. Test your lights before hanging them to catch these issues early. If you're having trouble with power delivery, make sure your extension cords are rated for outdoor use and aren't too long. Too many devices on one circuit can cause dimming or flickering. Watch out for frayed wires or damaged connectors, which can create fire hazards. If lights seem loose or unstable, recheck your attachment points and make sure everything is secure. Cold weather can sometimes affect electronic components, so give yourself time to test everything thoroughly before the big reveal. Keep spare bulbs on hand for quick fixes, and always carry a small toolkit when hanging lights. Don't hesitate to take breaks - tired eyes and hands are more prone to mistakes.
Hanging outdoor Christmas lights is both an art and a science, requiring patience, planning, and the right approach. With these techniques in mind, you can create a stunning display that brings joy to neighbors and family alike. Remember that the key to success lies in preparation, safety, and taking your time. Don't rush the process - it's better to spend an extra hour getting it right than to have to fix problems later. Consider your lighting as part of a larger seasonal celebration, thinking about how it complements your overall decor and creates a welcoming atmosphere. Most importantly, enjoy the process. There's something deeply satisfying about seeing your carefully planned light display come to life, casting warm glow over your outdoor space. Whether you're a seasoned decorator or trying this for the first time, the satisfaction of a job well done makes every effort worthwhile. Happy holidays!


