
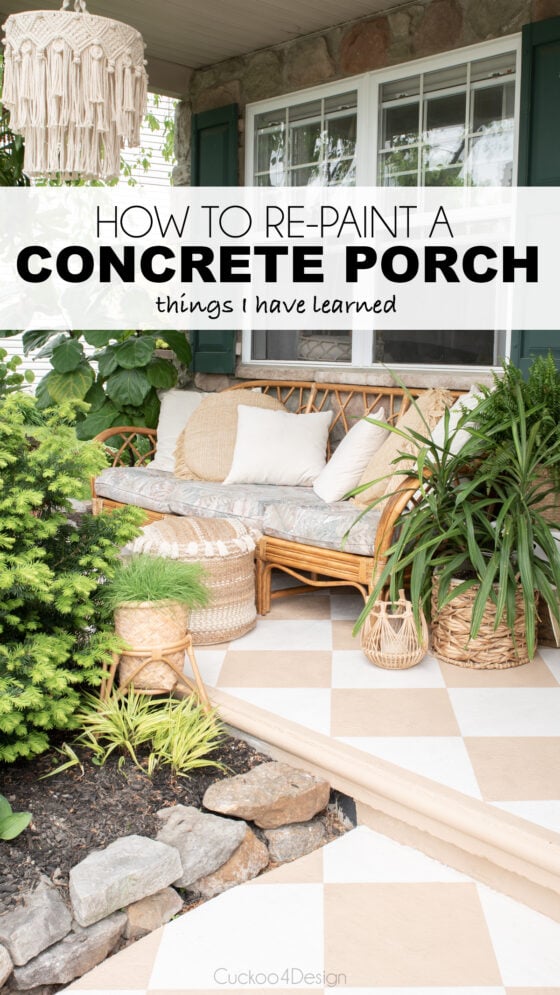
There's nothing quite like stepping onto a beautifully painted porch on a sunny afternoon. Whether your outdoor space looks faded and worn or needs a complete refresh, repainting can breathe new life into your home's most welcoming area. This guide will walk you through every step of the process, from choosing the right paint to applying that final coat.
Repainting a porch might seem like a daunting task, but with the right approach and some basic tools, anyone can tackle this project successfully. It's not just about aesthetics either – a fresh coat of paint protects your wood from weather damage, extends its lifespan, and creates a comfortable space for family gatherings and relaxation. The key is starting with proper preparation and using the right materials for your specific situation. Before you even think about rolling on paint, there's groundwork to lay and decisions to make.
Choosing the Right Paint for Your Porch
Selecting the correct paint type makes all the difference in your porch's longevity and appearance. For exterior surfaces, you'll want to go with latex or acrylic paints specifically designed for outdoor use. These formulas resist fading, peeling, and weather damage better than indoor paints. Consider using a semi-gloss or satin finish for easy cleaning and durability against foot traffic. Many experts recommend premium-grade paints for porches because they offer better coverage and last longer. If you're dealing with pressure-treated lumber, look for paints that are compatible with this material. Check the manufacturer's recommendations and don't overlook the importance of color selection too. Lighter shades reflect heat and stay cooler in summer, while darker colors provide more privacy and can hide dirt better.

Preparation: The Foundation of Success
Good preparation sets the stage for a professional-looking result. Start by thoroughly cleaning the surface with a pressure washer or scrub brush and appropriate cleaner. Remove all loose paint, dirt, and debris. Sand any rough spots or areas where old paint has peeled away. This step alone can make or break your project. Don't skip the primer if your porch has bare wood or if you're switching colors dramatically. Primer helps the new paint adhere properly and provides an even base. Also, cover surrounding areas with drop cloths or plastic sheeting to protect your yard and house from overspray or drips. Take time to inspect the structure for any damaged boards or hardware that may need repair before painting begins.

Essential Tools and Materials You'll Need
Having the right gear upfront saves time and frustration later. You'll need brushes for edges and corners, rollers for large flat surfaces, and possibly a sprayer for faster coverage on bigger projects. Quality rollers make a significant difference in application quality. Don't forget paint trays, extension poles for hard-to-reach areas, and sandpaper for smoothing surfaces. A good set of paint brushes will serve you well for years, so invest in decent ones. You'll also want a ladder for working high areas, safety equipment like gloves and eye protection, and proper ventilation if painting indoors. Measure your porch carefully to determine how much paint you'll require. Most professionals suggest buying about 10% extra to account for touch-ups and uneven absorption.
The Painting Process: Step-by-Step Guide
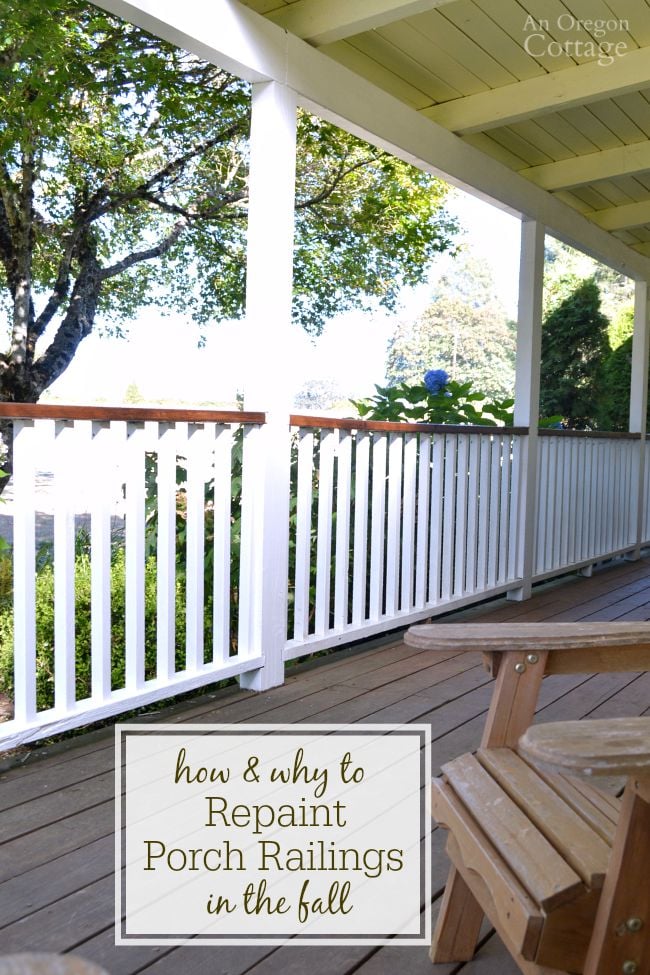
Start with the trim and edges using a brush to get those tight spaces covered properly. Then move to larger areas with a roller, working in sections to maintain wet edges. Apply thin, even coats rather than thick ones that might drip or take too long to dry. Always follow the manufacturer's recommended drying times between coats. Work in good weather conditions when temperatures are between 50-85°F and humidity levels aren't too high. If you're painting a large porch, consider doing one side at a time to avoid stepping on wet paint. Allow each coat to dry completely before applying the next one. Some painters prefer to wait 24 hours between coats for maximum durability. Pay special attention to areas where paint tends to wear off quickly, such as railings and steps.

Common Mistakes to Avoid When Painting Porches
Even experienced DIYers sometimes fall into traps that compromise their results. One of the biggest errors is rushing the preparation phase. Skipping cleaning or sanding leads to poor adhesion and premature peeling. Another frequent mistake is applying paint in direct sunlight or hot weather, which causes it to dry too quickly and creates an uneven finish. Many people also forget to prime new wood or make drastic color changes. Using low-quality materials might save money initially but costs more in repairs later. Don't ignore weather forecasts – painting in rain or high humidity can ruin your work. Finally, always test paint samples on small areas first to ensure you like the color and finish before committing to the whole porch.
Maintenance Tips for Long-Lasting Results
A freshly painted porch deserves care to maintain its beauty for years. Regular cleaning with mild soap and water helps preserve the paint's appearance and prevents buildup that can cause deterioration. Inspect regularly for signs of chipping or peeling and touch up small areas promptly. Consider applying a protective sealant after the initial paint dries, especially in high-traffic areas. Schedule touch-ups every few years based on your local climate and usage patterns. Keep plants and furniture away from painted surfaces to prevent scratches or chemical damage. If you notice any soft spots or areas where paint is lifting, address them immediately before they worsen. Proper maintenance means fewer full repainting projects over time, saving both time and money.
Repainting your porch is one of the most rewarding home improvement projects you can undertake. It enhances curb appeal, protects your investment, and creates a beautiful outdoor living space for family and friends. While the process requires effort and attention to detail, the results are worth every moment invested. Remember that patience during preparation pays off in the final outcome. Choose quality materials, take your time with each step, and don't hesitate to ask for help when needed. With proper planning and execution, your porch will look stunning for many seasons to come. Whether you're tackling a small front porch or an entire deck, following these guidelines ensures success. The satisfaction of seeing your finished work is unmatched, and you'll wonder why you waited so long to start this project. Happy painting!


