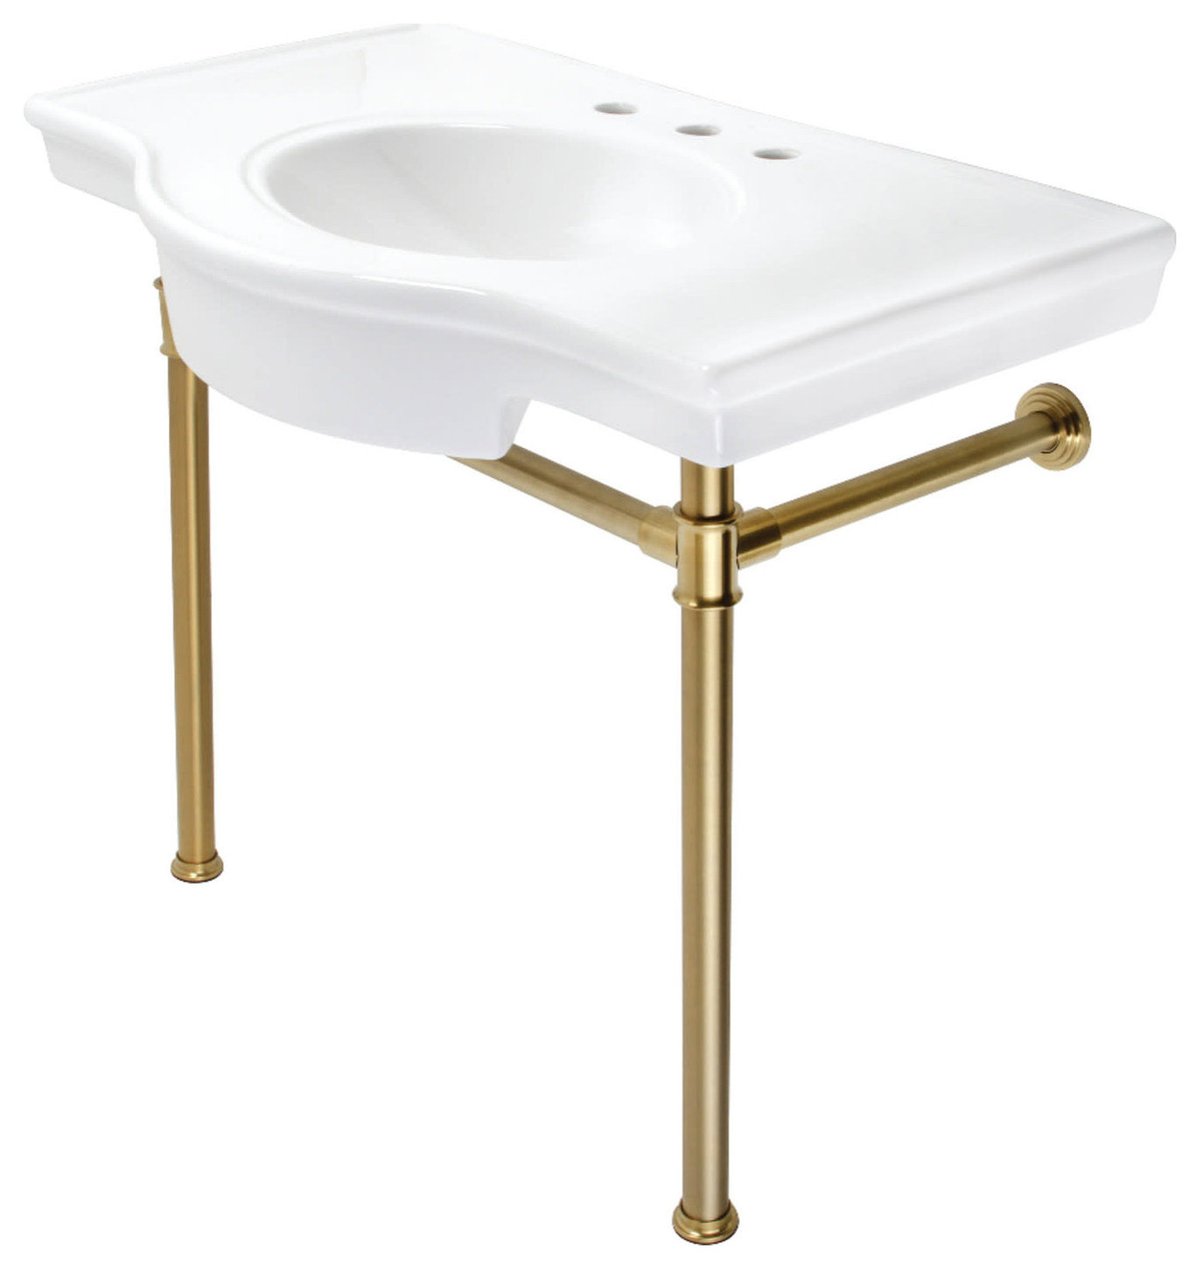
Whether you're upgrading your kitchen or bathroom, a Kingston Brass console sink set brings both elegance and functionality to any space. But before you start, you'll want to know exactly how to install it properly and keep it looking pristine for years to come. This comprehensive guide walks you through every step, from the initial setup to daily care.
There's something truly special about a well-installed console sink that makes your space feel both luxurious and lived-in. Kingston Brass console sink sets have earned their reputation for combining timeless design with modern durability. Whether you're a seasoned DIY enthusiast or someone who prefers professional help, understanding the installation process and maintenance routine can save you time, money, and headaches down the road. These beautiful fixtures require a bit of care, but they reward you with decades of reliable service and stunning visual appeal.
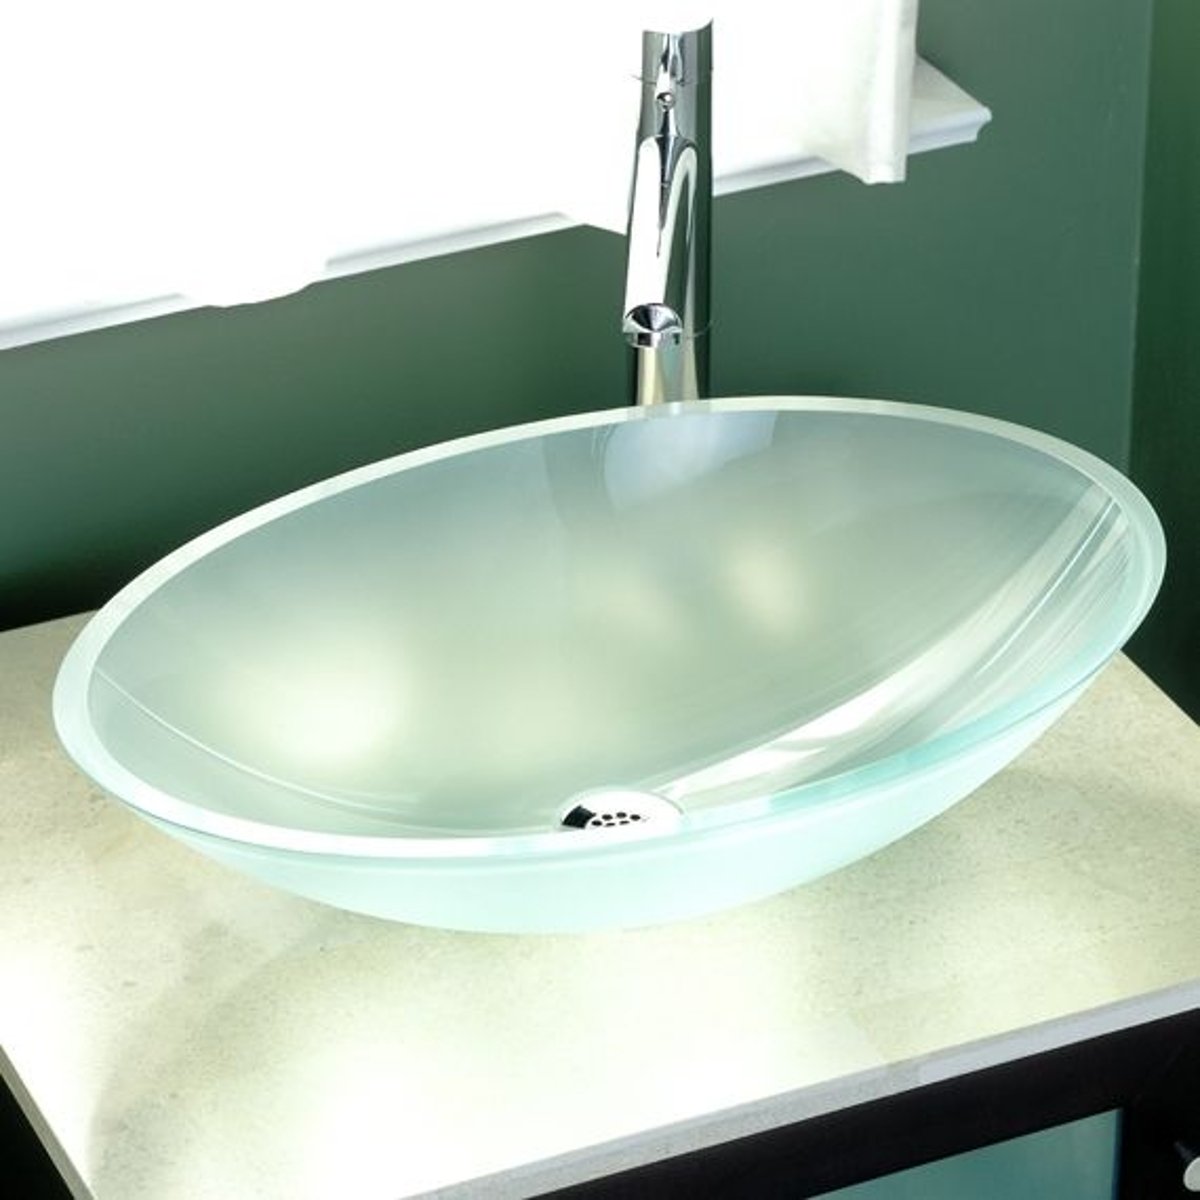
Understanding Your Kingston Brass Console Sink Set
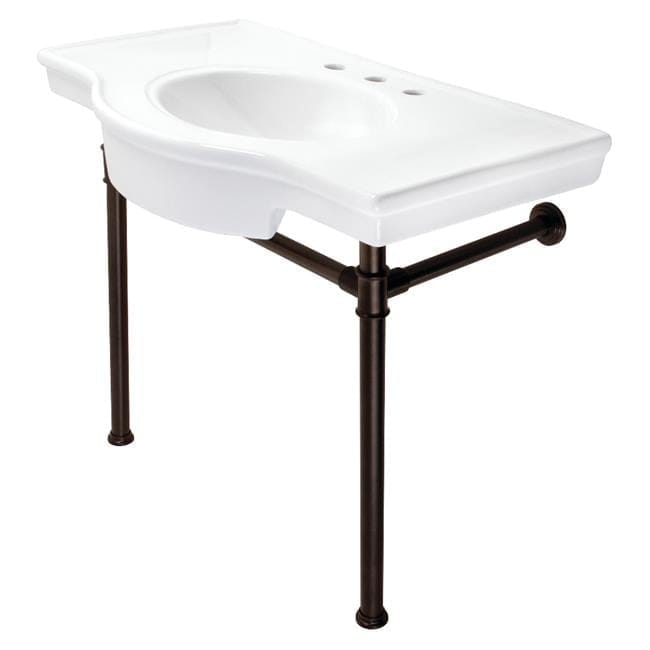
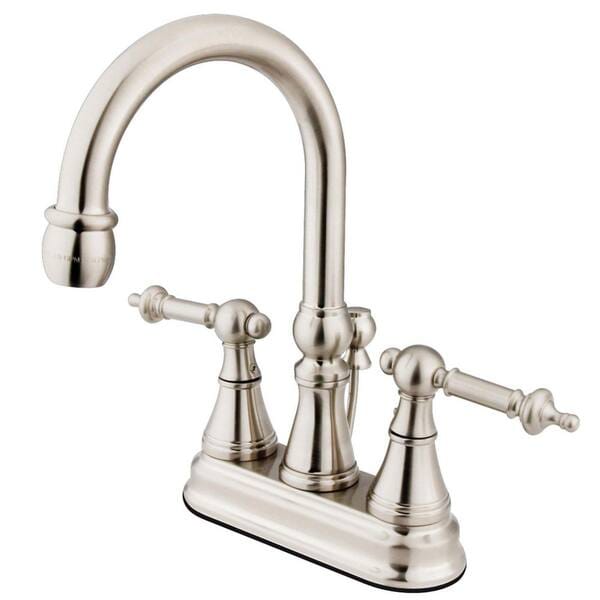
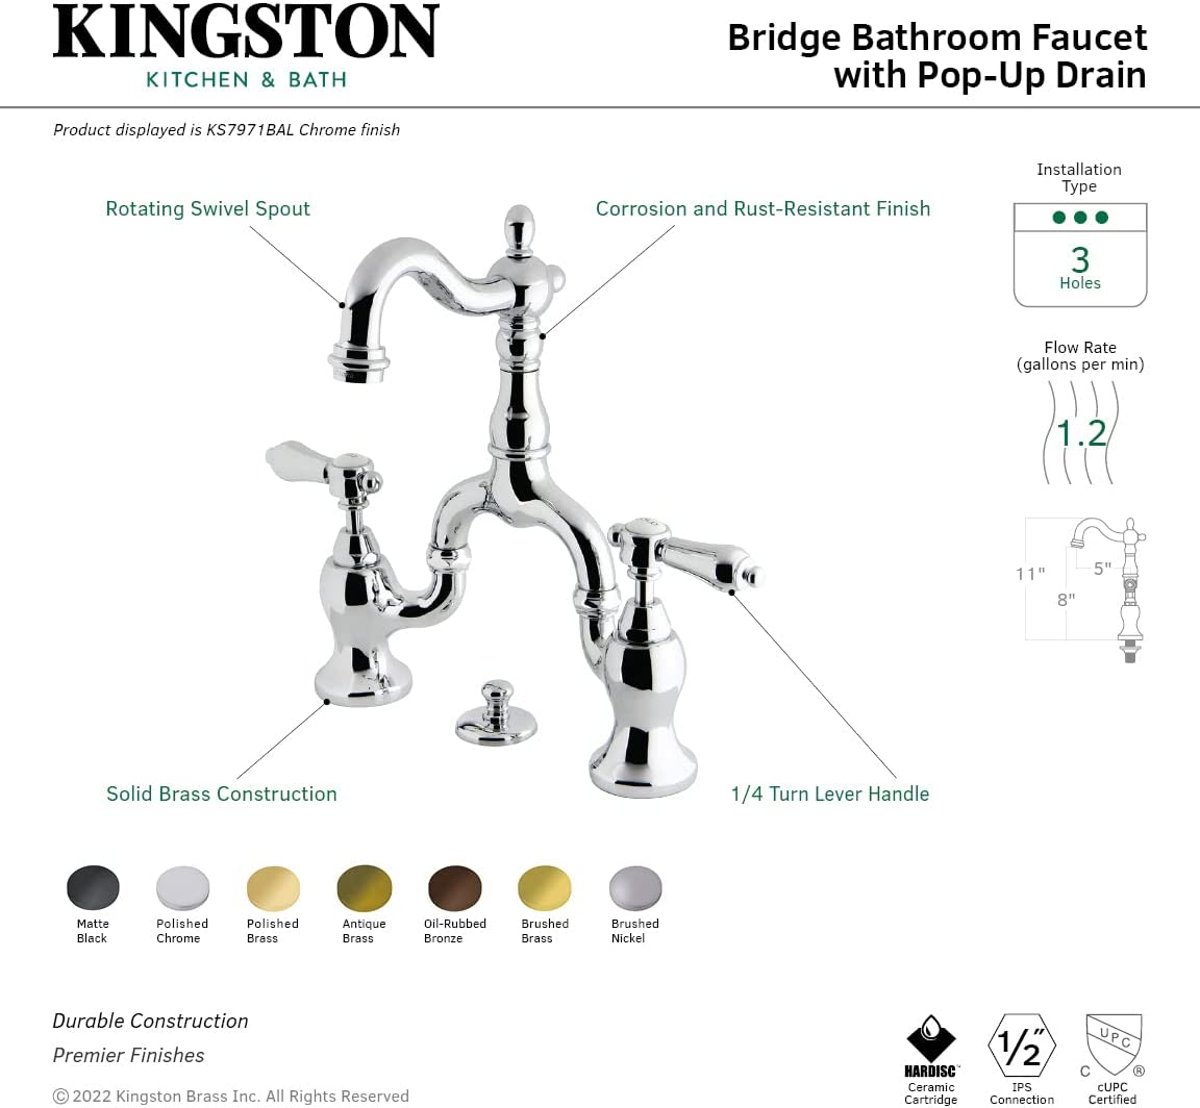
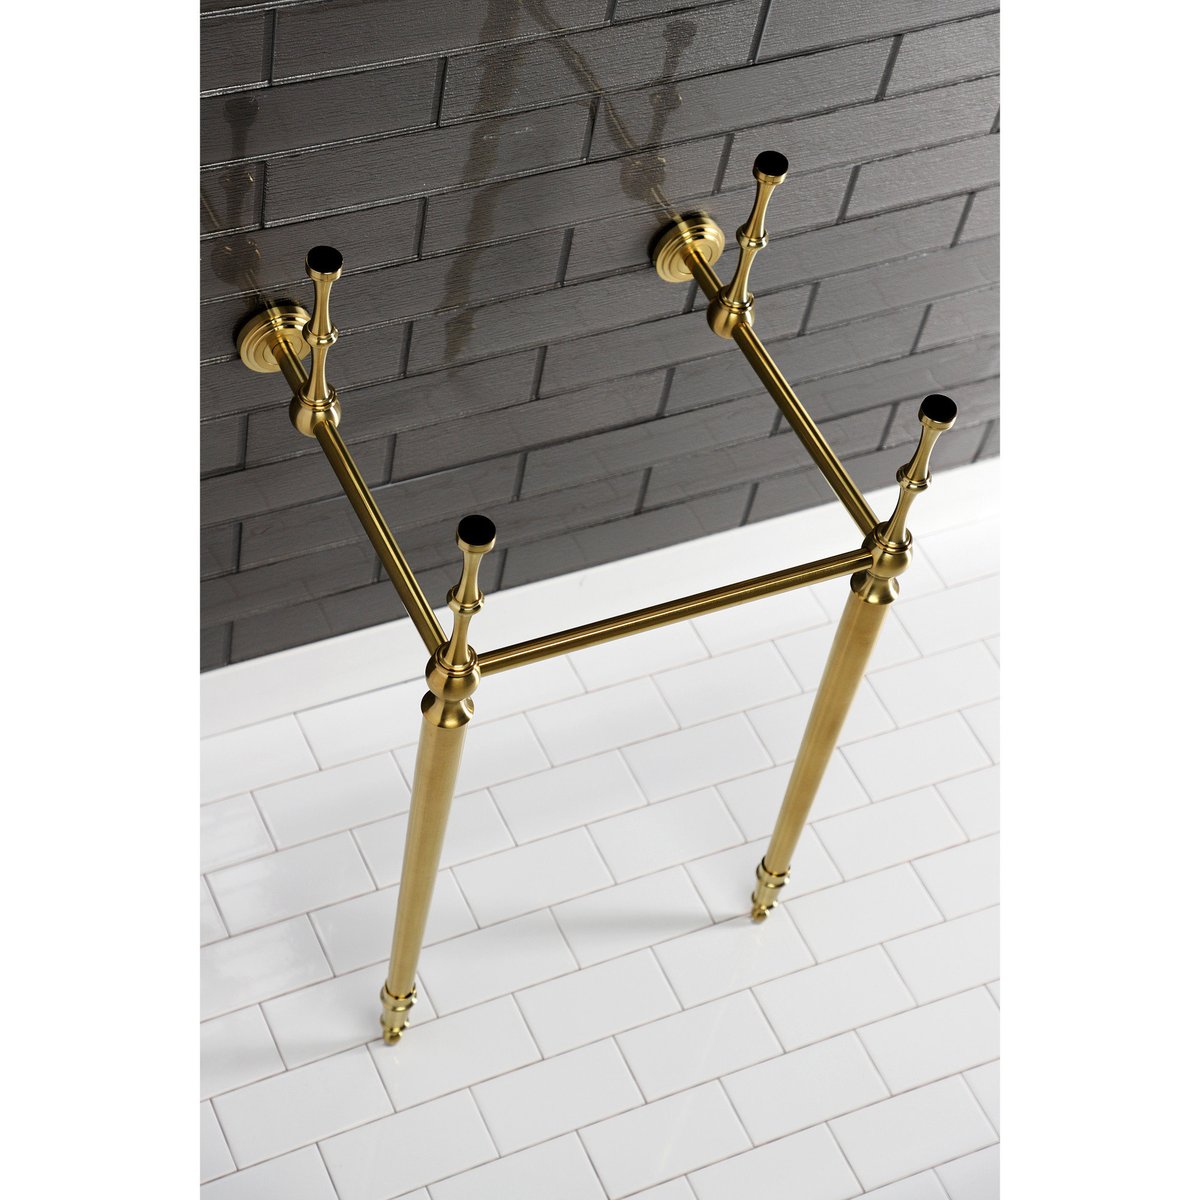
Before diving into installation, it's important to familiarize yourself with the components of your Kingston Brass console sink set. Most sets include the sink basin itself, faucet hardware, and mounting brackets. Some may even come with additional accessories like soap dispensers or a built-in drain assembly. The brass construction gives these sinks their characteristic warmth and resistance to corrosion. Take some time to examine each part carefully and check if all pieces are present. If anything seems missing or damaged, contact customer service immediately. Every detail matters when it comes to proper installation.
Planning Your Installation Space
Proper planning is the foundation of a successful installation. Measure your designated area thoroughly before purchasing or installing. Consider the width, depth, and height of the sink basin along with the clearance needed for the faucet and any surrounding fixtures. Check for existing plumbing connections and ensure they align with your new setup. You'll also want to verify that your cabinet or countertop can support the weight of the brass sink, which tends to be heavier than standard materials. Don't forget to account for ventilation if you're installing in a bathroom. A well-thought-out plan prevents costly mistakes and ensures everything fits perfectly.
Gathering Tools and Materials
Having the right tools ready will make your installation process much smoother. You'll typically need a drill, screwdriver set, measuring tape, level, plumber's tape, and silicone caulk. Depending on your specific model, you might also require specialized tools like a basin wrench or adjustable wrench. Make sure your workspace is clean and well-lit. Having all necessary materials within reach helps avoid interruptions during installation. Also, double-check that your sink set includes everything you need – sometimes items like mounting hardware or drain assemblies are sold separately. It's always better to be over-prepared than under-equipped.
Step-by-Step Installation Process
The actual installation involves several key steps. First, position the sink in its intended location and trace around the cutout. Next, install the mounting hardware according to manufacturer instructions. Apply silicone caulk around the edges where the sink meets the countertop. Carefully lower the sink into place, ensuring it sits evenly. Secure it with the provided fasteners while checking that everything lines up correctly. Connect the water supply lines and test for leaks. Finally, install the faucet and any additional accessories. Each step requires patience and attention to detail, especially when it comes to aligning the faucet holes precisely.
Common Installation Challenges and Solutions
Even experienced installers encounter problems occasionally. One common issue is misalignment between the sink and countertop cutout. If this happens, you might need to adjust the mounting brackets or add shims for a proper fit. Another challenge involves dealing with old plumbing connections that don't match new fixtures. In such cases, you may need adapter fittings or even a plumber's assistance. Water leaks often occur due to improper sealing or overtightening of connections. Always use plumber's tape and gentle pressure when connecting pipes. Remember, taking your time usually prevents most of these issues from becoming major problems.
Maintenance Tips for Longevity
Regular maintenance keeps your Kingston Brass sink looking beautiful and functioning smoothly. Clean it gently with mild soap and warm water daily. Avoid harsh chemicals that can damage the finish or cause discoloration. For tougher stains, use a soft cloth with a gentle cleaner specifically designed for brass fixtures. Periodically polish the brass components with appropriate cleaners to maintain their shine. Check for mineral buildup regularly, especially if you live in an area with hard water. Addressing small issues quickly prevents bigger problems later on. Consider applying a protective coating periodically to preserve the surface quality.
Installing and maintaining a Kingston Brass console sink set is a rewarding investment in your home's aesthetic and functionality. By following proper procedures and staying attentive to care requirements, you can enjoy years of beautiful performance from your fixture. The key lies in preparation, patience, and consistent upkeep. Whether you tackle the installation yourself or bring in a professional, understanding the basics gives you confidence in making smart decisions. With the right approach, your console sink will become a centerpiece that enhances your space for many years to come. Don't let the complexity discourage you – these fixtures are worth the effort, and the results are absolutely worth it.

Related Posts
 Home Decor
 Exploring the Design Elements of Cosa 48I01 86100 Square White Tile
 Home Decor
 The Role of Material Quality in Kingston Brass KVBH25227W8B Bathroom Fixture Longevity
 Home Decor
 The Ultimate Guide to Managing Kitchen Waste with Cyclonehaus Stuffer
 Home Decor
 The Art of Selecting the Right Bathroom Sink for Your Home
 Home Decor
 Comparing Kingston Brass VPB1368 Console Legs with Other Premium Cabinet Hardware
 Home Decor