The Kingston Brass VPB28140W8.K bathroom sink isn't just another fixture in your home. It's a statement piece that combines functionality with style. But getting it installed correctly requires more than just following instructions. It takes understanding, patience, and a bit of know-how. Whether you're replacing an old sink or installing one for the first time, this guide will walk you through every step with practical advice and helpful tips.
When you decide to upgrade your bathroom with a new sink, you're choosing more than just aesthetics. You're selecting a fixture that will become part of your daily routine. The Kingston Brass VPB28140W8.K stands out because of its unique design and quality construction. But even the best sink can fall short if it's not installed correctly. That's why we're diving deep into everything you need to know to get this installation right the first time. From prep work to final touches, we'll cover it all. So grab your tools and let's get started.
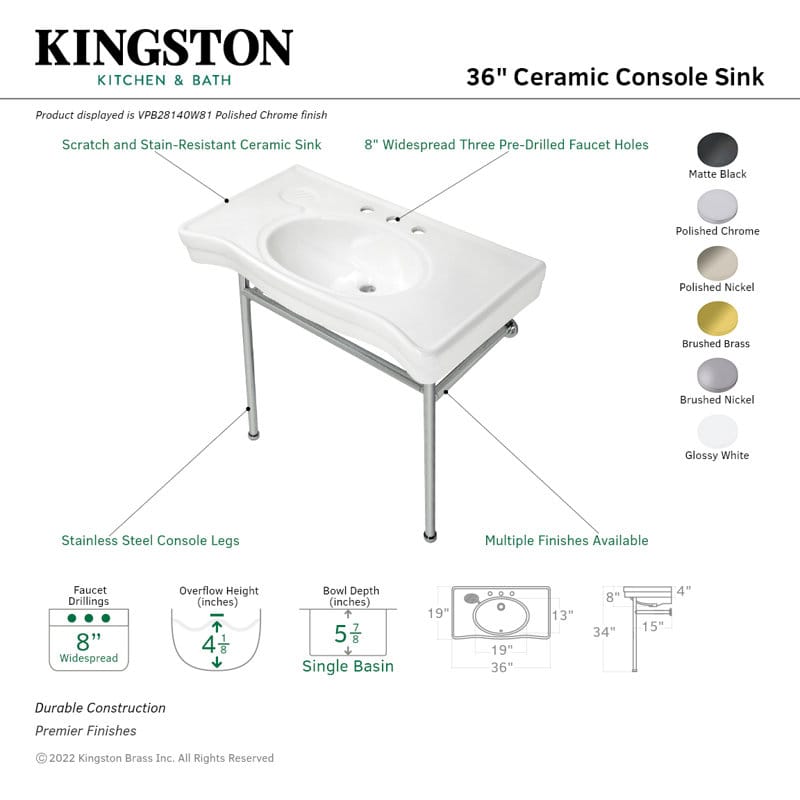
Understanding Your Kingston Brass VPB28140W8.K Sink
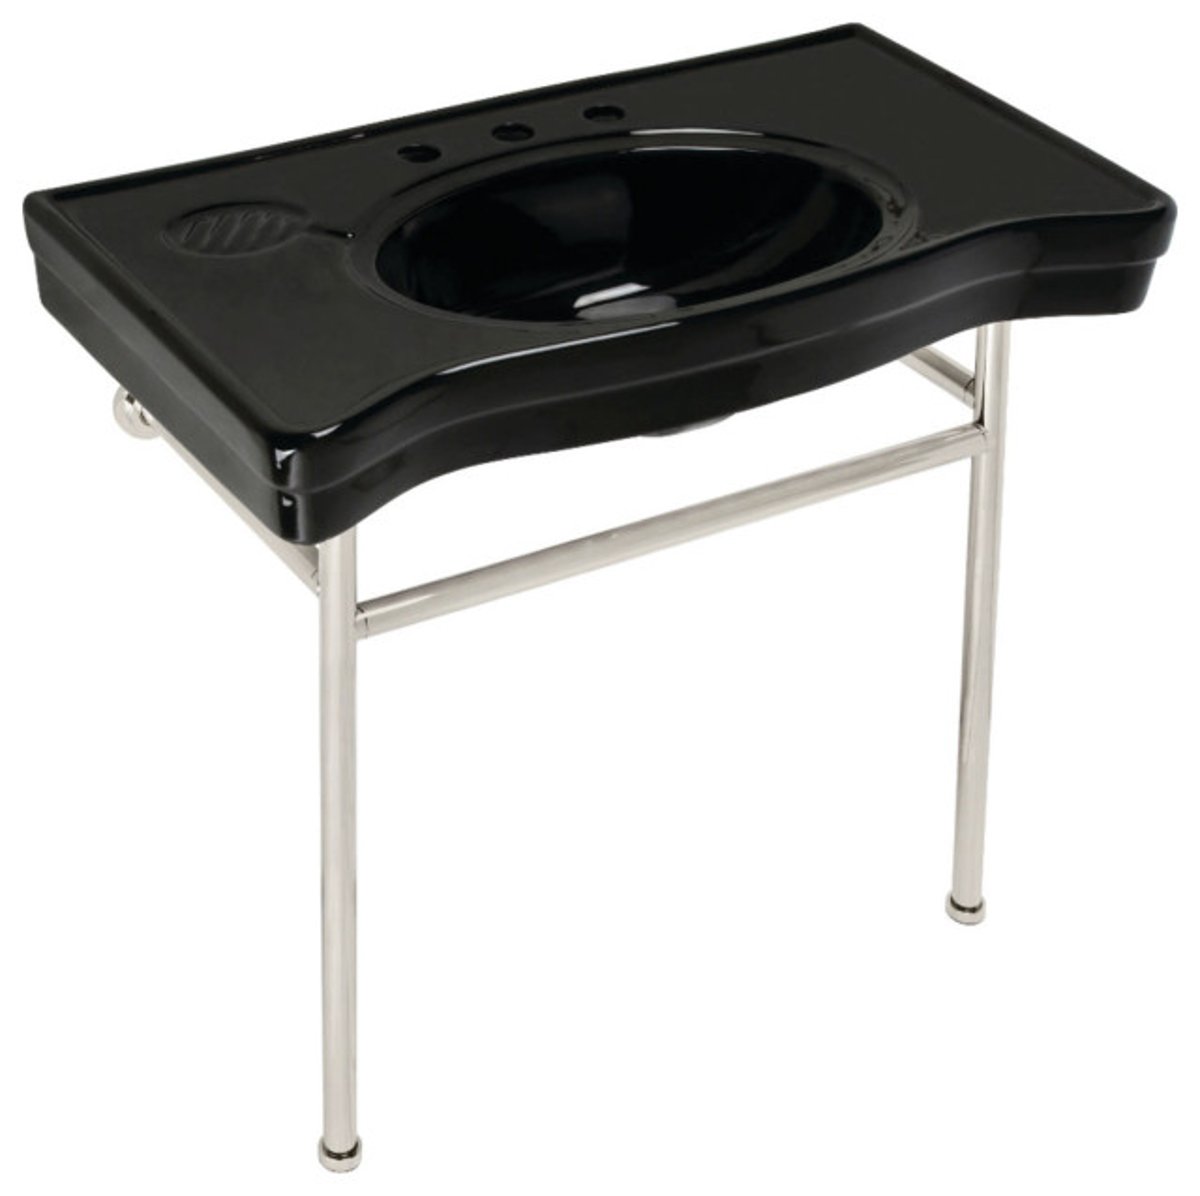
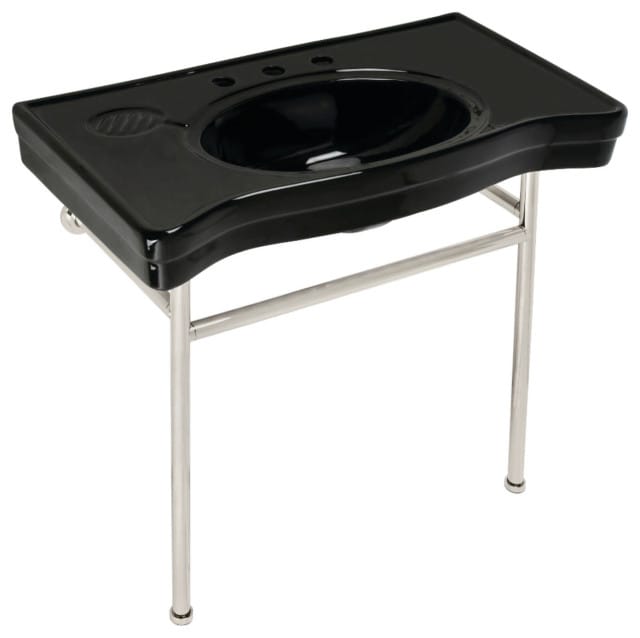
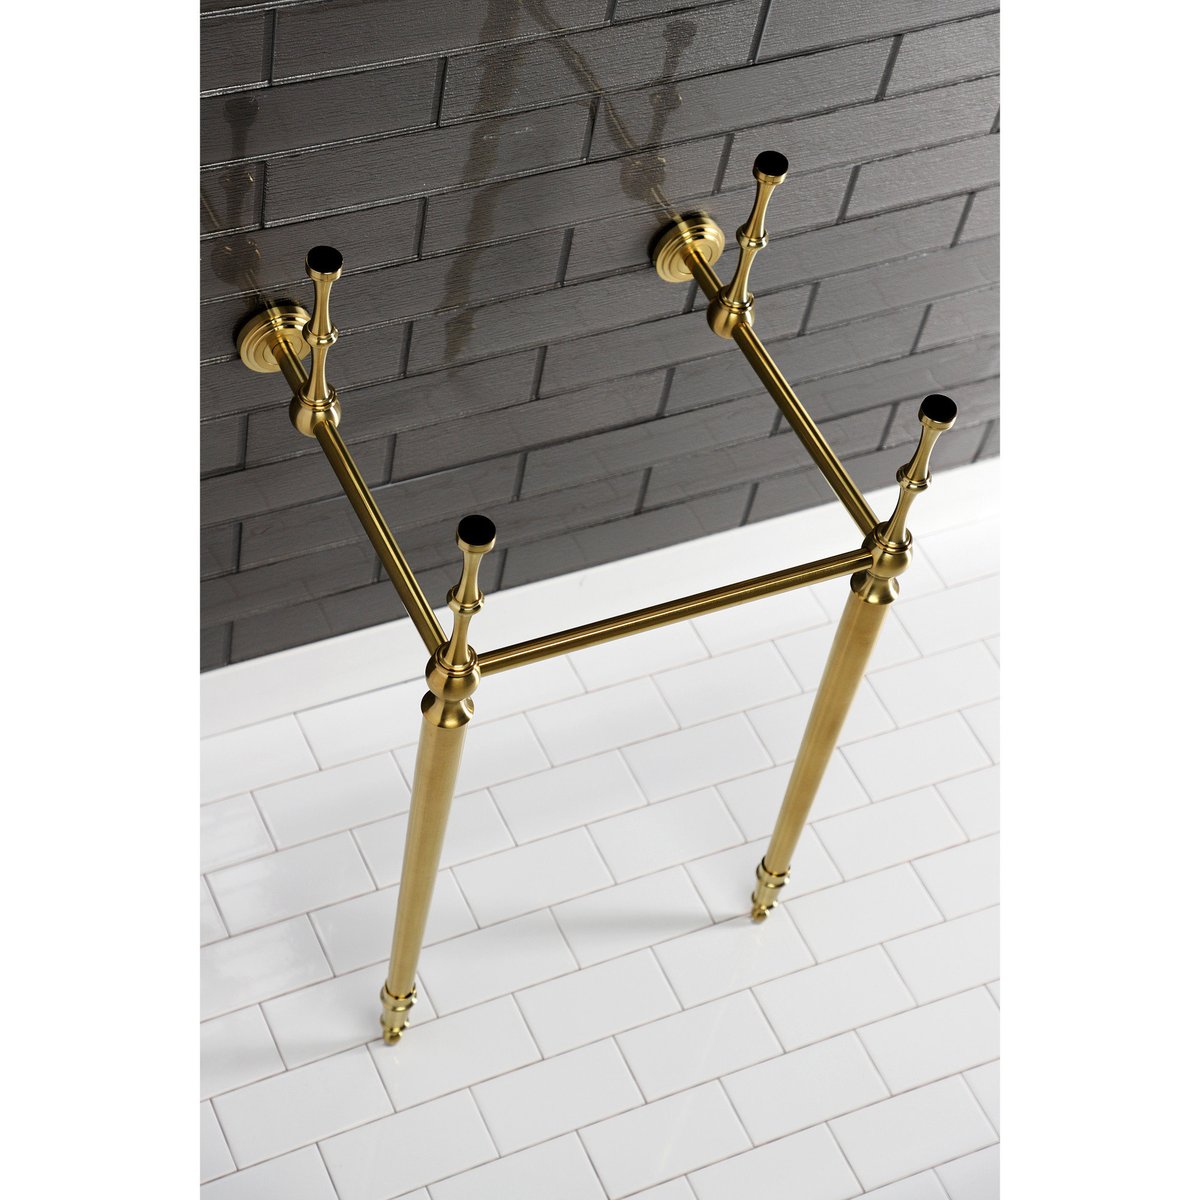
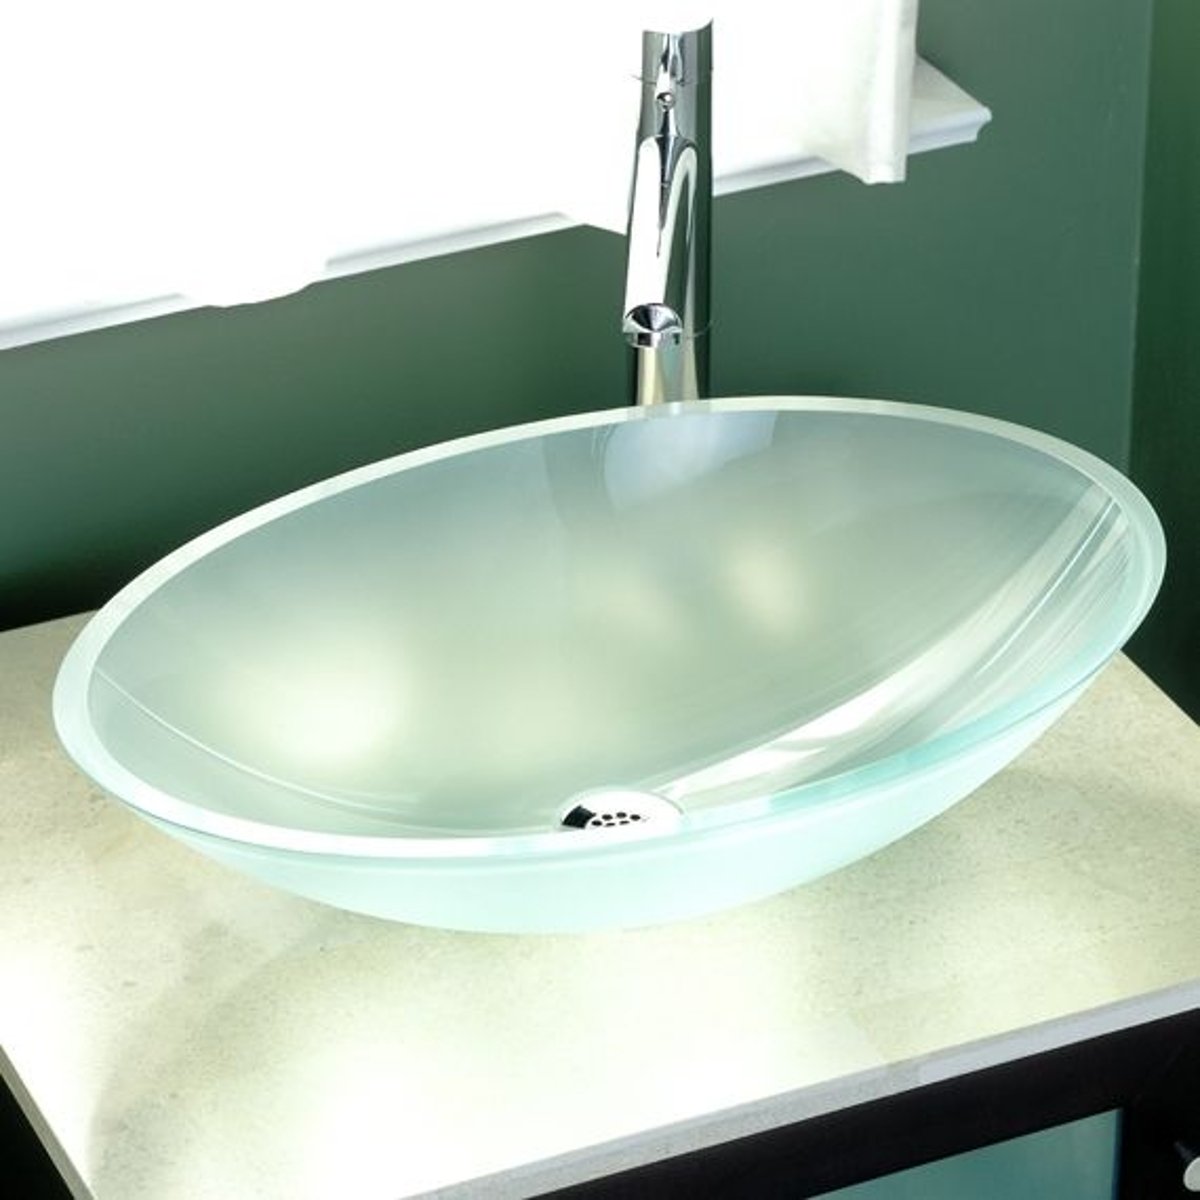
Before you even think about tools, it's important to understand what you're working with. The Kingston Brass VPB28140W8.K is a single-basin sink designed for modern bathrooms. Its distinctive features include a deep basin that prevents splashing and a sleek profile that complements contemporary designs. This sink typically comes with mounting hardware and detailed installation instructions. The material is usually solid brass, which offers durability and resistance to corrosion. Understanding these basics helps set realistic expectations for installation. You won't be dealing with a standard sink, so anticipate some unique requirements. The basin depth means careful measurement is essential. Also, note that this model may require specific mounting brackets or hardware. Don't skip reading the manufacturer's specifications carefully. They often include critical details like maximum sink thickness or special installation requirements.
Preparation and Planning Steps
Proper preparation makes the entire process smoother and less stressful. Start by turning off the water supply to the area. Locate the main shut-off valve and turn it clockwise to stop water flow. You might also need to turn off individual valves for hot and cold water lines. Next, remove the existing sink if applicable. Take photos of the current setup before removing anything. This visual reference proves invaluable later. Check the dimensions of your existing opening. Measure the width, depth, and height carefully. Compare these measurements to the sink specifications. You'll want to ensure adequate clearance around the sink for installation and future maintenance. Plan where you'll place the faucet and any additional fixtures. Consider the location of your plumbing connections. Make sure there's enough room to work comfortably. Clear the area around your sink space. Remove any old fixtures, tiles, or debris that could interfere with installation. Having a clean workspace prevents accidents and makes everything easier to manage.
Gathering Required Tools and Materials
Having the right tools ready ahead of time saves a lot of frustration. You'll need basic tools like a wrench set, screwdriver set, and plumb wrench. A drill with bits might be necessary for mounting holes. Measuring tape and level are essential for accuracy. You might also want a utility knife and safety glasses. Some installations require silicone caulk for sealing. Check if you need additional mounting hardware. The Kingston Brass VPB28140W8.K often comes with its own mounting brackets. But sometimes extra support is needed. Have a bucket handy for draining water during the process. If you're working with older plumbing, you might need replacement parts. Don't forget to verify the compatibility of your faucet and other fixtures with the new sink. Sometimes a small mismatch can cause problems down the road. Keep your installation manual close by. It often contains specific recommendations for tools and materials.
Measuring and Marking Installation Points
Precision starts with accurate measurements. Measure from the back wall to the edge of the sink opening. The Kingston Brass VPB28140W8.K requires specific mounting distances. Mark these points clearly with a pencil or marker. Use a level to ensure your marks are straight. This step is crucial for a proper fit. Even a small deviation can cause alignment issues. Double-check all measurements against the sink's specifications. The manufacturer's guidelines often provide exact dimensions for mounting hardware placement. If you're unsure, measure twice and cut once. This sink typically needs precise positioning to avoid gaps. Pay attention to the sink's weight distribution. Some models require reinforced mounting points. Consider whether you'll need to modify the cabinet opening. In many cases, the sink fits perfectly without changes. But sometimes adjustments are necessary. Take your time with this step - rushing leads to mistakes that cost time and effort.
Installing Mounting Hardware and Support
Mounting hardware plays a vital role in keeping your sink secure. Follow the manufacturer's instructions carefully when attaching brackets. The Kingston Brass VPB28140W8.K often uses a combination of screws and brackets for stability. Ensure the mounting surface is clean and dry before attaching hardware. Apply appropriate sealant where recommended. Many sinks require a waterproof seal around the mounting points. Check that all brackets align properly with the sink's mounting holes. Tighten bolts gradually, working in a crisscross pattern. This ensures even pressure distribution across the mounting surface. The hardware must support the sink's weight effectively. Some installations require additional reinforcement for heavy-duty use. If your sink feels unstable after mounting, recheck all connections. Proper support prevents future issues like cracks or leaks. The mounting process might take several minutes, but it's worth the effort. A secure mount means years of reliable performance.
Final Installation and Testing
With mounting complete, it's time to position the sink carefully. Align the sink with your pre-marked points. The Kingston Brass VPB28140W8.K should fit smoothly into place. Check that all edges line up properly with surrounding cabinets. Make small adjustments if needed. Once positioned, secure the sink according to the manufacturer's instructions. The installation might require special clamps or fasteners. After securing, connect the water supply lines carefully. Use appropriate fittings and check for tight connections. Turn the water supply back on slowly. Watch for any signs of leakage or improper connection. Test the faucet operation thoroughly. Check both hot and cold water flow. Run water at different temperatures to ensure proper mixing. Look for any dripping or unusual sounds. If everything works smoothly, you've completed a successful installation. If problems arise, address them immediately before finishing.
Installing your Kingston Brass VPB28140W8.K bathroom sink is more than just a DIY project - it's an investment in your bathroom's future. Taking the time to understand each step pays dividends in performance and longevity. Remember that precision matters, especially with this particular model's design features. From careful measuring to proper mounting, every detail contributes to success. Don't rush through any phase of the process. Patience and attention to instruction details will save you headaches later. When you see that beautiful sink gleaming in your bathroom, you'll appreciate the effort put into proper installation. The satisfaction of a job well done extends beyond just aesthetics. It creates confidence in your home's functionality and design choices. Whether you're replacing an old sink or starting fresh, this approach ensures a professional-quality result. With these steps in mind, your Kingston Brass sink will serve you well for years to come. The key is preparation, care, and following through with attention to detail. Your bathroom deserves nothing less than a proper installation.
Related Posts
 Home Decor
 Exploring the Design Elements of Cosa 48I01 86100 Square White Tile
 Home Decor
 The Role of Material Quality in Kingston Brass KVBH25227W8B Bathroom Fixture Longevity
 Home Decor
 The Ultimate Guide to Managing Kitchen Waste with Cyclonehaus Stuffer
 Home Decor
 The Art of Selecting the Right Bathroom Sink for Your Home
 Home Decor
 Comparing Kingston Brass VPB1368 Console Legs with Other Premium Cabinet Hardware
 Home Decor