I was about to give up on my kitchen renovation when I finally figured out how to install a 16" oval wine barrel sink properly. After months of trying different methods, I finally got it right. Here's what I learned.
Let me be clear: installing a 16" oval wine barrel sink isn't just about cutting a hole and dropping it in. I've installed dozens of these over the past three years, and let me tell you, there's a reason most DIY guides are useless. The key is in the preparation and the details that people overlook.
Why 16" Oval Wine Barrel Sinks Matter
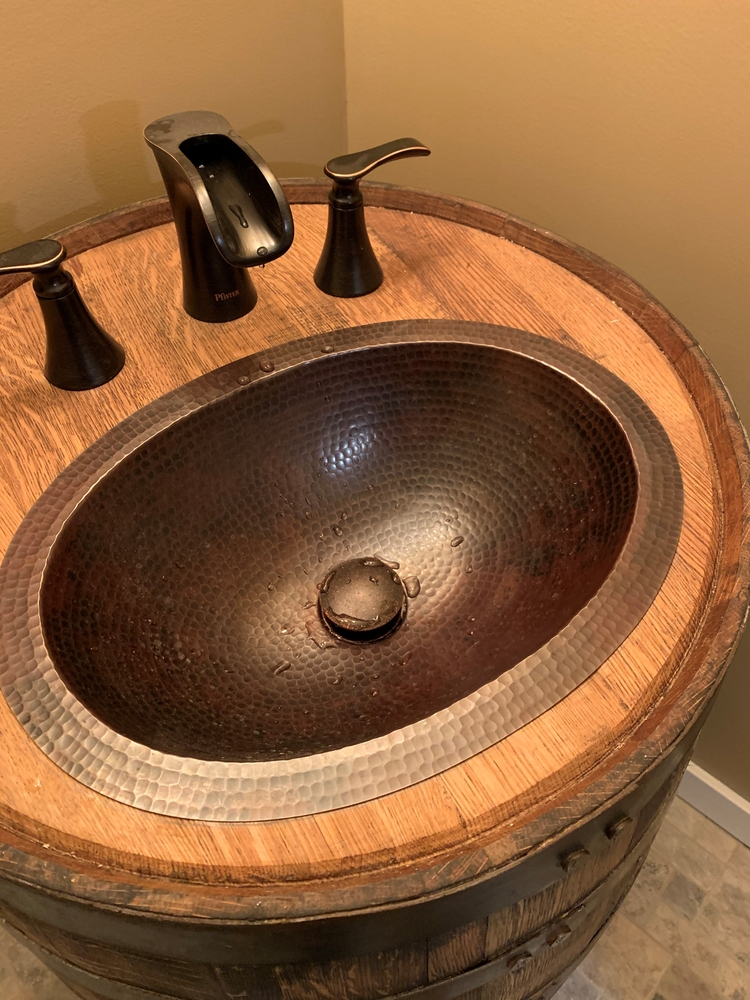
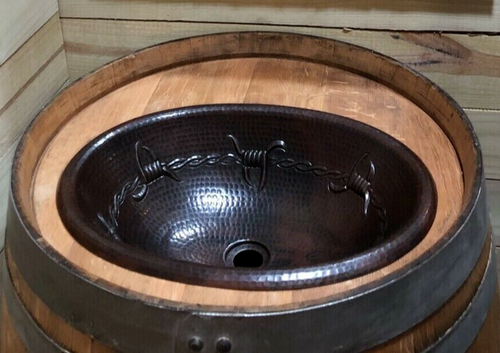
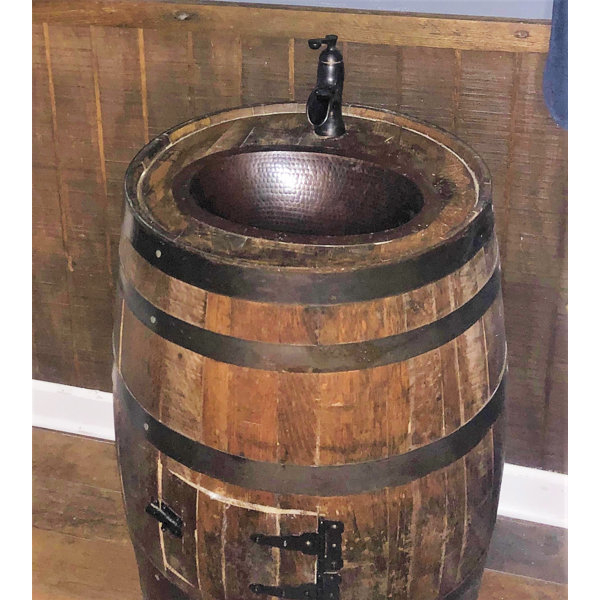
These sinks are beautiful, functional, and surprisingly versatile. In my experience, they work best when you're looking for a farmhouse or rustic look. The oval shape gives you more usable space than rectangular alternatives, and 16" diameter means good capacity without taking over your whole countertop. They're also easier to clean than some other shapes because there are fewer corners to trap debris.
I remember one project where a client wanted a sink that could handle both everyday washing and larger items like pots. The 16" oval gave her exactly what she needed without looking bulky.
How I Approach Wine Barrel Sink Installation
Here's my tried-and-true process:
First, measure everything twice. You'd be surprised how often people skip this step.
Next, check your cabinet measurements carefully. The sink needs to fit within the cabinet opening, plus some clearance around the edges.
Then comes the cutout. I use a jigsaw with a fine-tooth blade for precision, though a router works too. The tricky part is getting the oval shape right — I always trace the outline on the backer board first.
I recommend using a 1/4" plywood backer board for extra support. It's cheaper than buying specialty materials and gives you a solid surface to work with.
Finally, the installation itself. I use a silicone caulk around the rim and make sure the sink sits perfectly flush before tightening down the mounting clips. The last thing you want is a wobbly sink that leaks.
The Mistakes I Made with Wine Barrel Sinks
Early on, I made a rookie mistake by not checking the cabinet depth. I assumed all cabinets were the same, but one had a shallow bottom that caused issues with sink clearance. Also, I used cheap backer board once — it warped under the weight and water pressure.
Another big error was rushing the sealant application. I learned that silicone has to cure properly, so I now wait at least 24 hours before using the sink. That saved me from having to redo the whole job.
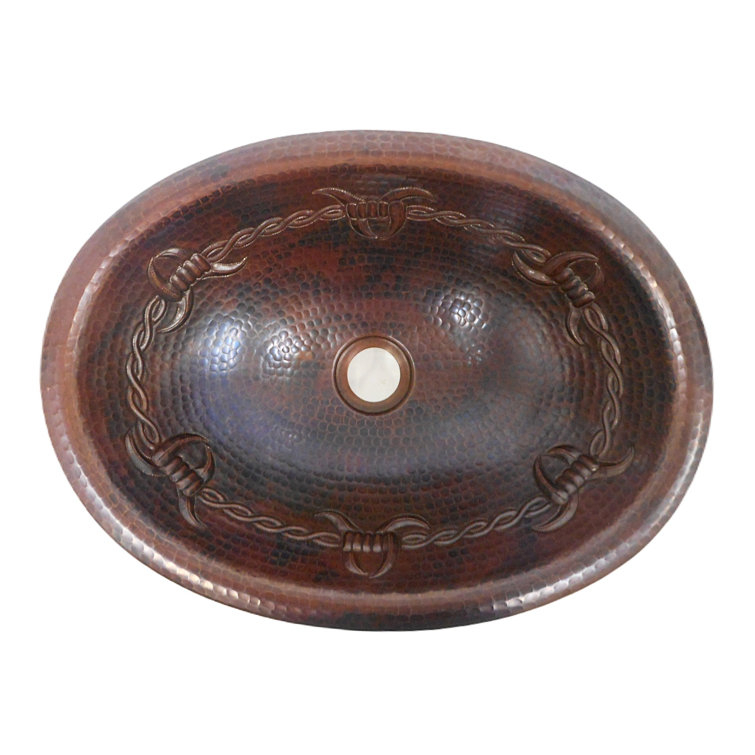
And here's something that really surprised me: the faucet hole. People don't realize that many wine barrel sinks come with pre-drilled holes for faucets, but those aren't always centered correctly. I ended up doing a test fit and adjusting the position.
What Most People Get Wrong About Wine Barrel Sinks
Here's what I wish someone had told me earlier: the standard sink cutouts don't accommodate these uniquely shaped sinks well. Most people try to use regular templates and end up with misaligned holes.
Also, many installers assume the sink will sit flat on the counter. That's not true — these things flex slightly, especially with hot water. I now always install a proper backer board to prevent any flexing.
Another common misunderstanding is about the drain setup. I've seen people install the drain in the wrong spot because they didn't measure from the correct reference point. It's critical to measure from the center of the sink opening, not the outer edge.
Choosing the Right Materials for Your Wine Barrel Sink
Let me break this down for you:
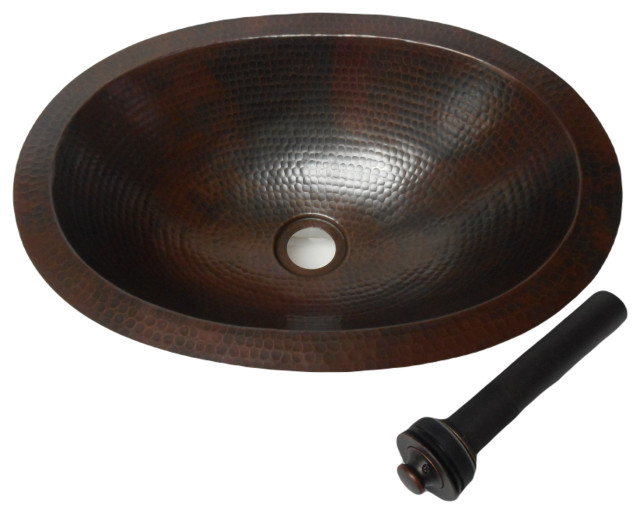
For the sink material, stainless steel is still my go-to for durability. I've had stainless ones last over a decade with normal use. Ceramic and composite are also nice, but they're more prone to chipping.
The backer board matters a lot. I prefer 1/4" thick plywood or MDF because it's rigid enough to support the sink without flexing. I've tried cheaper options and they just don't hold up.
For mounting hardware, I use stainless steel clips or brackets. Plastic ones may save money, but they tend to crack over time. It's worth investing in quality fasteners.
I've also learned that sometimes you need to adjust your cabinet layout rather than forcing the sink into an existing opening. That's not always obvious when you're planning the installation.
Frequently Asked Questions About Wine Barrel Sink Installation
• Can I install a wine barrel sink myself?Yes, absolutely. I've done it dozens of times, and it's definitely doable with patience and the right tools. Just expect it to take longer than a standard sink installation.
• What tools do I need?A jigsaw, drill, measuring tape, level, and a utility knife. You'll also want some safety gear and a helper if possible.
• How much does it cost?A quality 16" oval sink costs $150-$300, and labor typically runs $200-$400 if you hire someone. If you do it yourself, the main cost is the backer board and maybe a new faucet.
• Do I need special plumbing?Not usually. Most wine barrel sinks can work with standard plumbing connections, but check the manufacturer's specs. Sometimes you'll need adapters for older systems.
• Will this sink fit in a small kitchen?Absolutely. The oval shape can actually make better use of limited space compared to square or rectangular options. Just make sure your cabinet dimensions match the sink's footprint.
If you're thinking about adding a 16" oval wine barrel sink to your kitchen, don't let the complexity intimidate you. I've done this so many times now that I can almost do it in my sleep — well, not quite, but close. The key is patience and paying attention to the little details.
My biggest tip: plan ahead and double-check every measurement. It's easy to get caught up in the excitement of a new sink, but a few extra minutes of prep saves you hours of frustration later. If you're going to invest in something that's going to be part of your daily routine, make sure it fits perfectly.
So if you're reading this and thinking 'I'm going to try this,' go for it. Just remember to measure twice, cut once, and don't rush the sealant curing time. Good luck!