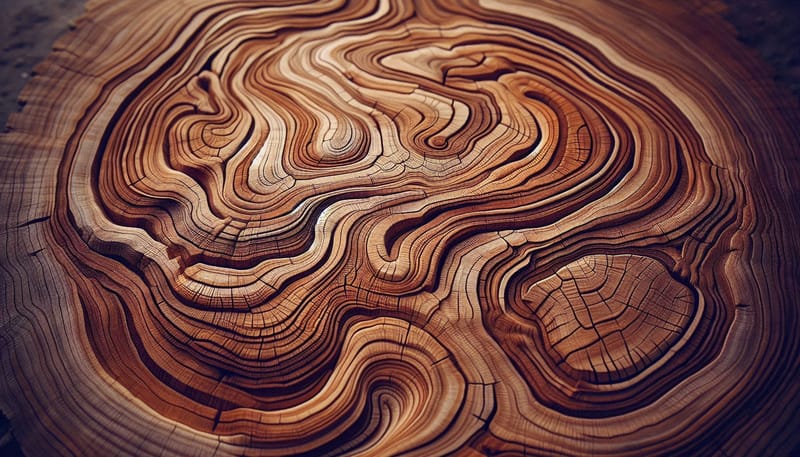
As someone who's spent decades elbow-deep in sawdust and wood shavings, I can tell you that the true magic of wood isn't just in its grain or its strength. It's in the finish. That protective layer, often taken for granted, is what shields our beloved wooden pieces from the rigors of daily life, bringing out their inherent beauty and ensuring they last for generations. But what exactly is a wood finish, and why does it matter so much? Let's dive in, shall we.
For many, a wood finish is simply that shiny stuff you put on furniture. But oh, if only it were that simple. It's a complex interplay of chemistry, artistry, and practicality. Imagine a sturdy oak dining table. Without the right finish, it would quickly succumb to spills, scratches, and the relentless march of time. A good finish isn't just about making it look nice; it's about providing a durable shield, enhancing the wood's natural character, and making it easier to maintain. It's the unsung hero of your home's wooden elements, truly.
The Two Big Families: Penetrating vs. Surface Finishes
When we talk about wood finishes, we generally categorize them into two main groups: penetrating finishes and surface finishes. Think of them like two very different types of armor for your wood.
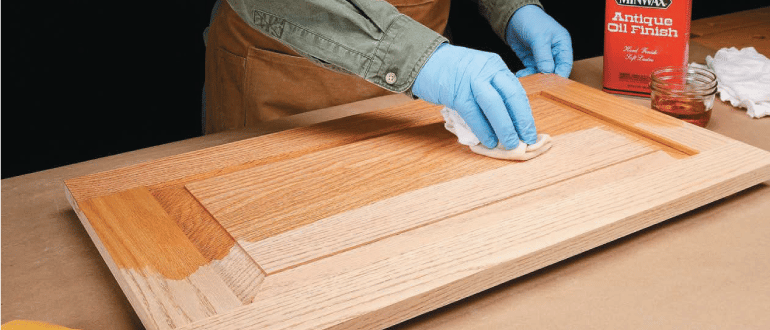
Penetrating Finishes: These are the deep divers. Oils, like tung oil or linseed oil, soak into the wood fibers, hardening within them. They don't form a film on top. This gives the wood a very natural, 'in-the-wood' feel, and it's less prone to showing scratches because the damage is often in the wood itself, not the finish. They're great for things that you want to feel very natural, like cutting boards or tool handles. The downside? Less protection against water and chemicals compared to film-forming finishes, and they need re-application more often.
Surface Finishes: These are the film-formers. Varnishes, lacquers, polyurethanes, and shellacs. They create a protective layer on top of the wood. This layer can be incredibly durable, resisting moisture, abrasions, and chemical spills. They offer a much higher level of protection and come in various sheens, from matte to high gloss. The trade-off? They can sometimes look less natural, and if the film is scratched or damaged, it can be more noticeable and harder to repair locally. Think about a scratch on a car's clear coat versus a scratch on raw wood. Quite different, yes.
Decoding the Jargon: Varnish, Poly, Lacquer, and Shellac – What's the Difference?
This is where many homeowners get a bit lost, and I don't blame them. The terms are often used interchangeably, but they are distinct!
- Varnish: Traditionally, varnish is a blend of oil, resin, and a solvent. It's known for its durability and resistance to water and chemicals. It cures slowly, forming a hard, protective film.
- Polyurethane (Poly): This is a type of synthetic resin that's incredibly popular due to its exceptional durability and resistance to abrasion. It comes in oil-based and water-based versions. Water-based poly dries faster and has less odor, but oil-based is generally considered tougher for high-traffic areas like floors.
- Lacquer: A very fast-drying finish, often used in furniture manufacturing because it speeds up production. It's applied in many thin coats and melts into the previous layer, creating a uniform, smooth surface. It's quite durable but can be susceptible to solvents like alcohol.
- Shellac: An old-school finish made from lac bugs (yes, bugs!). It's a natural resin dissolved in alcohol. Shellac dries incredibly fast and is a great sealer, but it's not as durable as poly or varnish, and it's highly susceptible to heat and alcohol. However, it's fantastick for antique restoration or as a barrier coat.
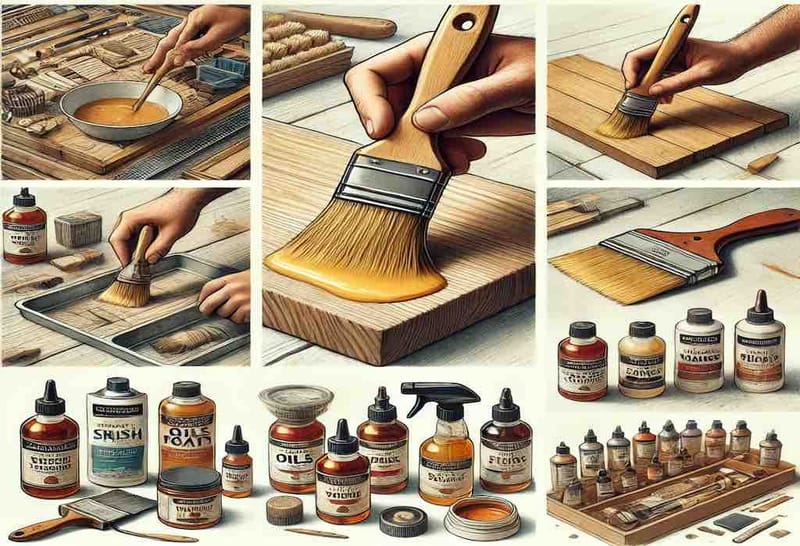
The Art of Application: Why Method Matters
It's not just what you use, but how you use it. Proper surface preparation is paramount. This means sanding in stages, progressively using finer grits until the surface is smooth as a baby's bottom. Any dust or imperfections will be magnified by the finish.
Then there's the application itself. Brushing, wiping, spraying – each method has its pros and cons. Brushing is common for larger surfaces, but you need to watch for brush strokes. Wiping finishes are great for beginners, as they are more forgiving and produce a very thin, even coat. Spraying provides the smoothest, most professional finish, but it requires specialized equipment and a controlled environment. Remember, thin coats are almost always better than one thick one. Patience is a virtue here, truly.
Maintenance and Repair: Keeping Your Finish Looking Fresh
Even the toughest finish needs a little love. Regular cleaning with a damp cloth (not wet!) is usually enough. Avoid harsh chemical cleaners, as they can degrade the finish over time. For scratches or minor damage, the repair method depends on the type of finish.
Penetrating finishes are easier to touch up locally; just reapply the oil to the damaged area. Surface finishes are trickier. Minor scuffs on poly or varnish can sometimes be buffed out with a fine abrasive pad and polish. Deeper scratches might require a more involved process, possibly even stripping and refinishing the entire piece. Prevention is always better than cure, so use coasters and placemats, and clean up spills immediately. A little care goes a long way, truly.
Beyond the Basics: Specialized Finishes and Considerations
There are also specialized finishes for specific applications. For outdoor furniture, you'll want finishes with UV inhibitors to protect against sun damage and enhanced water resistance. Deck stains and sealers are designed to penetrate and protect against the elements. For floors, extreme durability is key, which is why polyurethane is so popular.
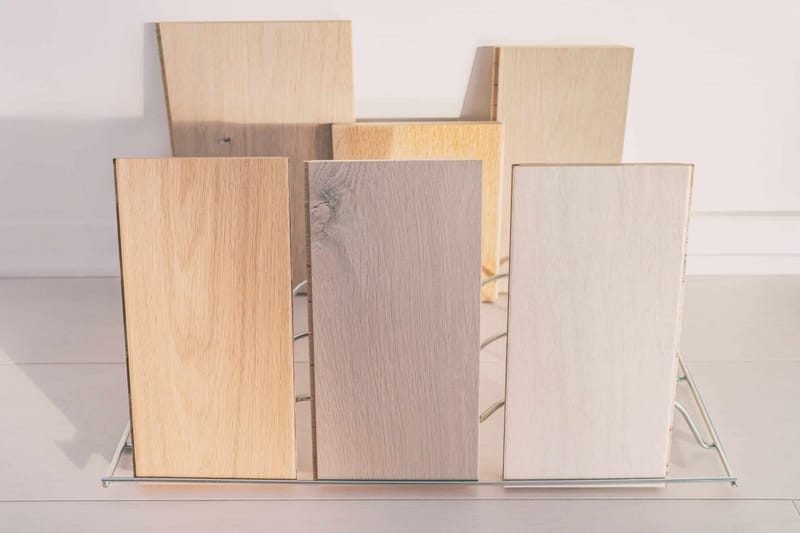
Consider the environment too. High humidity or extreme temperature fluctuations can affect how a finish cures and performs. Always read the manufacturer's instructions, they know their product best. And always, always test a new finish on an inconspicuous area or a scrap piece of the same wood before applying it to your main project. This step alone has saved me countless headaches over the years. It's a simple, yet profoundly important, step, I'm tellin' ya.
Common Pitfalls and How to Avoid Them
I've seen it all, from sticky finishes to peeling disasters. Here are a few common mistakes and how to sidestep them:
- Inadequate Surface Prep: Not sanding properly or leaving dust behind is the number one culprit for a poor finish. Cleanliness is next to godliness in finishing.
- Applying Too Thick: This leads to runs, drips, and a finish that never fully cures. Multiple thin coats are always superior to one thick one.
- Ignoring Cure Times: Just because a finish is 'dry to the touch' doesn't mean it's fully cured and ready for use. Respect the recommended cure times for maximum durability.
- Wrong Finish for the Job: Using an indoor finish outdoors, or a delicate finish on a high-traffic surface. Match the finish to its intended use.
- Poor Ventilation: Many finishes emit fumes. Work in a well-ventilated area, and wear a respirator when necessary. Your lungs will thank you. Safety first, always.
Understanding wood finishes might seem like a daunting task at first, but with a little knowledge, you can make informed decisions that will protect and beautify your home's wooden treasures for years to come. From the deep, natural feel of an oil finish to the robust protection of polyurethane, each option offers unique advantages. So, the next time you look at a piece of wooden furniture, take a moment to appreciate that invisible shield – the unsung hero that allows the wood's true beauty to shine through. It's a testament to good craftsmanship and smart choices, and it's a skill every homeowner can master. Happy finishing, my friends.