Hey everyone, it's me! You know, your friendly neighborhood expert on all things… well, pretty much everything! And today, we're diving deep into a subject close to many of our hearts, especially those of us who appreciate fine craftsmanship – the Fleur Hall Chest. These aren't just pieces of furniture; they're statements, heirlooms, and sometimes, a bit of a mystery when it comes to taking care of them. Fear not! I'm here to break down everything you need to know, from the basics to advanced techniques, to keep your Fleur Hall Chest looking its absolute best. This guide is made for everyone, whether you're just starting out or consider yourself a seasoned pro. Let's get started and make those chests shine, shall we?
Fleur Hall Chests, with their intricate designs, often delicate materials, and historical significance, require a level of care beyond the everyday. They're investments, both financially and emotionally. Proper maintenance not only preserves their physical appearance but also safeguards their value and heritage. Neglecting your chest can lead to damage, deterioration, and a significant loss of its charm and worth. This guide will equip you with the knowledge and tools to become a confident caretaker, ensuring your chest remains a cherished possession for generations and generations and generations. Let's get into how to do it right.
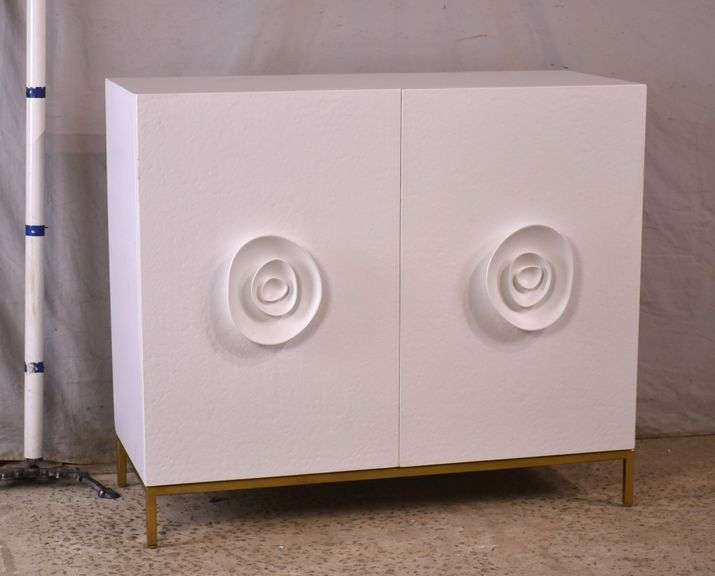
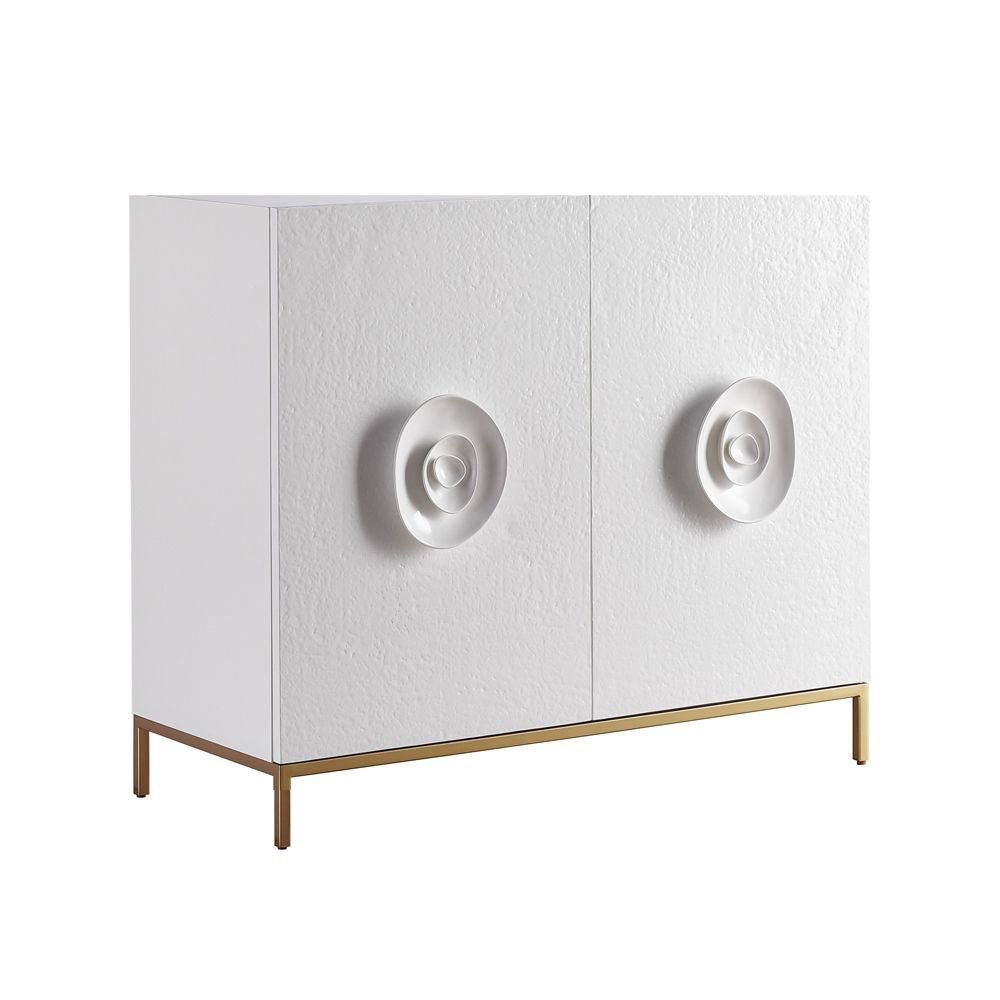
Understanding Your Fleur Hall Chest: Materials and Construction
Before we jump into cleaning, it's critical to understand what your Fleur Hall Chest is made of. Is it solid wood, veneer, or a mix? What kind of finish does it have – lacquer, varnish, or something else? Knowing this helps you choose the right cleaning products and methods.
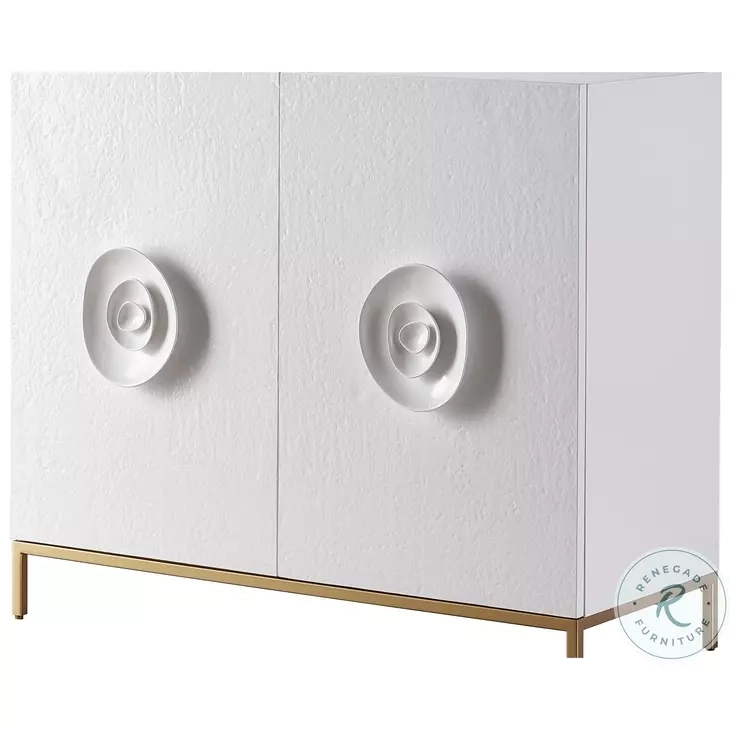
- Solid Wood: Often requires gentler cleaning and periodic oiling to prevent drying and cracking.
- Veneer: More susceptible to moisture damage; avoid harsh chemicals.
- Finish: Different finishes react differently to cleaning agents. Always test any cleaner in an inconspicuous area first.
Look for any labels or markings that might offer clues about the chest's origin, age, and materials. If you're unsure, consult with a furniture restoration expert. This initial assessment is the foundation of effective care; and it's super important to get it right, and to understand what you're working with.
The Gentle Art of Dusting: Your First Line of Defense
Dusting is your first, and perhaps most constant, battle. Regular dusting prevents the buildup of abrasive particles that can scratch the surface of your chest.
- Tools: Use a soft, clean microfiber cloth or a feather duster.
- Technique: Dust in the direction of the wood grain. Avoid applying pressure, especially on delicate finishes.
- Frequency: Dust at least once a week, or more often in dusty environments. This makes a massive difference. I cannot stress this enough.
Remember, the goal is to remove dust, not to grind it into the surface. Be gentle; be consistent, and your chest will thank you for it. And, and you will too.
Cleaning Solutions: What to Use (and What to Avoid)
Choosing the right cleaning solution is vital. Harsh chemicals can strip finishes, damage wood, and cause discoloration.
- Recommended: Mild soap and water solution (test in an inconspicuous area first), or a dedicated furniture cleaner specifically designed for your chest's finish.
- Avoid: Abrasive cleaners, ammonia, alcohol, and any products containing silicone.
- Application: Dampen your cloth (not soaking wet) with the cleaning solution and gently wipe the surface. Immediately dry with a clean, dry cloth.
Pro tip: For stubborn dirt, try a mixture of white vinegar and water. Again, test it first. Always err on the side of caution when it comes to cleaning products; it's better to be gentle and patient than to risk damaging your chest.
Moisture Control: The Enemy Within
Moisture can wreak havoc on wooden furniture. It causes warping, swelling, and can lead to mold and mildew.
- Humidity: Keep your chest in a climate-controlled environment. Aim for a humidity level between 35% and 55%.
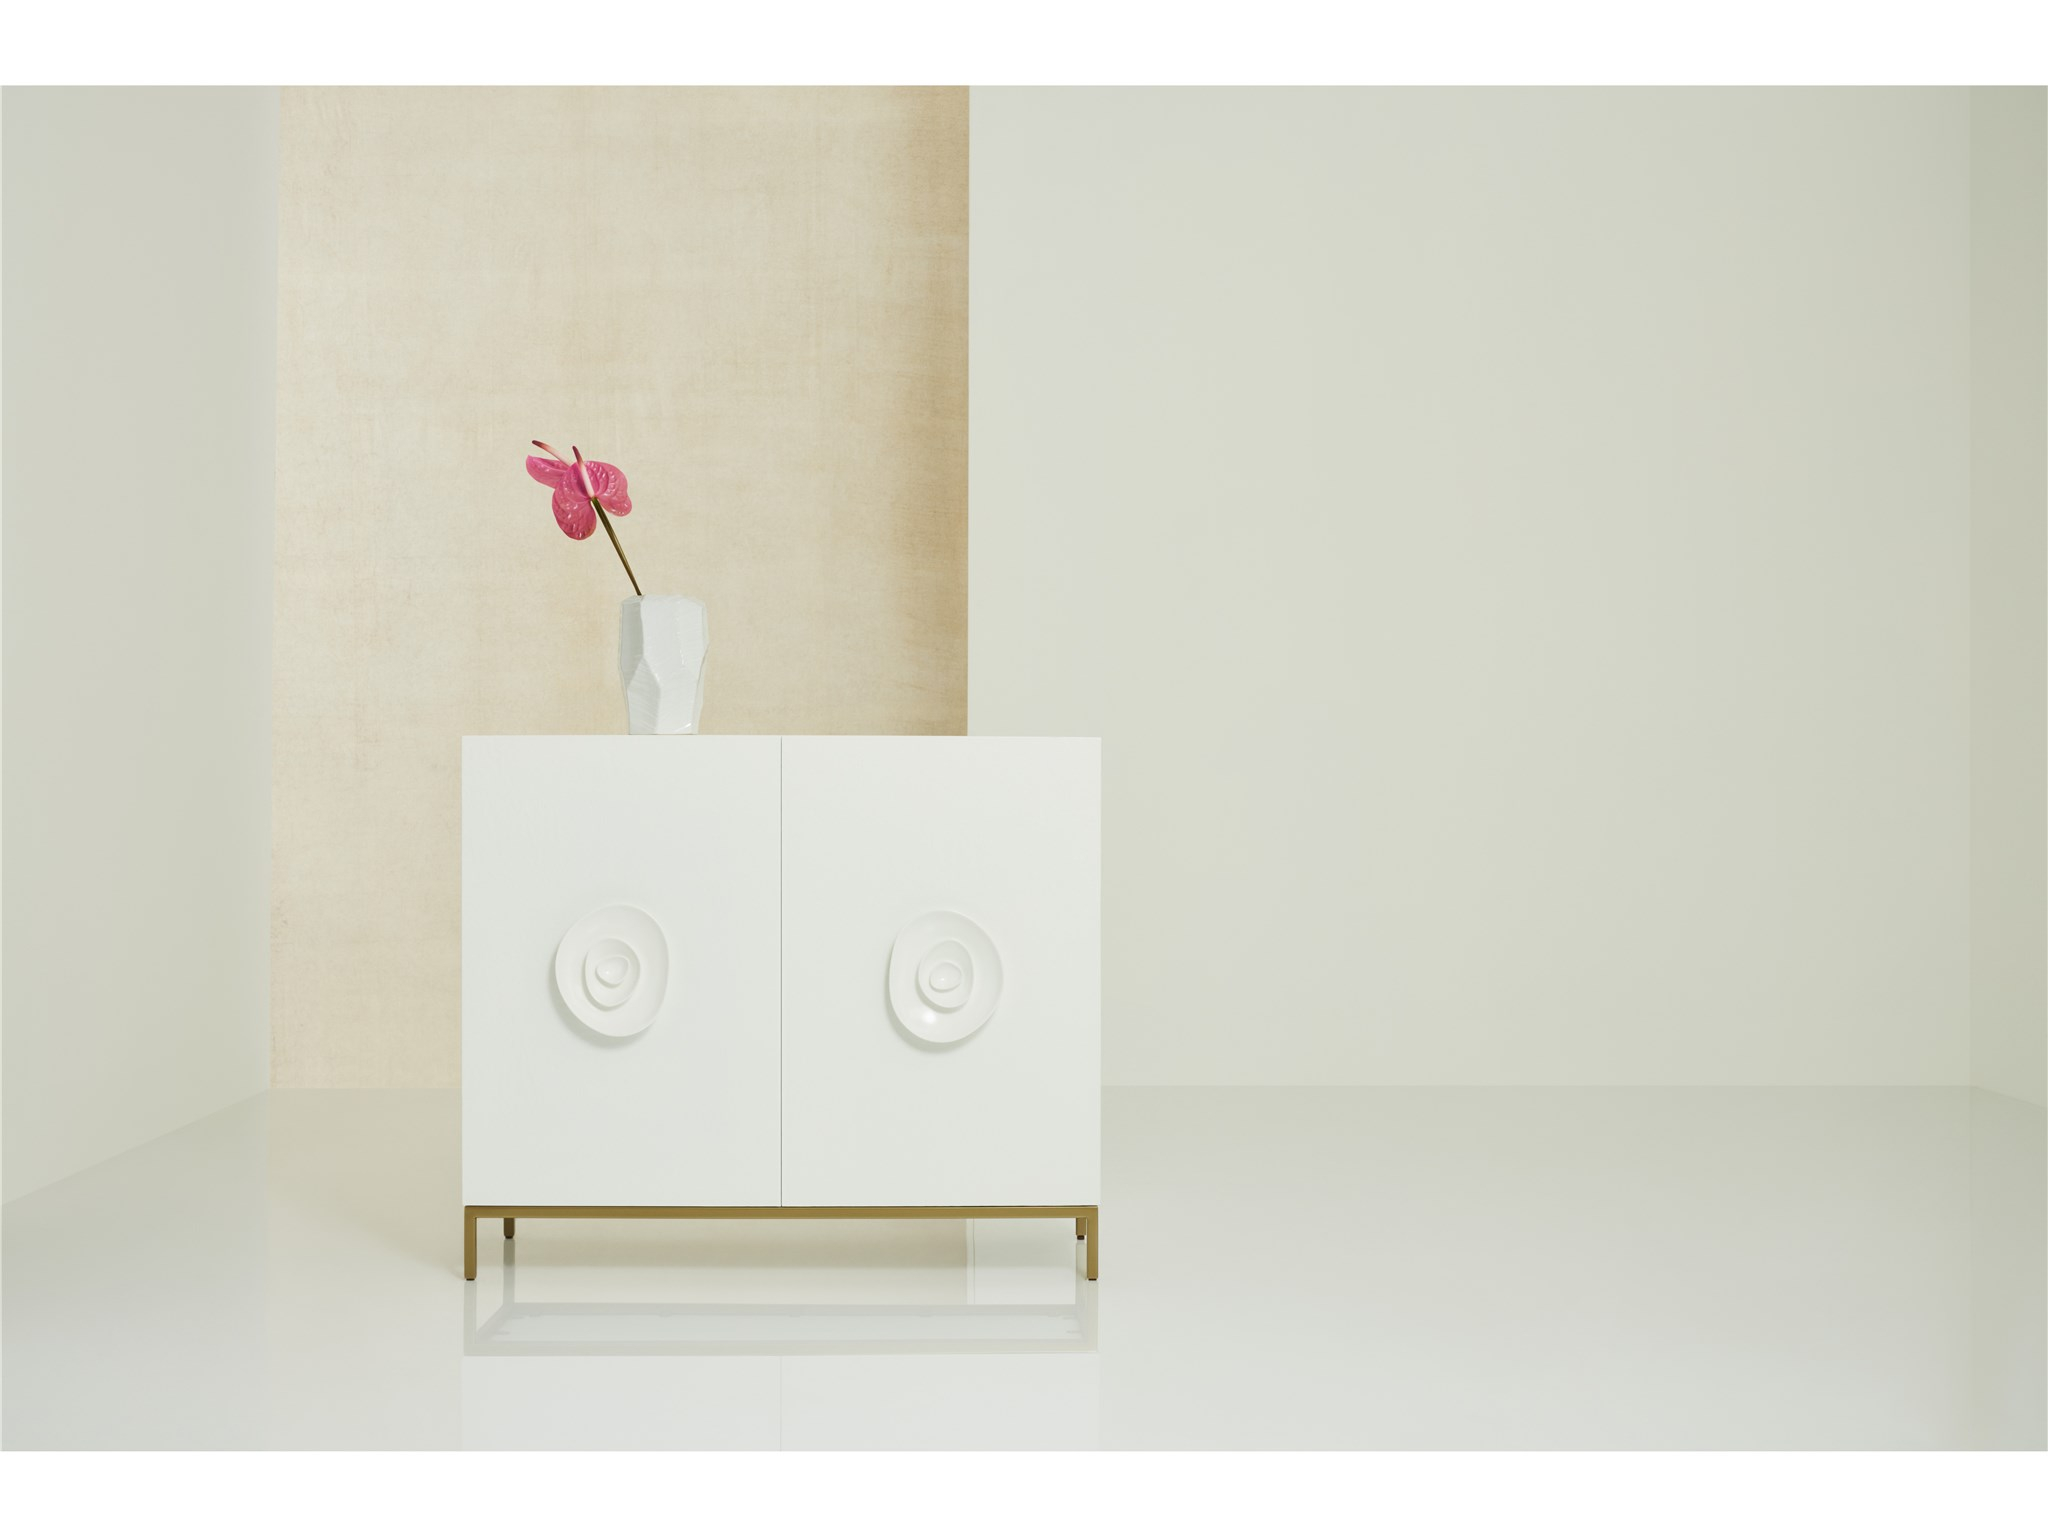
- Placement: Avoid placing your chest near heat sources (radiators, fireplaces) or in direct sunlight.
- Spills: Wipe up spills immediately. Don't let liquids sit on the surface.
Consider using a dehumidifier or humidifier in your home to maintain optimal humidity levels. This is especially important in regions with high or fluctuating humidity.
Polishing and Waxing: Enhancing the Finish
Polishing and waxing can protect and enhance the beauty of your Fleur Hall Chest, but don't overdo it.
- Polishing: Choose a polish designed for your chest's finish. Apply sparingly and buff with a soft cloth.
- Waxing: Wax provides an extra layer of protection. Apply a thin coat of furniture wax and let it dry before buffing. This can be done every six months, depending on the environment.
- Frequency: Polish as needed (usually a few times a year). Waxing every six months is generally sufficient. Be carefule not to over-wax; too much can create a buildup.
Always follow the manufacturer's instructions for the products you're using. Proper application is key to achieving the desired results.
Addressing Damage: Minor Repairs and When to Call a Professional
Even with the best care, damage can happen.
- Scratches: Minor scratches can often be camouflaged with a touch-up marker or a mixture of oil and fine pumice powder. Always test in an out-of-the-way spot first.
- Dents: Use a damp cloth and a warm iron to gently lift small dents. Place the damp cloth over the dent and lightly press the iron onto the cloth. Be very careful – too much heat can cause damage.
- Professional Help: For significant damage, such as structural issues, deep scratches, or water damage, consult a professional furniture restorer. Trying to fix major problems yourself can often make them worse.
Don't be afraid to seek expert help. It's better to invest in professional restoration than to risk further damage to your valuable chest. And, and remember that it's okay to ask for advice.
Storage and Long-Term Care: Preserving Your Treasure for Years to Come
When storing your Fleur Hall Chest, consider these tips.
- Environment: Store in a cool, dry, and well-ventilated space. Avoid attics and basements, where humidity and temperature fluctuations are common.
- Protection: Cover the chest with a breathable cloth or furniture cover to protect it from dust and scratches. Avoid plastic covers, which can trap moisture.
- Periodic Inspection: Check your chest regularly (at least every few months) for signs of damage, such as mold, insect infestation, or changes in the finish. If you spot any problems, address them promptly.
Long-term care is about consistency and vigilance. By following these guidelines, you can ensure your Fleur Hall Chest remains a stunning and cherished possession for generations. It's an investment of your time, but the payoff is well worth it.
Maintaining a Fleur Hall Chest is more than just a chore; it's a commitment to preserving beauty, history, and craftsmanship. By understanding the materials, employing the right cleaning techniques, and taking preventative measures, you can keep your chest looking its absolute best. Remember, consistency is key. Regular care, attention to detail, and a bit of love will go a long way in ensuring your Fleur Hall Chest continues to be a source of joy and pride. So, go forth, apply what you've learned, and revel in the beauty of your cherished chest. After all, it’s not just furniture; it’s a legacy. I hope this guide has been helpful. Now, go out there and make those chests sparkle. You got this. I'm here if you need me. And don't forget to share your results with me and the community. I love seeing your success stories, and remember to share your own tips and tricks. Happy cleaning, everyone. You're doing great.